
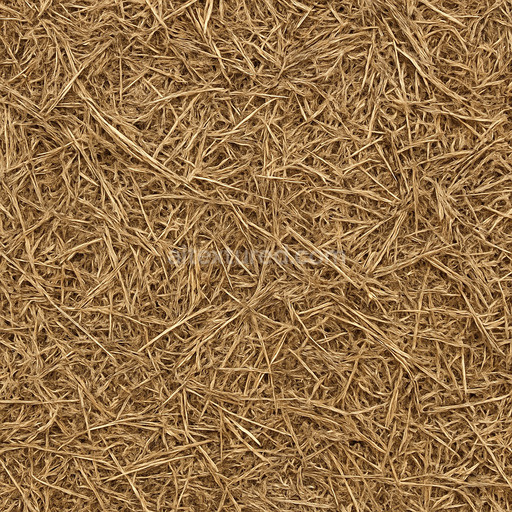
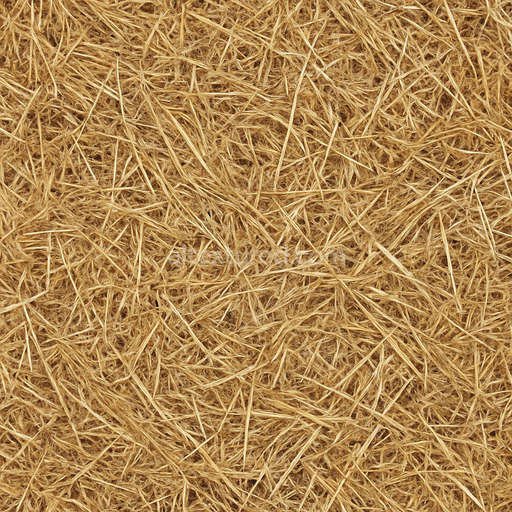
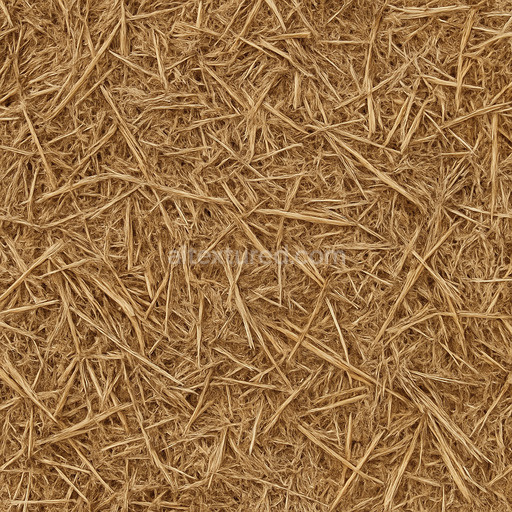
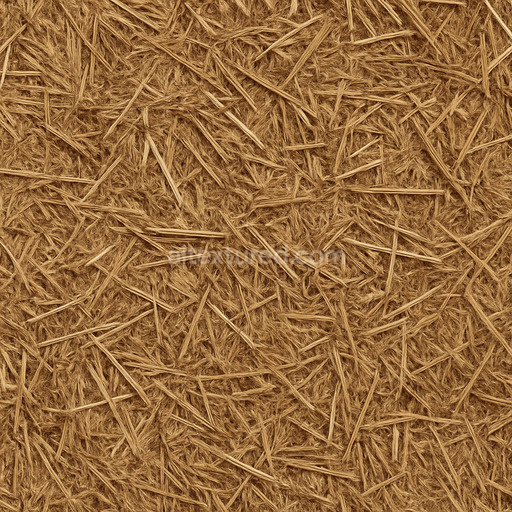
Natural Farm Hay Seamless Texture
Seamless texture (tileable) · PNG, WEBP, PBR ZIP. License: AITextured Free Commercial License (FCL) v1.1. Free personal and commercial use. Raw resale, standalone redistribution, mirroring/scraping, competing asset packs, and AI/ML training are not allowed without written permission. Attribution is not required, but appreciated..

| ID | rough-barn-straw-seamless-texture |
|---|---|
| Category | Hay-straw |
| Formats | PNG, WEBP, PBR ZIP |
| Size | 1k (1024x1024px), 2k (2048x2048px), 4k (4096x4096px), 8k (8192x8192px) |
| Color | sRGB |
| Tileable | Yes |
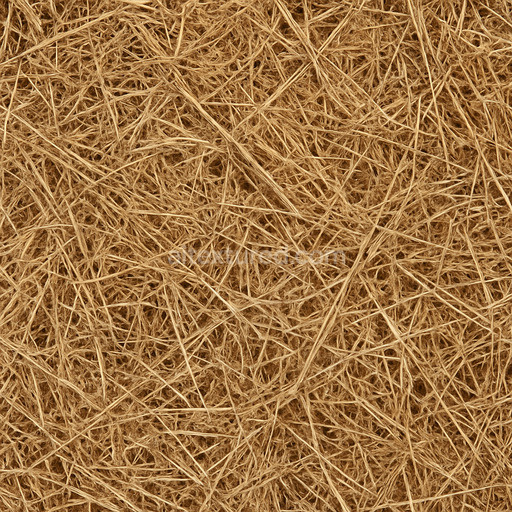
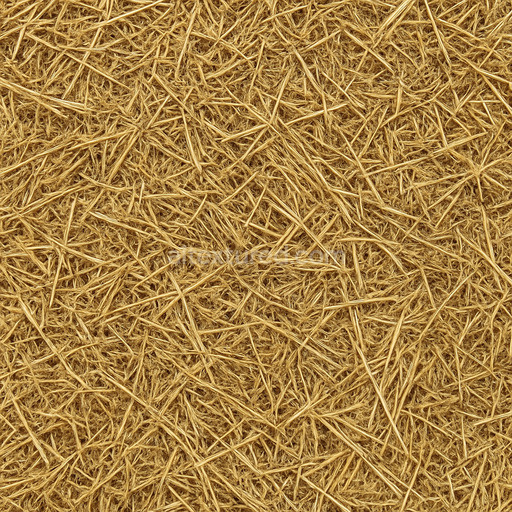
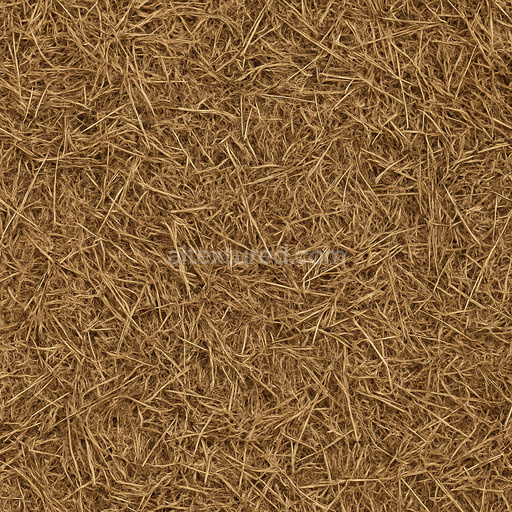
The Rough Barn Straw Seamless Texture is a meticulously crafted organic material representation capturing the intricate composition of weathered barn straw. This texture simulates the natural fiber orientation and porous structure of dried hay where individual straw strands are bound loosely yet cohesively exhibiting subtle variations in thickness and surface roughness. The base substrate is purely organic plant matter with no artificial binders showing slight degradation from exposure to environmental elements like sunlight and moisture which results in a naturally faded yellow-brown palette enriched by muted earth tones. Pigmentation derives from the inherent dyes in straw and minor mineral deposits creating a nuanced color variation that enhances realism. The surface finish is matte and fibrous reflecting the straw’s coarse texture and slight brittleness rather than any polished or treated surface.
In physically based rendering (PBR) channels this texture excels in conveying organic detail: the BaseColor/Albedo map presents the fine color gradations and subtle shadows between straw strands emphasizing natural variation without oversaturation. The Normal map expertly reproduces the raised fibrous grains and the directional flow of straw bundles adding depth and tactile roughness. Roughness maps reflect the coarse uneven surface balancing areas of wear with smoother compressed sections where straw overlaps or compacts. Metallic values are negligible consistent with the non-metallic organic source while Ambient Occlusion enhances crevices and overlaps to boost perceived depth and shadowing. Height/Displacement maps provide subtle surface relief useful for parallax effects or displacement in real-time engines.
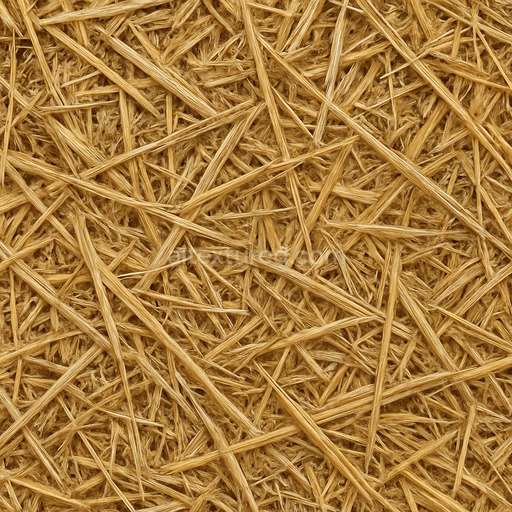
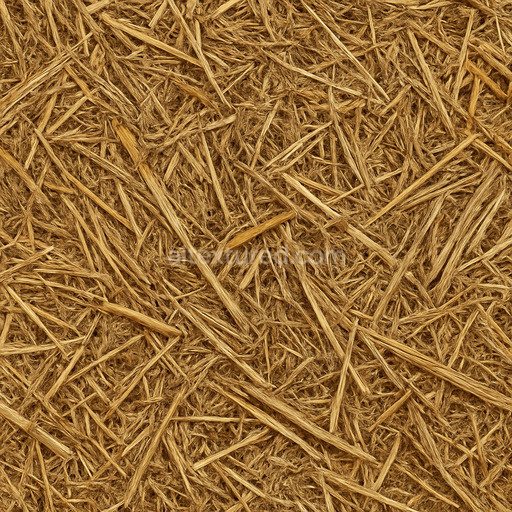
This high-resolution texture is available up to 8K ensuring exceptional clarity on large UV islands without visible tiling or distortion. It is fully seamless and tileable making it ideal for expansive surfaces within modern 3D pipelines. Designed for easy integration it works out-of-the-box in Blender Unreal Engine and Unity supporting fast iteration cycles for cinematic renders real-time scenes level dressing and material studies. For optimal results maintain consistent texel density across your assets and adjust UV scaling carefully to avoid pattern stretching. Slight tuning of the roughness channel can help match lighting conditions to your scene’s environment enhancing the believable natural look of barn straw surfaces.
The tileable rough barn straw seamless texture offers a highly detailed PBR texture rough barn straw seamless texture with realistic hay-straw textures and a 3D preview that highlights its seamless rough barn straw seamless texture and PBR material properties.
Import the texture maps into Blender with sRGB color space for albedo/base color and Non-Color for normal, roughness, metallic, AO, height, and ORM maps. Connect normal maps through a Normal Map node, then adjust UV scale with a Mapping node so the material repeats naturally on your model.
For the full step-by-step setup, see How to Use Seamless Textures in Blender. Browse related material examples in wood, concrete, and metal.
Yes. This texture is designed as a seamless tileable PBR material, so it can repeat across large surfaces without visible borders.
You can download PNG/WEBP versions and use 1K, 2K, 4K and 8K download options when available on the page.
Yes. The download options and engine-mapped ZIP workflow are designed for Blender, Unreal Engine, Unity Standard, URP and HDRP material pipelines.
Yes. The texture is available under the AITextured free commercial license. Review the license page for redistribution and AI-training restrictions.


Generate, preview, and export seamless PBR materials for Blender, Unity, and Unreal Engine—directly in your browser.
AI text-to-texture: type a prompt and get a seamless, tileable base image ready for PBR workflows (great starting point for materials).
Create a full PBR set (Normal, Roughness, AO, Metallic, etc.) from a single image. Seamless and tiling-friendly.
Instant WebGL viewer: inspect materials on a sphere, plane, and cube. Check tiling and lighting in real time.
Re-packages maps per engine: Unreal (BaseColor + ORM), Unity (Mask/MetallicSmoothness), Blender (separate channels).
PNG ↔ JPG ↔ SVG: fast convert, SVG rasterize, embed/trace options, quality & background controls.