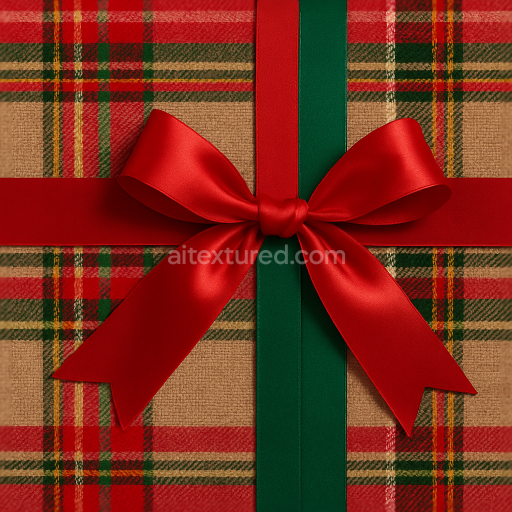
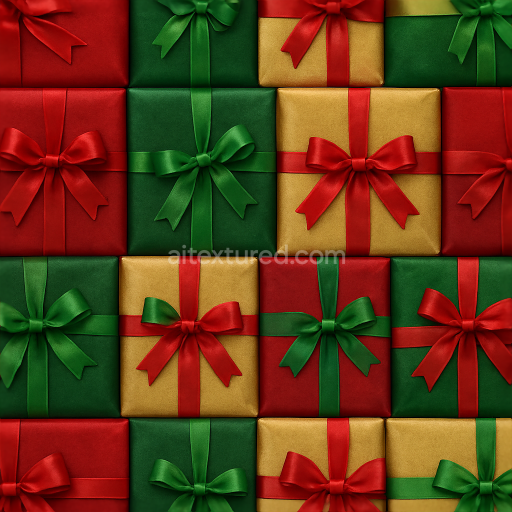
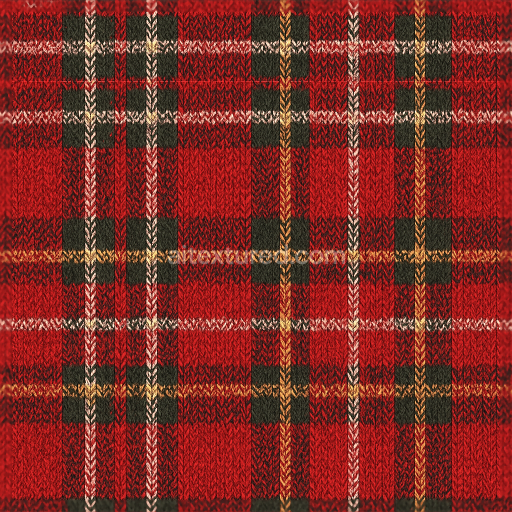
Christmas Ribbon Red Ribbon Green Ribbon Plaid Fabric Tartan Pattern
Seamless texture (tileable) · PNG, WEBP, PBR ZIP. License: AITextured Free Commercial License (FCL) v1.1. Free personal and commercial use. Raw resale, standalone redistribution, mirroring/scraping, competing asset packs, and AI/ML training are not allowed without written permission. Attribution is not required, but appreciated..

| ID | seamless-3d-texture-pbr-8k-snowflakes-frosted-snowflake-powdered-snow-fresh-snow |
|---|---|
| Category | Merry christmas |
| Formats | PNG, WEBP, PBR ZIP |
| Size | 1k (1024x1024px), 2k (2048x2048px), 4k (4096x4096px), 8k (8192x8192px) |
| Color | sRGB |
| Tileable | Yes |
This seamless 3D texture captures the intricate beauty of snowflakes and fresh snow layers rendered with physically based rendering (PBR) techniques at an impressive 8K resolution. The underlying material simulates a fine crystalline ice substrate composed of tightly packed snow crystals with frosted snowflakes delicately resting atop a blanket of powdered snow. The geometry reveals a complex pattern of interlocking hexagonal ice crystals forming a natural tessellation that repeats seamlessly. This arrangement creates a softly undulating surface reminiscent of freshly fallen snowdrifts with subtle height variations and gentle slopes that enhance realism in digital environments.
The texture’s composition reflects a natural snowpack structure where the base layer consists of compacted snow grains acting as the primary substrate bound loosely by micro ice bridges that provide cohesion without a rigid adhesive. This porous arrangement allows for slight translucency and light diffusion mimicked in the texture’s material channels. The powdered snow appears as a fine granular aggregate scattered across the surface while the frosted snowflakes form delicate higher-relief crystalline patterns that catch ambient light differently. The surface finish is matte with a faint satin sheen replicating the soft sparkle and diffuse reflection characteristic of winter frost on snowy ground.
Mapped to PBR channels the BaseColor (Albedo) layer features a predominantly pure white palette with subtle bluish and grayish undertones to simulate shadowed pockets and depth within the snow. The Normal map intricately encodes the micro-relief of snowflakes and powdered textures emphasizing the hexagonal crystalline geometry and soft snow layering. Roughness values vary across the texture with lower roughness on frosted snowflake edges for a subtle glimmer effect and higher roughness on powdered snow areas to absorb light diffusely. The Metallic channel remains minimal to none reflecting the non-metallic nature of snow and ice. Ambient Occlusion enhances crevices between flakes and snow clusters adding depth and realism. Height or Displacement maps capture the subtle elevation differences of snow drifts and frosted crystals vital for accurate parallax and depth effects in rendering.
Optimized for use in Blender Unreal Engine and Unity this texture is designed to deliver high fidelity winter scenes with minimal tiling artifacts due to its seamless construction. For practical use adjusting the UV scale to a smaller value can increase snowflake density when needed while fine-tuning roughness allows for realistic wet or dry snow appearances. Blending height maps with normal maps can further enhance surface detail without excessive geometry making this texture versatile for close-up renders or expansive snowy landscapes.
Import the texture maps into Blender with sRGB color space for albedo/base color and Non-Color for normal, roughness, metallic, AO, height, and ORM maps. Connect normal maps through a Normal Map node, then adjust UV scale with a Mapping node so the material repeats naturally on your model.
For the full step-by-step setup, see How to Use Seamless Textures in Blender. Browse related material examples in wood, concrete, and metal.
Yes. This texture is designed as a seamless tileable PBR material, so it can repeat across large surfaces without visible borders.
You can download PNG/WEBP versions and use 1K, 2K, 4K and 8K download options when available on the page.
Yes. The download options and engine-mapped ZIP workflow are designed for Blender, Unreal Engine, Unity Standard, URP and HDRP material pipelines.
Yes. The texture is available under the AITextured free commercial license. Review the license page for redistribution and AI-training restrictions.


Build, preview, and export seamless PBR materials. Generate full map sets from a single image, inspect them in a real-time WebGL viewer, and re-package maps for Unreal, Unity, and Blender—directly in your browser.
AI text-to-texture: type a prompt and get a seamless, tileable base image ready for PBR workflows (great starting point for materials).
Create a full PBR set (Normal, Roughness, AO, Metallic, etc.) from a single image. Seamless and tiling-friendly.
Instant WebGL viewer: inspect materials on a sphere, plane, and cube. Check tiling and lighting in real time.
Re-packages maps per engine: Unreal (BaseColor + ORM), Unity (Mask/MetallicSmoothness), Blender (separate channels).
PNG ↔ JPG ↔ SVG: fast convert, SVG rasterize, embed/trace options, quality & background controls.