
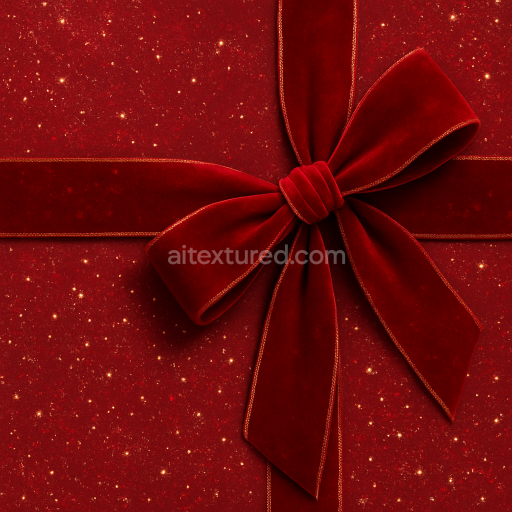
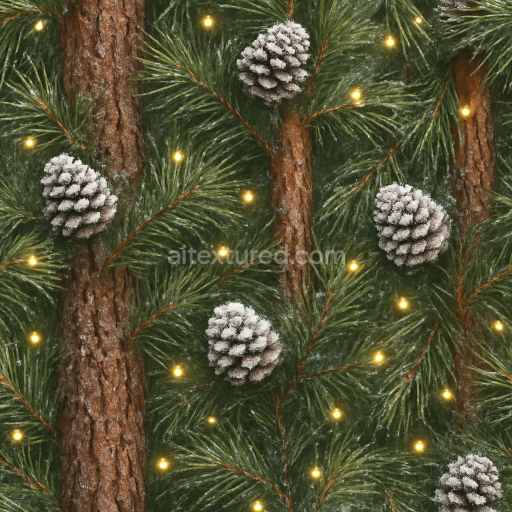
Satin Fabric Velvet Fabric Knit Fabric Christmas Lights Glow Glitter Dust
Seamless texture (tileable) · PNG, WEBP, PBR ZIP. License: AITextured Free Commercial License (FCL) v1.1. Free personal and commercial use. Raw resale, standalone redistribution, mirroring/scraping, competing asset packs, and AI/ML training are not allowed without written permission. Attribution is not required, but appreciated..

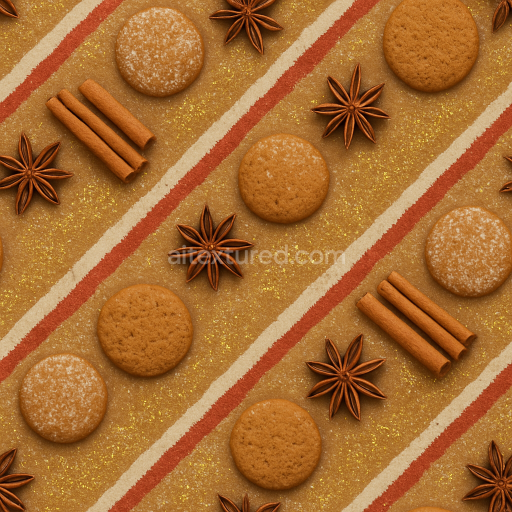
| ID | seamless-3d-texture-pbr-8k-gingerbread-cookie-candy-cane-striped-candy-christmas-lights |
|---|---|
| Category | Merry christmas |
| Formats | PNG, WEBP, PBR ZIP |
| Size | 1k (1024x1024px), 2k (2048x2048px), 4k (4096x4096px), 8k (8192x8192px) |
| Color | sRGB |
| Tileable | Yes |
This seamless 3D texture presents a richly detailed composition inspired by classic Christmas motifs combining gingerbread cookies candy canes striped candies and festive Christmas lights into a unified surface pattern. The underlying material base mimics baked gingerbread dough characterized by a slightly porous matte substrate with fine grain and subtle surface cracks typical of baked confections. The cookie surface features a warm caramel-brown color palette enhanced by colorants simulating cinnamon and molasses pigments. Candy cane and striped candy elements are modeled as glossy hard sugar materials with smooth undulating cylindrical forms exhibiting bright red and white stripes with occasional green glitter accents that emulate edible sugar crystals. Twinkling Christmas lights add a soft emissive glow effect represented by small rounded bulbs with translucent glass-like finishes and subtle internal reflections.
In terms of geometric form the texture arranges these elements in a tightly packed repeating tile pattern that emphasizes depth and layering. Gingerbread cookies appear as slightly raised rounded shapes with embossed details such as icing swirls and sugar granules while candy canes and striped candies weave organically across the surface with curved tubular forms. The Christmas lights are positioned to create a delicate interplay of light and shadow their glossy bulbs casting subtle highlights and soft shadows that contribute to the realistic volumetric feel of the texture. This intricate arrangement ensures that the texture remains seamless when tiled preserving continuity in both color and geometric relief.
The texture’s photorealistic appearance is achieved through comprehensive PBR mapping at an ultra-high 8K resolution allowing for exceptional detail on large-scale renders. The BaseColor (Albedo) map accurately captures the rich warm tones of gingerbread and the vivid stripes of candy while the Normal map provides fine surface variations such as icing ridges sugar granules and bulb contours enhancing the tactile realism. Roughness maps differentiate materials by their finish—matte slightly rough gingerbread surfaces contrast with the glossy smooth candy canes and shiny glass bulbs. Metallic values are minimal reflecting the organic and sugar-based nature of the materials except for subtle specular reflections on the candy glass. Ambient Occlusion maps add depth to crevices and embossed details and Height/Displacement maps emphasize the raised cookie edges and light bulbs’ curvature supporting realistic parallax effects.
This texture is fully optimized for use in Blender Unreal Engine and Unity making it versatile for a variety of digital projects including holiday-themed scenes game environments and product visualizations. For practical integration it is recommended to adjust the UV scale to maintain the visual balance between large cookie shapes and smaller candy details ensuring neither element dominates the texture. Additionally fine-tuning the roughness channel can help control the perceived glossiness particularly for the candy elements to suit different lighting conditions. Blending the height and normal maps can further enhance surface depth without compromising performance especially in real-time engines.
Import the texture maps into Blender with sRGB color space for albedo/base color and Non-Color for normal, roughness, metallic, AO, height, and ORM maps. Connect normal maps through a Normal Map node, then adjust UV scale with a Mapping node so the material repeats naturally on your model.
For the full step-by-step setup, see How to Use Seamless Textures in Blender. Browse related material examples in wood, concrete, and metal.
Yes. This texture is designed as a seamless tileable PBR material, so it can repeat across large surfaces without visible borders.
You can download PNG/WEBP versions and use 1K, 2K, 4K and 8K download options when available on the page.
Yes. The download options and engine-mapped ZIP workflow are designed for Blender, Unreal Engine, Unity Standard, URP and HDRP material pipelines.
Yes. The texture is available under the AITextured free commercial license. Review the license page for redistribution and AI-training restrictions.


Build, preview, and export seamless PBR materials. Generate full map sets from a single image, inspect them in a real-time WebGL viewer, and re-package maps for Unreal, Unity, and Blender—directly in your browser.
AI text-to-texture: type a prompt and get a seamless, tileable base image ready for PBR workflows (great starting point for materials).
Create a full PBR set (Normal, Roughness, AO, Metallic, etc.) from a single image. Seamless and tiling-friendly.
Instant WebGL viewer: inspect materials on a sphere, plane, and cube. Check tiling and lighting in real time.
Re-packages maps per engine: Unreal (BaseColor + ORM), Unity (Mask/MetallicSmoothness), Blender (separate channels).
PNG ↔ JPG ↔ SVG: fast convert, SVG rasterize, embed/trace options, quality & background controls.