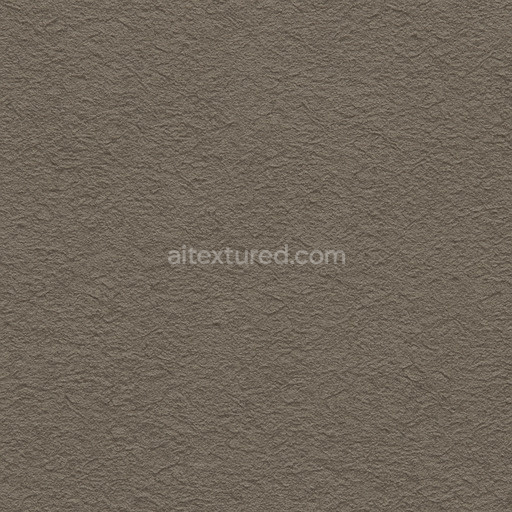
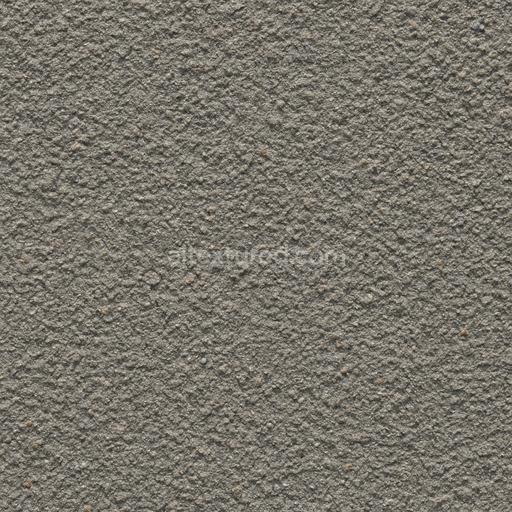
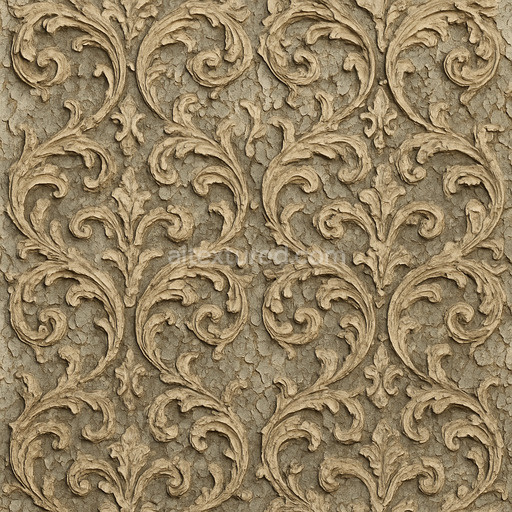
Coarse Matte Paint Seamless Texture
Seamless texture (tileable) · PNG, WEBP, PBR ZIP. License: AITextured Free Commercial License (FCL) v1.1. Free personal and commercial use. Raw resale, standalone redistribution, mirroring/scraping, competing asset packs, and AI/ML training are not allowed without written permission. Attribution is not required, but appreciated..

| ID | graffiti-wall-layered-tags |
|---|---|
| Category | Paint-coating |
| Formats | PNG, WEBP, PBR ZIP |
| Size | 1k (1024x1024px), 2k (2048x2048px), 4k (4096x4096px), 8k (8192x8192px) |
| Color | sRGB |
| Tileable | Yes |
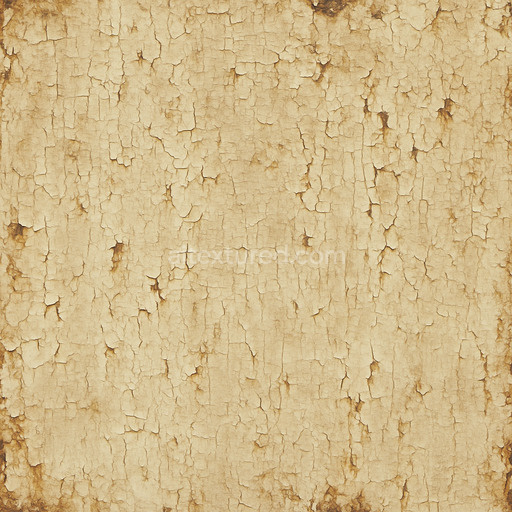
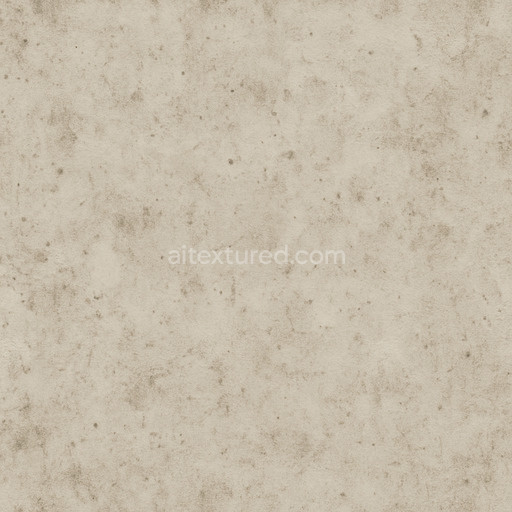
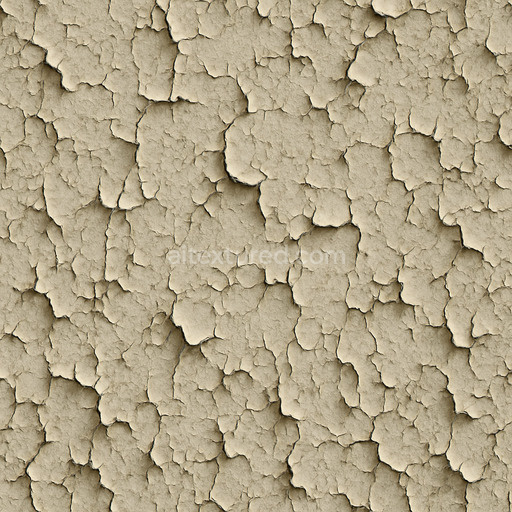
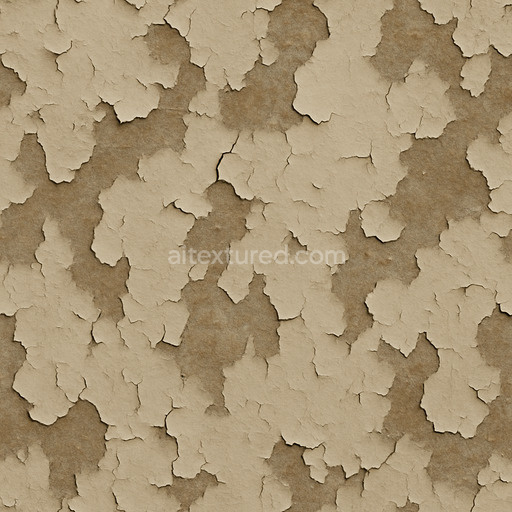
The graffiti wall layered tags texture is a meticulously crafted seamless asset that authentically replicates the intricate composition of urban painted surfaces. At its foundation lies a rugged mineral substrate resembling weathered concrete or aged masonry characterized by subtle porosity and microfractures that tell a story of long-term exposure to environmental elements. This base layer is coated with multiple overlapping layers of paint and ink-based colorants including a blend of organic pigments and synthetic dyes. Adhesive binders within the paint ensure strong cohesion between layers while the surface finish balances a tactile interplay of matte and semi-gloss reflections. Natural wear patterns such as chipping fading and embedded grime aggregates—randomly oriented to imitate real graffiti techniques—add genuine depth and a weathered appearance to the texture enhancing its realism and visual complexity.
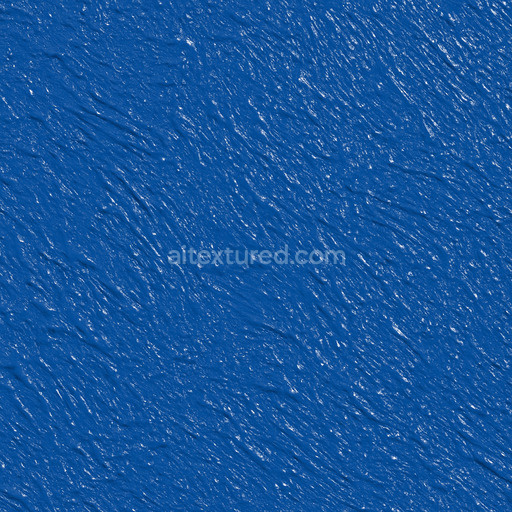
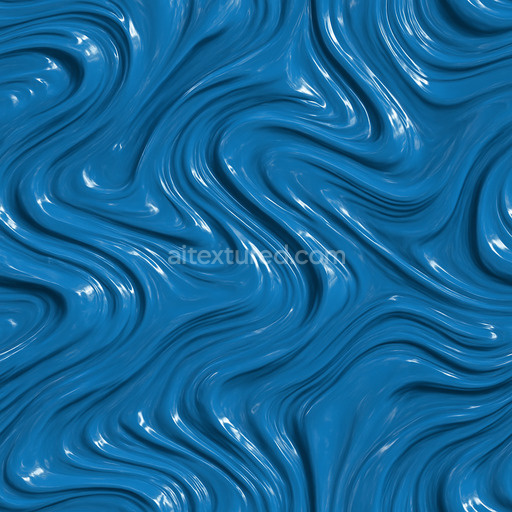
Within a physically based rendering (PBR) workflow these material qualities translate into a comprehensive set of texture maps optimized for high-fidelity realism at resolutions up to 8K. The BaseColor (Albedo) map captures the vibrant yet weathered hues of spray paints and marker inks revealing layered color variations and subtle pigment degradation typical of aged urban artwork. The Normal map accentuates the micro-structure of the rough cracked substrate alongside raised paint edges and peeling effects providing tactile depth and detail. Roughness maps simulate the varied surface finish balancing glossy patches with matte worn areas that reflect accumulated dust and varnish wear. The Metallic channel remains minimal consistent with the non-metallic nature of painted masonry walls. Ambient Occlusion maps deepen shadows within crevices and between overlapping paint layers enhancing the perception of depth. Height and Displacement maps introduce fine surface relief and breakup enabling realistic parallax effects in real-time engines or displacement in cinematic renders preserving crisp detail across complex geometry and large UV sets.
Engineered for seamless integration into modern 3D pipelines—including Blender Unreal Engine and Unity—this tileable graffiti wall layered tags texture supports paint-coating workflows requiring both artistic nuance and technical precision. Its design avoids repetitive artifacts commonly found in auto-generated graffiti assets maintaining visual cohesion over extensive UV islands. For optimal usage adjusting the UV scale is recommended to retain the natural size and legibility of graffiti tags preventing distortion or pixelation. Additionally fine-tuning roughness parameters can amplify the interplay of light on the painted surface allowing users to emphasize either a fresh glossy finish or a more subdued weathered look depending on the scene’s artistic needs. Subtle application of the Height or Displacement map further enriches material complexity by simulating realistic surface depth without compromising real-time performance.
Overall this high-resolution graffiti wall layered tags texture offers a versatile and reliable solution for artists and developers aiming to enhance urban environments layered surface effects or textural studies. Its comprehensive PBR map set and natural material representation deliver professional-grade results in both real-time 3D previews and high-end cinematic visualizations making it an ideal choice for diverse paint-coating projects across multiple rendering platforms.
The seamless graffiti wall layered tags feature generated paint-coating textures that enhance the PBR appearance by providing realistic depth and material complexity.
Import the texture maps into Blender with sRGB color space for albedo/base color and Non-Color for normal, roughness, metallic, AO, height, and ORM maps. Connect normal maps through a Normal Map node, then adjust UV scale with a Mapping node so the material repeats naturally on your model.
For the full step-by-step setup, see How to Use Seamless Textures in Blender. Browse related material examples in wood, concrete, and metal.
Yes. This texture is designed as a seamless tileable PBR material, so it can repeat across large surfaces without visible borders.
You can download PNG/WEBP versions and use 1K, 2K, 4K and 8K download options when available on the page.
Yes. The download options and engine-mapped ZIP workflow are designed for Blender, Unreal Engine, Unity Standard, URP and HDRP material pipelines.
Yes. The texture is available under the AITextured free commercial license. Review the license page for redistribution and AI-training restrictions.

Generate, preview, and export seamless PBR materials for Blender, Unity, and Unreal Engine—directly in your browser.
AI text-to-texture: type a prompt and get a seamless, tileable base image ready for PBR workflows (great starting point for materials).
Create a full PBR set (Normal, Roughness, AO, Metallic, etc.) from a single image. Seamless and tiling-friendly.
Instant WebGL viewer: inspect materials on a sphere, plane, and cube. Check tiling and lighting in real time.
Re-packages maps per engine: Unreal (BaseColor + ORM), Unity (Mask/MetallicSmoothness), Blender (separate channels).
PNG ↔ JPG ↔ SVG: fast convert, SVG rasterize, embed/trace options, quality & background controls.