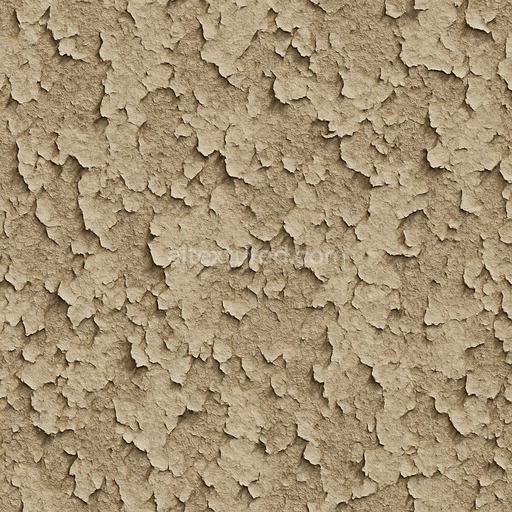
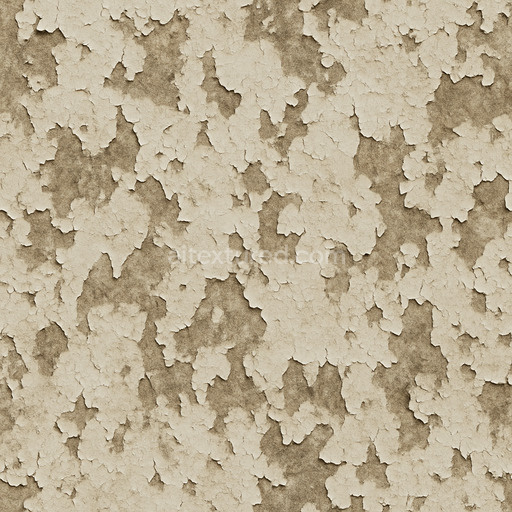
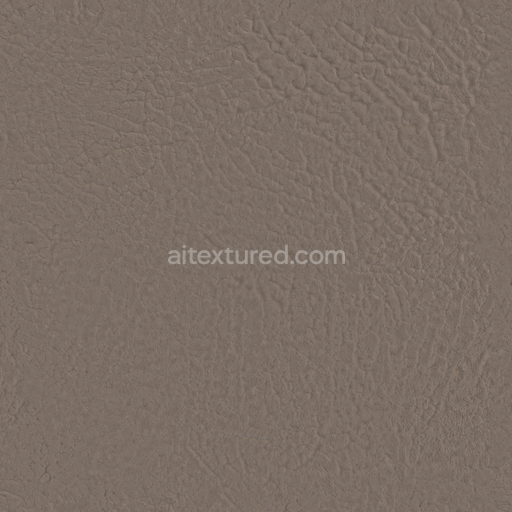
Coarse Peeling Paint Seamless Texture
Seamless texture (tileable) · PNG, WEBP, PBR ZIP. License: AITextured Free Commercial License (FCL) v1.1. Free personal and commercial use. Raw resale, standalone redistribution, mirroring/scraping, competing asset packs, and AI/ML training are not allowed without written permission. Attribution is not required, but appreciated..

| ID | spray-paint-speckle-overspray |
|---|---|
| Category | Paint-coating |
| Formats | PNG, WEBP, PBR ZIP |
| Size | 1k (1024x1024px), 2k (2048x2048px), 4k (4096x4096px), 8k (8192x8192px) |
| Color | sRGB |
| Tileable | Yes |
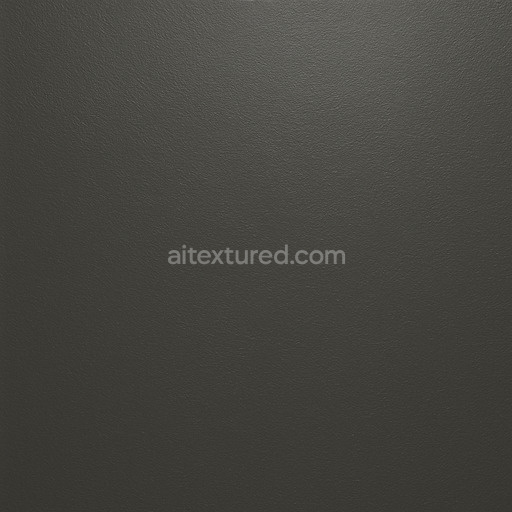
The Spray Paint Speckle Overspray texture is a meticulously crafted seamless spray paint speckle overspray texture designed to authentically replicate the complex interaction of paint particles with underlying surfaces commonly encountered in real-world paint-coating applications. Its foundational substrate simulates materials such as polymer or metal typical of industrial and automotive finishes offering a slightly porous and weathered base that captures subtle surface variations including light corrosion oxidation and wear. The texture’s composition integrates fine pigment particles suspended within durable binders producing the distinctive speckled overspray pattern. Microscopic aggregates and directional grain contribute to the uneven scattering of paint droplets creating a natural finish that blends matte roughness with sporadic glossy highlights. This interplay reflects how layered paint films interact with oxidized or brushed metal bases beneath while carefully balanced pigment and oxide layers in the BaseColor/Albedo channel deliver realistic color depth and tonal variation without artificial saturation or flatness.
Rendered at an ultra-high resolution of up to 8K this tileable spray paint speckle overspray texture includes a comprehensive set of PBR channels to ensure accurate material response under diverse lighting conditions across multiple 3D engines including Blender Unreal Engine and Unity. The Normal map encodes fine surface irregularities such as microscopic paint buildup and subtle bumps enhancing tactile realism. Variations in glossiness and paint thickness are controlled through the Roughness map while the Metallic channel simulates the subdued reflectivity of coated metals or polymer substrates beneath the paint layers. Ambient Occlusion adds depth by shading crevices and inconsistencies within the overspray complementing the Height/Displacement map’s fine surface relief that can be exploited for parallax effects or tessellation to boost realism in close-up views. This generated texture is optimized for real-time 3D preview and high-quality final renders supporting detailed environment art architectural visualizations and concept prototyping workflows.
For optimal application it is recommended to maintain consistent texel density and a uniform UV mapping layout to avoid distortion or stretching of the fine speckle pattern inherent in the spray paint overspray. Adjusting the Roughness channel intensity allows fine-tuning of the overspray’s sharpness and spread balancing between matte and glossy areas to suit various lighting environments. Additionally subtle manipulation of the Height or parallax displacement maps can significantly enhance surface depth and complexity making the texture especially effective for realistic paint-coating surfaces in both industrial and creative 3D projects. This thoughtful integration of base materials pigment composition and advanced PBR mapping ensures the Spray Paint Speckle Overspray texture maintains its natural subtlety and visual authenticity across a wide range of digital workflows and applications.
Import the texture maps into Blender with sRGB color space for albedo/base color and Non-Color for normal, roughness, metallic, AO, height, and ORM maps. Connect normal maps through a Normal Map node, then adjust UV scale with a Mapping node so the material repeats naturally on your model.
For the full step-by-step setup, see How to Use Seamless Textures in Blender. Browse related material examples in wood, concrete, and metal.
Yes. This texture is designed as a seamless tileable PBR material, so it can repeat across large surfaces without visible borders.
You can download PNG/WEBP versions and use 1K, 2K, 4K and 8K download options when available on the page.
Yes. The download options and engine-mapped ZIP workflow are designed for Blender, Unreal Engine, Unity Standard, URP and HDRP material pipelines.
Yes. The texture is available under the AITextured free commercial license. Review the license page for redistribution and AI-training restrictions.

Generate, preview, and export seamless PBR materials for Blender, Unity, and Unreal Engine—directly in your browser.
AI text-to-texture: type a prompt and get a seamless, tileable base image ready for PBR workflows (great starting point for materials).
Create a full PBR set (Normal, Roughness, AO, Metallic, etc.) from a single image. Seamless and tiling-friendly.
Instant WebGL viewer: inspect materials on a sphere, plane, and cube. Check tiling and lighting in real time.
Re-packages maps per engine: Unreal (BaseColor + ORM), Unity (Mask/MetallicSmoothness), Blender (separate channels).
PNG ↔ JPG ↔ SVG: fast convert, SVG rasterize, embed/trace options, quality & background controls.