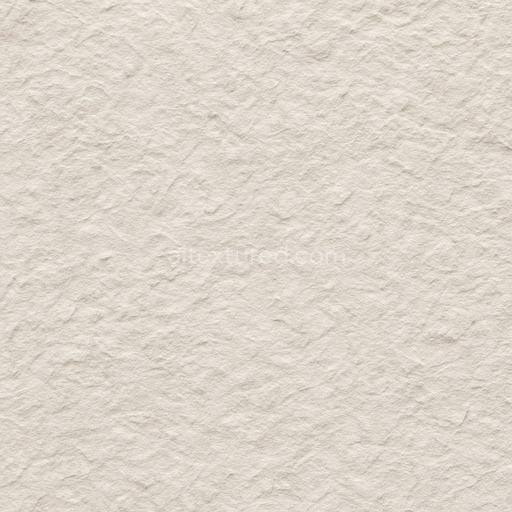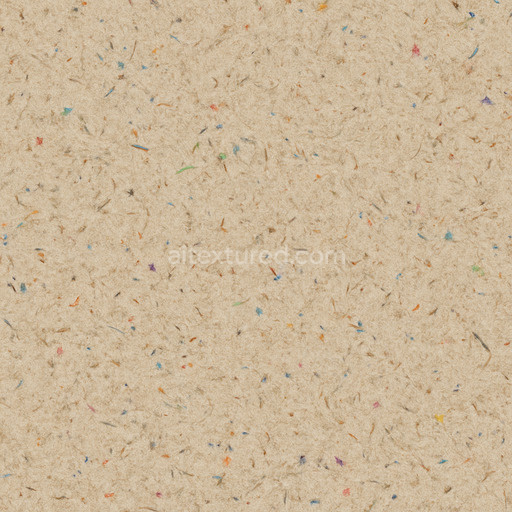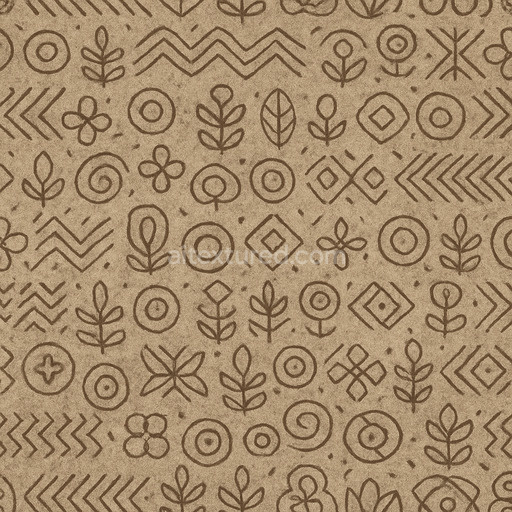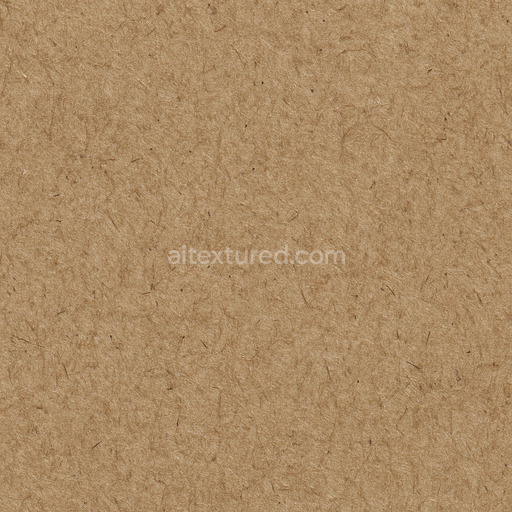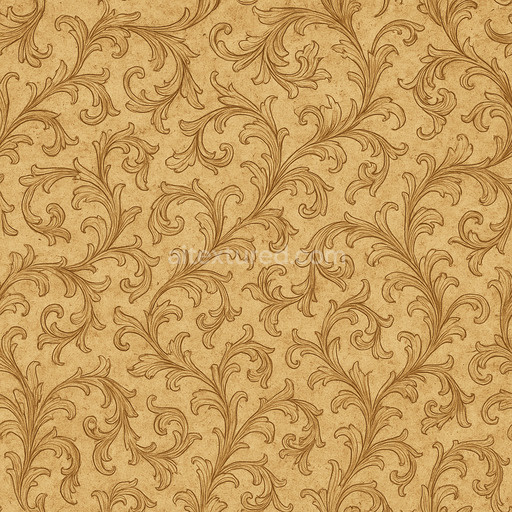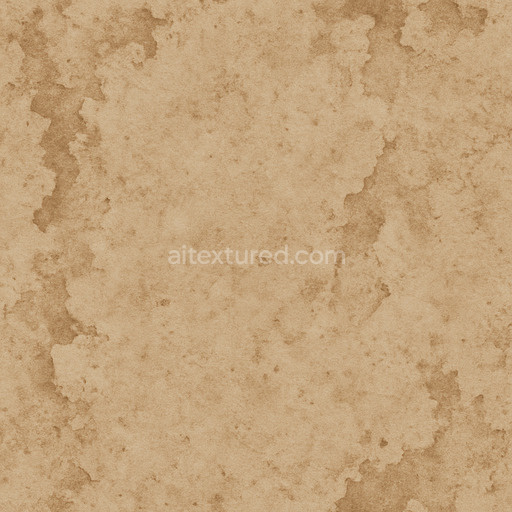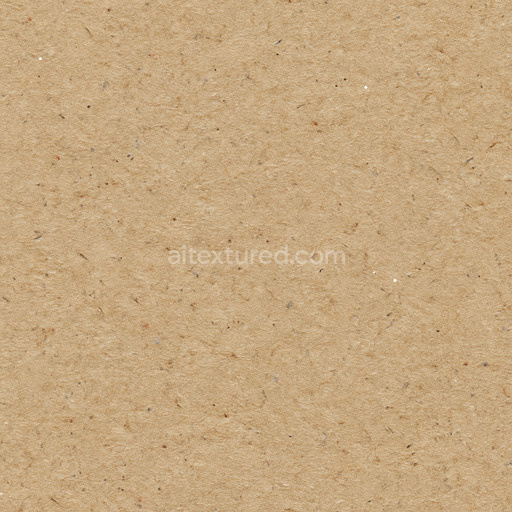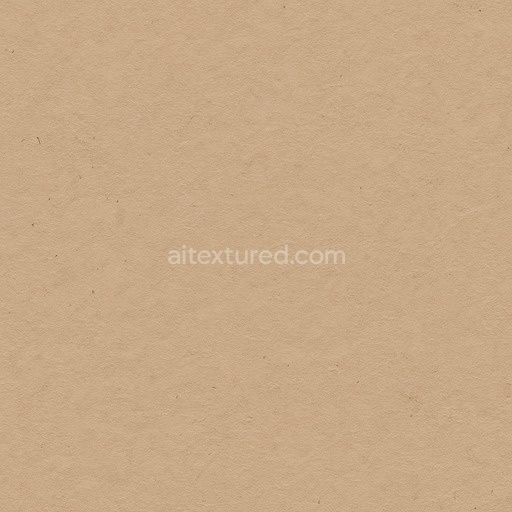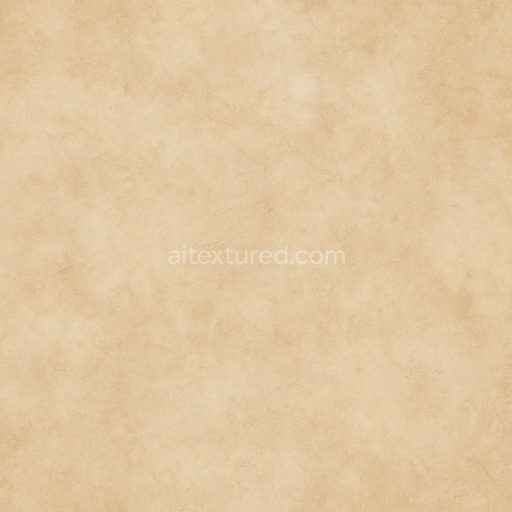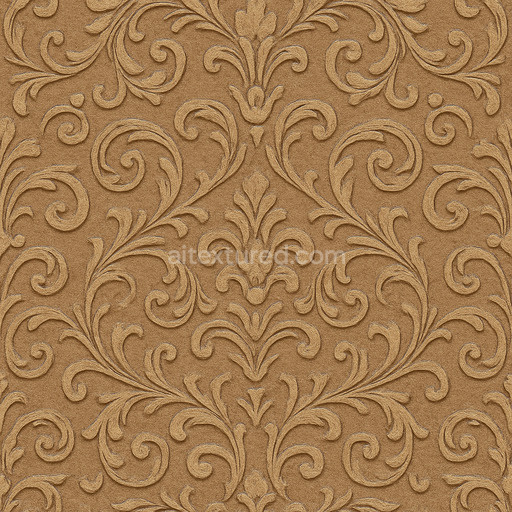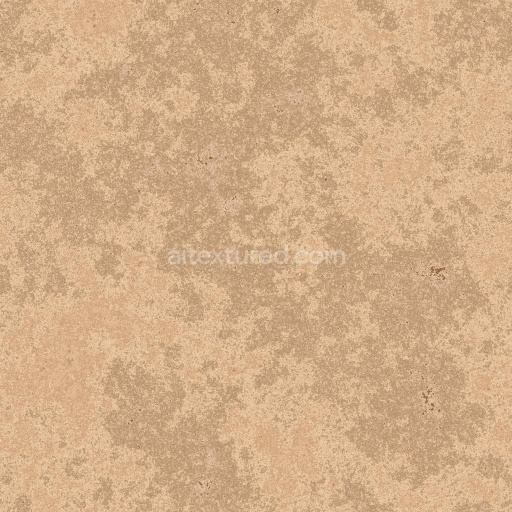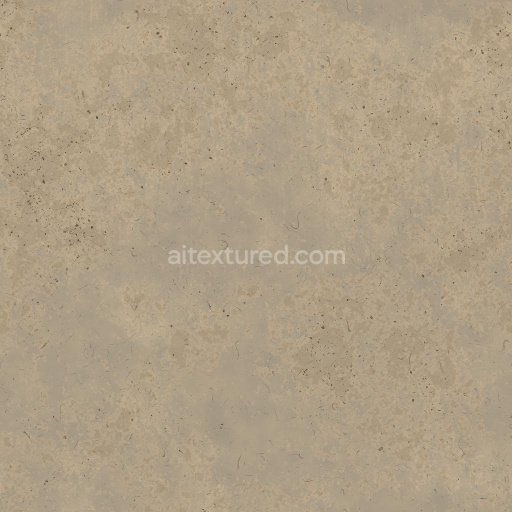
Handmade Cotton Rag Paper free download

. Formats: WEBP, PNG . Free for personal & commercial use.

Preview — Handmade Cotton Rag Paper

IDhandmade-cotton-rag-paper
Paper
WEBP, PNG
Size1k (1024x1024px), 2k (2048x2048px), 4k (4096x4096px), 8k (8192x8192px)
sRGB

The handmade cotton rag paper texture is a finely crafted seamless material designed to authentically represent the organic complexity of traditional paper surfaces. Its base substrate consists primarily of natural cotton fibers which serve as the main aggregate carefully intertwined and bonded using traditional cellulose-based adhesives. This composition produces a durable yet porous sheet with a slightly fibrous grain orientation capturing the subtle irregularities and natural variations inherent to handmade cotton rag paper. The surface finish is soft and matte reflecting the genuine tactile qualities of artisanal paper where gentle surface roughness visible fiber patterns and nuanced color variations are evident. These details are meticulously captured within the high-resolution BaseColor/Albedo map available up to an impressive 8K resolution ensuring every tile maintains consistent seamless alignment across large areas without distortion or repetition artifacts.

Complementing the base color texture the physically based rendering (PBR) maps enhance the material’s realistic appearance and depth. The Normal map highlights the delicate relief of intertwined cotton fibers and subtle surface creases adding tangible texture to 3D models in real-time workflows for Blender Unreal Engine and Unity. Roughness values are carefully calibrated to reflect the paper’s naturally non-reflective slightly matte surface simulating how light diffuses softly across the fibrous texture. The Metallic channel remains minimal and neutral consistent with the organic and non-metallic nature of the paper. Ambient Occlusion maps accentuate fiber intersections and shallow cavities producing realistic shadowing that enhances perceived depth. Height and Displacement maps convey the gentle undulations and embossing typical of handmade cotton rag paper enriching 3D preview environments with authentic tactile realism and subtle depth variations.

This tileable handmade cotton rag paper texture is engineered for stability and scalability ensuring sharpness and clarity when tiled extensively in digital projects. To maximize visual fidelity it is recommended to maintain consistent UV scaling to preserve the intricate fiber detail and prevent stretching. Adjusting the roughness map can also help tailor the material’s reflectivity to specific lighting conditions enhancing the natural interplay between light and shadow on the paper surface. Fine-tuning height or parallax parameters according to scene scale further improves the perception of depth making this AI texture handmade cotton rag paper an excellent choice for realistic paper textures in detailed level dressing material studies or any project requiring authentic high-resolution paper surfaces with seamless tileable quality and full readiness for 3D preview applications.

How to Use These Seamless PBR Textures in Blender

This guide shows how to connect a full PBR texture set to Principled BSDF in Blender (Cycles or Eevee). Works with any of our seamless textures free download, including PBR PNG materials for Blender / Unreal / Unity.

What’s inside the download

  • *_albedo.png — Base Color (sRGB)
  • *_normal.png — Normal map (Non-Color)
  • *_roughness.png — Roughness (Non-Color)
  • *_metallic.png — Metallic (Non-Color)
  • *_ao.png — Ambient Occlusion (Non-Color)
  • *_height.png — Height / Displacement (Non-Color)
  • *_ORM.png — Packed map (R=AO, G=Roughness, B=Metallic, Non-Color)

Quick start (Node Wrangler, 30 seconds)

  1. Enable the addon: Edit → Preferences → Add-ons → Node Wrangler.
  2. Create a material and select the Principled BSDF node.
  3. Press Ctrl + Shift + T and select the maps albedo, normal, roughness, metallic (skip height and ORM for now) → Open. The addon wires Base Color, Normal (with a Normal Map node), Roughness, and Metallic automatically.
  4. Add AO and Height using the “Manual wiring” steps below (5 and 6).

Manual wiring (full control)

  1. Create a material (Material Properties → New) and open the Shader Editor.
  2. Add an Image Texture node for each map. Set Color Space:
    • AlbedosRGB
    • AO, Roughness, Metallic, Normal, Height, ORMNon-Color
  3. Connect to Principled BSDF:
    • albedoBase Color
    • roughnessRoughness
    • metallicMetallic (for wood this often stays near 0)
    • normalNormal Map node (Type: Tangent Space) → Normal of Principled. If details look “inverted”, enable Invert Y on the Normal Map node.
  4. Ambient Occlusion (AO):
    • Add a MixRGB (or Mix Color) node in mode Multiply.
    • Input A = albedo, Input B = ao, Factor = 1.0.
    • Output of Mix → Base Color of Principled (replaces the direct albedo connection).
  5. Height / Displacement:
    Cycles — true displacement
    1. Material Properties → SettingsDisplacement: Displacement and Bump.
    2. Add a Displacement node: connect heightHeight, set Midlevel = 0.5, Scale = 0.02–0.08 (tune to taste).
    3. Output of Displacement → Material Output → Displacement.
    4. Add geometry density (e.g., Subdivision Surface) so displacement has polygons to work with.
    Eevee (or lightweight Cycles) — bump only
    1. Add a Bump node: heightHeight.
    2. Set Strength = 0.2–0.5, Distance = 0.05–0.1, and connect Normal output to Principled’s Normal.

Using the packed ORM texture (optional)

Instead of separate AO/Roughness/Metallic maps you can use the single *_ORM.png:

  1. Add one Image Texture (Non-Color) → Separate RGB (or Separate Color).
  2. R (red) → AO (use it in the Multiply node with albedo as above).
  3. G (green) → Roughness of Principled.
  4. B (blue) → Metallic of Principled.

UVs & seamless tiling

  1. These textures are seamless. If your mesh has no UVs, go to UV EditingSmart UV Project.
  2. For scale/repeat, add Texture Coordinate (UV)Mapping and plug it into all texture nodes. Increase Mapping → Scale (e.g., 2/2/2) to tile more densely.

Recommended starter values

  • Normal Map Strength: 0.5–1.0
  • Bump Strength: ~0.3
  • Displacement Scale (Cycles): ~0.03

Common pitfalls

  • Wrong Color Space (normals/roughness/etc. must be Non-Color).
  • “Inverted” details → enable Invert Y on the Normal Map node.
  • Over-strong relief → lower Displacement Scale or Bump Strength.

Example: Download Wood Textures and instantly apply parquet or rustic planks inside Blender for architectural visualization.

To add the downloaded texture, go to Add — Texture — Image Texture.


Add a node and click the Open button.


Select the required texture on your hard drive and connect Color to Base Color.


AITEXTURED Tools

Build, preview, and export seamless PBR materials. Generate full map sets from a single image, inspect them in a real-time WebGL viewer, and re-package maps for Unreal, Unity, and Blender—directly in your browser.