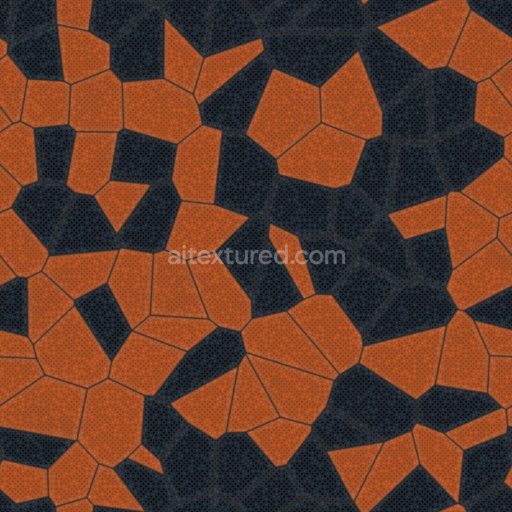
Orange and gray Mosaic Studded Rubber Plastic | Free PBR
Seamless texture (tileable) · PNG, WEBP, PBR ZIP. License: AITextured Free Commercial License (FCL) v1.1. Free personal and commercial use. Raw resale, standalone redistribution, mirroring/scraping, competing asset packs, and AI/ML training are not allowed without written permission. Attribution is not required, but appreciated..

| ID | diamond-shaped-gun-handle-grip-free-pbr |
|---|---|
| Category | Plastic |
| Formats | PNG, WEBP, PBR ZIP |
| Size | 1k (1024x1024px), 2k (2048x2048px), 4k (4096x4096px), 8k (8192x8192px) |
| Color | sRGB |
| Tileable | Yes |
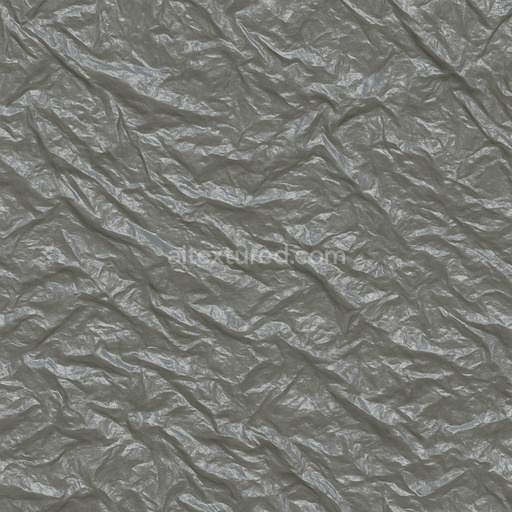
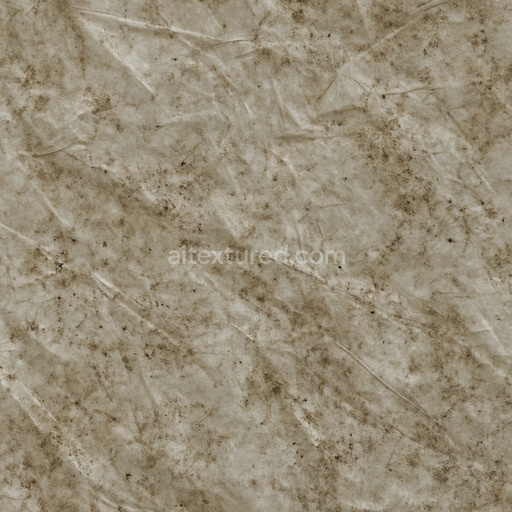
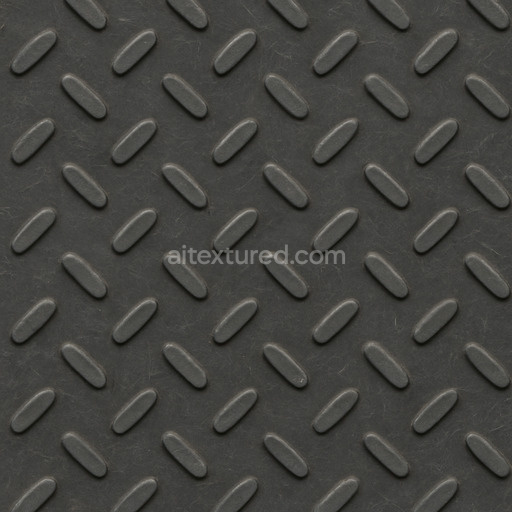
This Diamond Shaped Gun Handle Grip texture is a meticulously crafted, high-quality seamless PBR material designed to authentically replicate the intricate tactile qualities and visual details of a firearm grip featuring a distinctive diamond pattern. The base substrate emulates a durable polymer composite, carefully chosen for its ideal balance of rigidity and slight flexibility, characteristics typical of modern gun handle grips. This polymer foundation is reinforced with fine, evenly spaced diamond-shaped aggregates embedded throughout the surface, creating a textured pattern that enhances grip and control. The surface finish presents a matte, lightly brushed effect that reduces glare while conveying the realistic micro-roughness of polymer materials, contributing to a natural, tactile impression.
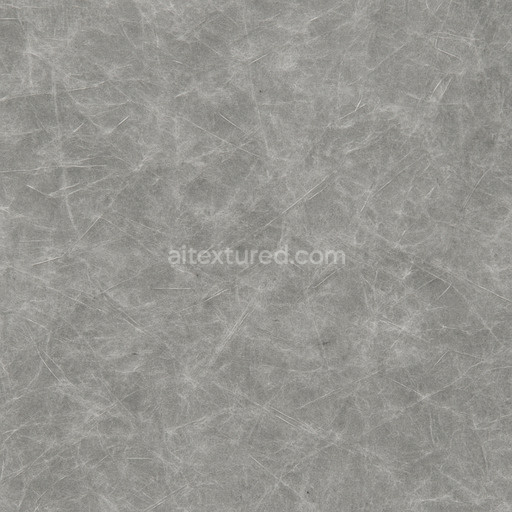
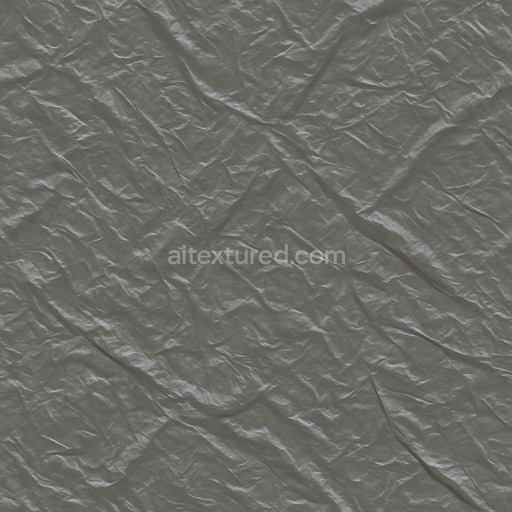
In terms of PBR texture channels, the BaseColor (Albedo) channel displays a neutral dark gray tone with subtle variations that mimic the natural pigment inconsistencies found in polymer composites. The Normal and Height maps are precisely designed to simulate the raised facets and recessed grooves of the diamond pattern, providing subtle depth and sharp edges that bring out the texture’s three-dimensional qualities. The Roughness map balances smooth and textured areas, capturing the semi-matte finish and reflecting the grip’s inherent anti-slip surface and realistic wear patterns. Metallic content is minimal, as the material primarily represents non-metallic polymer components. Ambient Occlusion enhances shadowing around the diamond edges, emphasizing the pattern’s relief and contributing to depth perception. This texture is offered in an ultra-high 8K resolution, ensuring crisp, detailed visuals even at close inspection and is fully optimized for seamless integration into Blender, Unreal Engine, and Unity projects.
For practical application, it is recommended to carefully adjust the UV scale to preserve the diamond pattern’s fidelity relative to the model size; scaling too large can blur the intricate details, while too small a scale can cause unnatural repetition of the texture. Additionally, fine-tuning the roughness parameter allows users to customize the grip’s reflectivity, enabling it to appear either more worn or pristine depending on the firearm’s intended use case. This versatile, realistic texture is ideal for game developers, 3D artists, and visualization professionals seeking a reliable, free-to-use gun handle grip material that balances visual accuracy with technical excellence across a variety of digital environments.
Import the texture maps into Blender with sRGB color space for albedo/base color and Non-Color for normal, roughness, metallic, AO, height, and ORM maps. Connect normal maps through a Normal Map node, then adjust UV scale with a Mapping node so the material repeats naturally on your model.
For the full step-by-step setup, see How to Use Seamless Textures in Blender. Browse related material examples in wood, concrete, and metal.
Yes. This texture is designed as a seamless tileable PBR material, so it can repeat across large surfaces without visible borders.
You can download PNG/WEBP versions and use 1K, 2K, 4K and 8K download options when available on the page.
Yes. The download options and engine-mapped ZIP workflow are designed for Blender, Unreal Engine, Unity Standard, URP and HDRP material pipelines.
Yes. The texture is available under the AITextured free commercial license. Review the license page for redistribution and AI-training restrictions.


Build, preview, and export seamless PBR materials. Generate full map sets from a single image, inspect them in a real-time WebGL viewer, and re-package maps for Unreal, Unity, and Blender—directly in your browser.
AI text-to-texture: type a prompt and get a seamless, tileable base image ready for PBR workflows (great starting point for materials).
Create a full PBR set (Normal, Roughness, AO, Metallic, etc.) from a single image. Seamless and tiling-friendly.
Instant WebGL viewer: inspect materials on a sphere, plane, and cube. Check tiling and lighting in real time.
Re-packages maps per engine: Unreal (BaseColor + ORM), Unity (Mask/MetallicSmoothness), Blender (separate channels).
PNG ↔ JPG ↔ SVG: fast convert, SVG rasterize, embed/trace options, quality & background controls.