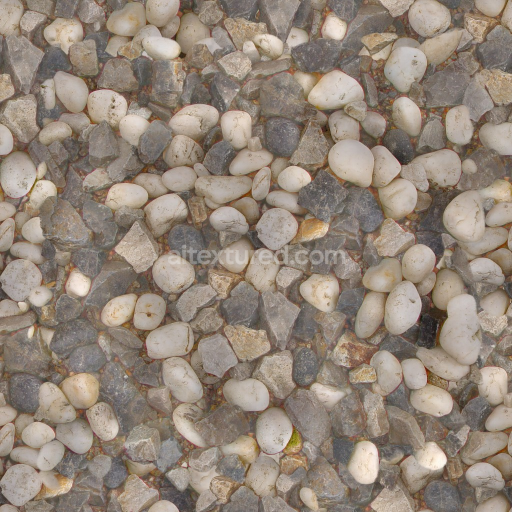
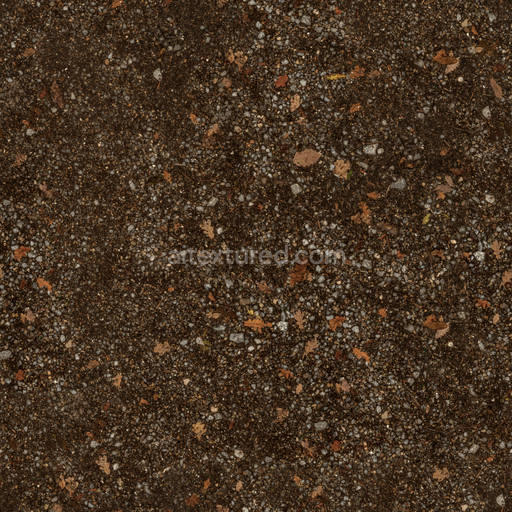
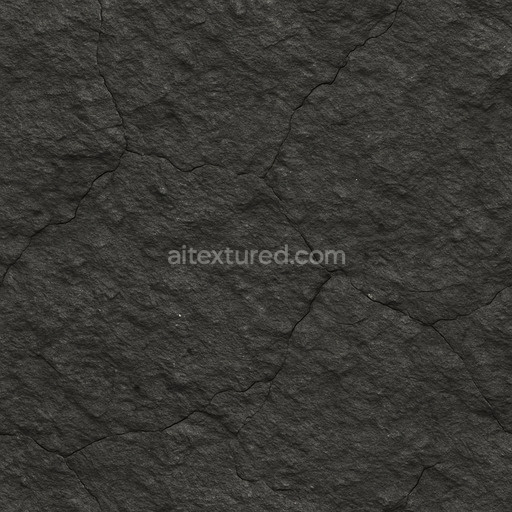
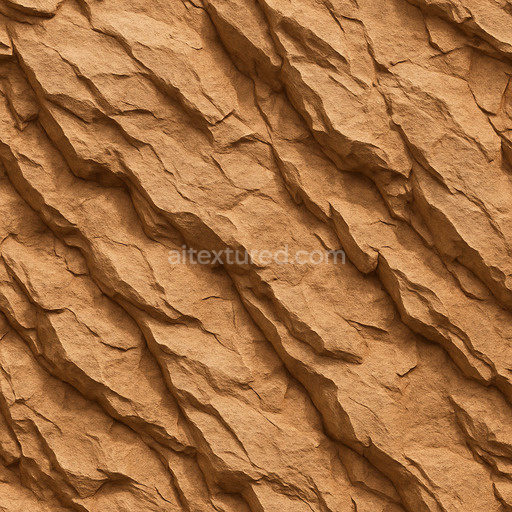
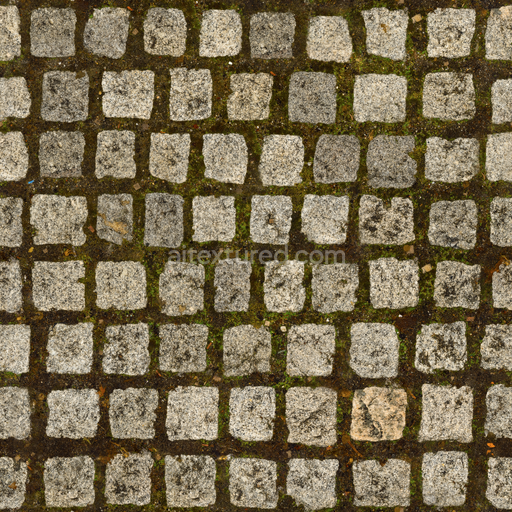
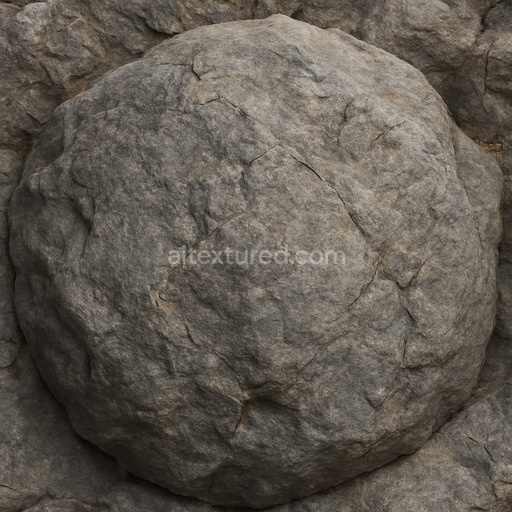
Archviz Dirt Floor Ground Pebbles Rocks Stone - Seamless PBR Texture
Seamless texture (tileable) · PNG, WEBP, PBR ZIP. License: AITextured Free Commercial License (FCL) v1.1. Free personal and commercial use. Raw resale, standalone redistribution, mirroring/scraping, competing asset packs, and AI/ML training are not allowed without written permission. Attribution is not required, but appreciated..

| ID | archviz-counter-countertop-kitchen-marble-rock-rocks |
|---|---|
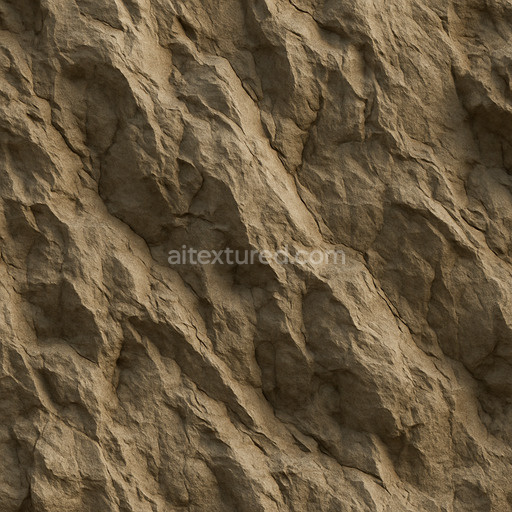
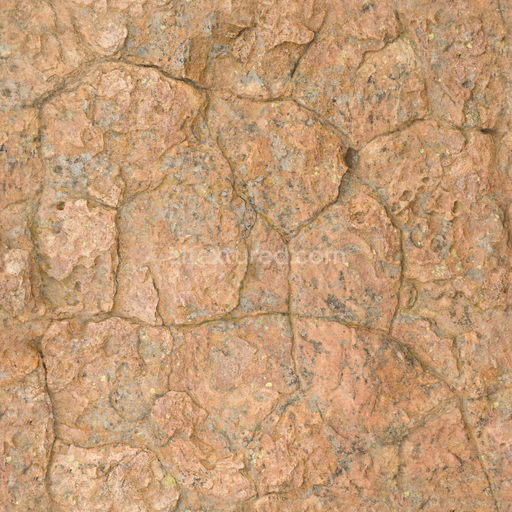
| Category | Rock |
| Formats | PNG, WEBP, PBR ZIP |
| Size | 1k (1024x1024px), 2k (2048x2048px), 4k (4096x4096px), 8k (8192x8192px) |
| Color | sRGB |
| Tileable | Yes |
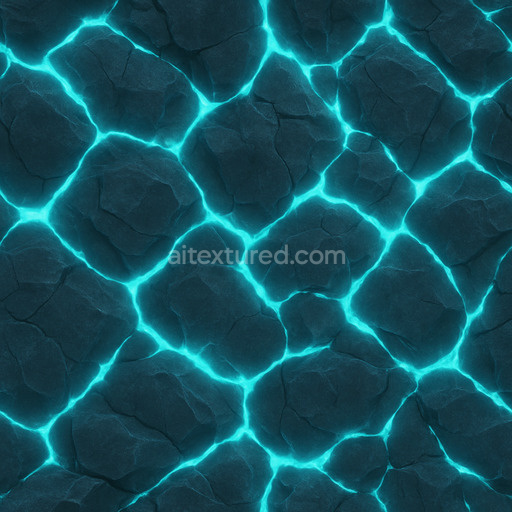
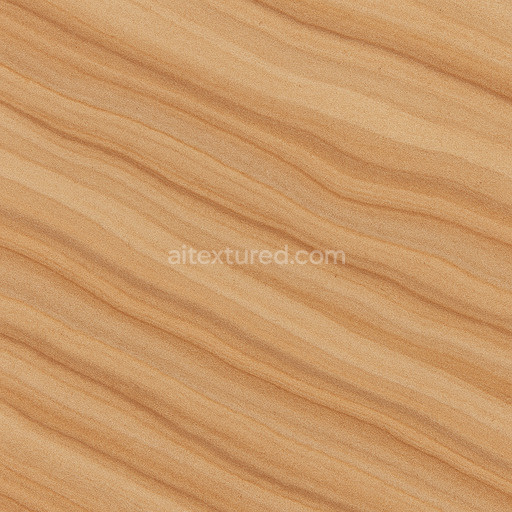
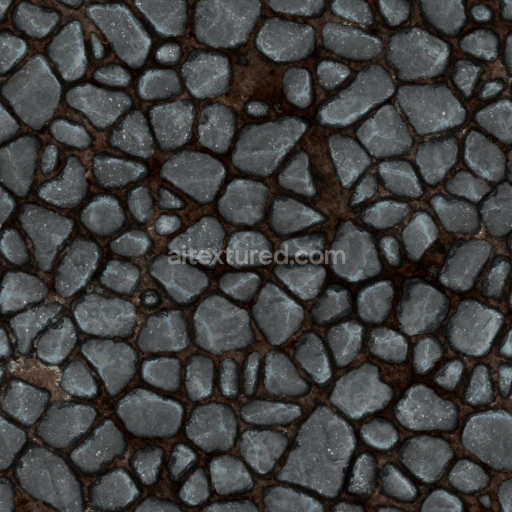
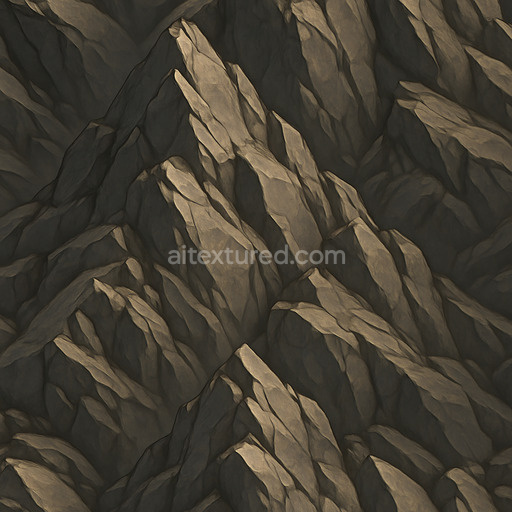
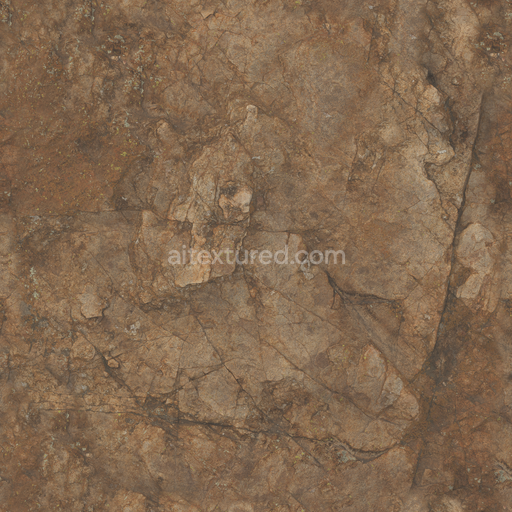
This seamless PBR texture represents a meticulously crafted marble rock countertop surface specially designed for architectural visualization projects focused on kitchen environments and premium stone counters. The base substrate is composed primarily of fine-grained mineral aggregates intricately bonded by a subtle organic cementitious matrix that authentically replicates marble’s natural crystalline structure. This composition creates a dense low-porosity material that ensures a smooth polished finish with minimal weathering or surface roughness. The texture’s natural color palette features nuanced whites soft grays and faint earthy tones accented by delicate veins and subtle variations that highlight the organic complexity of real marble rock formations. These qualities combine to produce a highly realistic stone surface ideal for enhancing the visual fidelity of kitchen countertops and other architectural stone elements within archviz projects.
Within physically based rendering workflows this texture set includes detailed PBR channels that accurately convey the material’s physical and optical characteristics. The Base Color (Albedo) channel captures the intricate pigmentation and veining patterns of the marble while the Normal map simulates the fine grain orientation and micro-roughness that add tactile depth to the polished yet subtly uneven rock surface. The Roughness map carefully balances reflectivity to create realistic glossy highlights alongside matte areas mimicking the natural interplay of light on sealed stone countertops. The Metallic channel remains near zero reflecting marble’s inherently non-metallic nature whereas the Ambient Occlusion channel enhances depth by shading vein intersections and crevices. Height and Displacement maps provide subtle surface relief crucial for close-up views and parallax effects often employed in high-end archviz renderings. This comprehensive channel set ensures the texture performs effectively across diverse rendering pipelines.
Rendered at resolutions up to 8K and optimized for seamless tiling without visible repetition this marble rock countertop texture is well-suited for expansive kitchen counters commercial interiors and sophisticated stone surfaces in architectural visualization environments. It is fully compatible with real-time engines such as Unreal Engine and Unity as well as offline renderers integrated into Blender and other 3D software offering substance designers and 3D artists versatility and high fidelity. For best results adjusting the UV scale is recommended to maintain realistic vein proportions and fine-tuning roughness values allows customization of the surface finish—lower roughness yields a polished marble look while higher roughness approximates honed or matte stone surfaces. This texture is a valuable resource for creating natural premium stone surfaces that elevate the realism and quality of kitchen and architectural visualizations.
Import the texture maps into Blender with sRGB color space for albedo/base color and Non-Color for normal, roughness, metallic, AO, height, and ORM maps. Connect normal maps through a Normal Map node, then adjust UV scale with a Mapping node so the material repeats naturally on your model.
For the full step-by-step setup, see How to Use Seamless Textures in Blender. Browse related material examples in wood, concrete, and metal.
Yes. This texture is designed as a seamless tileable PBR material, so it can repeat across large surfaces without visible borders.
You can download PNG/WEBP versions and use 1K, 2K, 4K and 8K download options when available on the page.
Yes. The download options and engine-mapped ZIP workflow are designed for Blender, Unreal Engine, Unity Standard, URP and HDRP material pipelines.
Yes. The texture is available under the AITextured free commercial license. Review the license page for redistribution and AI-training restrictions.


Generate, preview, and export seamless PBR materials for Blender, Unity, and Unreal Engine—directly in your browser.
AI text-to-texture: type a prompt and get a seamless, tileable base image ready for PBR workflows (great starting point for materials).
Create a full PBR set (Normal, Roughness, AO, Metallic, etc.) from a single image. Seamless and tiling-friendly.
Instant WebGL viewer: inspect materials on a sphere, plane, and cube. Check tiling and lighting in real time.
Re-packages maps per engine: Unreal (BaseColor + ORM), Unity (Mask/MetallicSmoothness), Blender (separate channels).
PNG ↔ JPG ↔ SVG: fast convert, SVG rasterize, embed/trace options, quality & background controls.