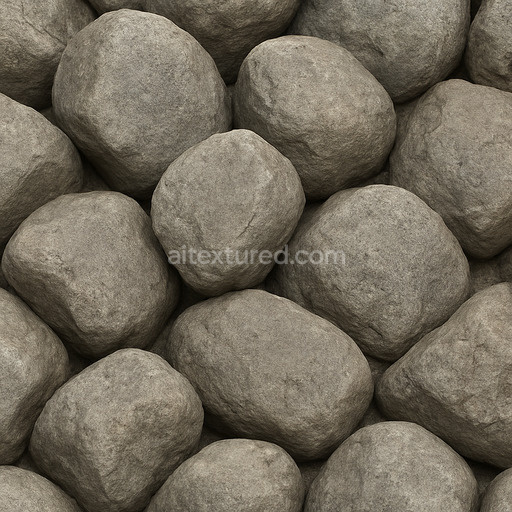
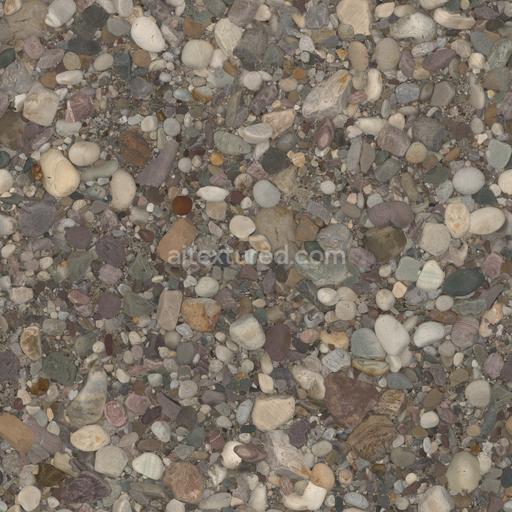
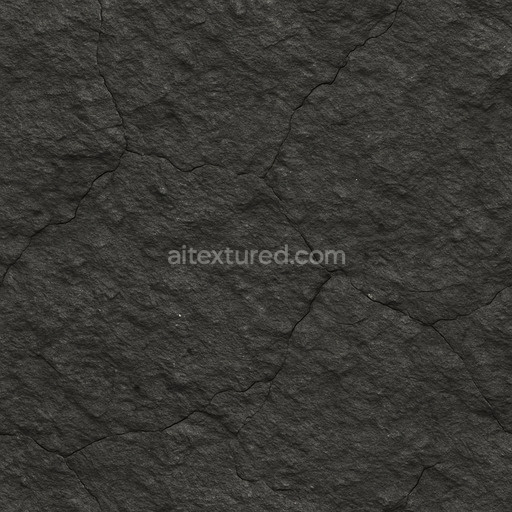
Realistic Boulder Seamless Texture
Seamless texture (tileable) · PNG, WEBP, PBR ZIP. License: AITextured Free Commercial License (FCL) v1.1. Free personal and commercial use. Raw resale, standalone redistribution, mirroring/scraping, competing asset packs, and AI/ML training are not allowed without written permission. Attribution is not required, but appreciated..

| ID | archviz-marble-polished-rock-stone |
|---|---|
| Category | Rock |
| Formats | PNG, WEBP, PBR ZIP |
| Size | 1k (1024x1024px), 2k (2048x2048px), 4k (4096x4096px), 8k (8192x8192px) |
| Color | sRGB |
| Tileable | Yes |
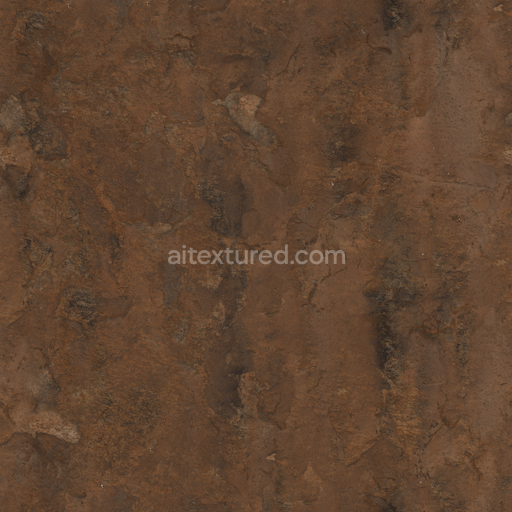
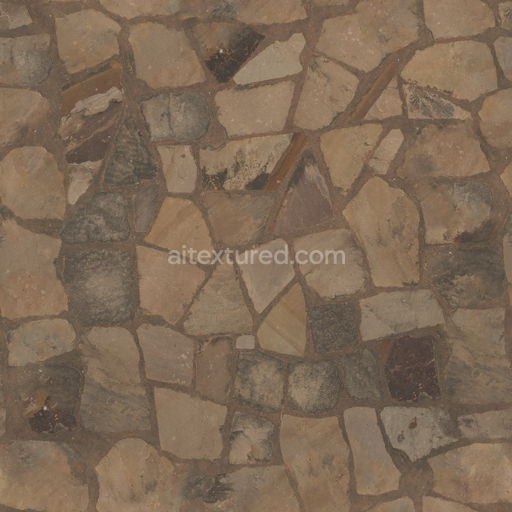
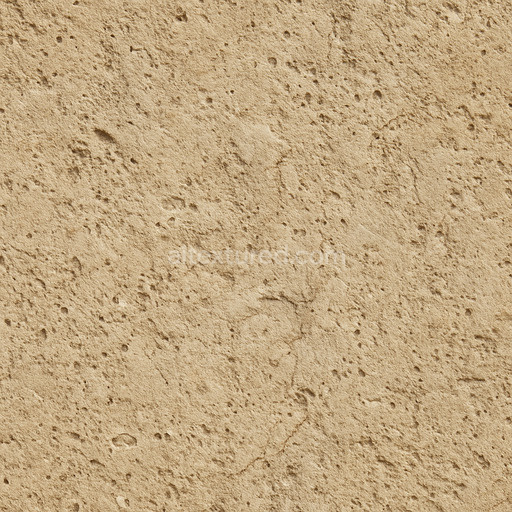
The Archviz Marble Polished Rock Stone seamless PBR texture is meticulously designed to capture the authentic look and feel of high-quality polished marble surfaces ideal for architectural visualization projects demanding refined realism. The base substrate is modeled after a dense metamorphic rock predominantly composed of fine-grained crystalline calcite which gives marble its distinctive smooth and elegant character. This natural stone material exhibits a polished finish with minimal surface roughness allowing the subtle and intricate veining patterns to emerge clearly. These veins formed by mineral impurities during the rock’s formation provide a sophisticated interplay of light and shadow adding depth and complexity to the otherwise consistent color palette. The coloration features natural mineral pigments softly distributed across the surface creating believable tonal variations that enhance the stone’s organic appearance without disrupting the overall uniformity.*
In digital workflows this texture set translates the physical properties of polished marble into precise PBR channels ensuring accurate rendering across platforms like Blender Unreal Engine and Unity. The BaseColor (Albedo) map delivers a true-to-life marble coloration with balanced saturation and contrast preserving fine details of the stone’s natural grain and mineral inclusions. The Normal map introduces delicate micro-variations that simulate the smooth yet slightly uneven polished surface enhancing visual depth and tactile realism. Roughness values are consistently low reflecting the high-gloss finish typical of polished marble with subtle variations that suggest slight surface wear and microscopic scratches. The Metallic channel is effectively zero representing marble’s non-metallic nature while Ambient Occlusion adds nuanced shading within veins and crevices to boost dimensionality. The Height or Displacement maps provide additional surface relief for advanced effects such as parallax occlusion or tessellation supporting up to 8K resolution to maintain crisp detail even at large scales without visible seams.*
Optimized for both real-time and offline rendering workflows this polished marble rock stone texture excels in delivering realism and sophisticated detail for architectural visualization game development or any project that requires seamless natural stone surfaces. When applying this material it is advisable to carefully adjust the UV scale to match the natural grain size of marble ensuring that the intricate veining and subtle mineral variations appear authentic. Additionally fine-tuning the roughness parameter based on your scene’s lighting environment will help achieve the most convincing polished stone finish. Thanks to its expertly crafted composition and high-resolution detail this texture set reliably replicates the timeless elegance and complexity of natural marble surfaces making it a valuable asset for professional archviz and related rendering workflows.
Import the texture maps into Blender with sRGB color space for albedo/base color and Non-Color for normal, roughness, metallic, AO, height, and ORM maps. Connect normal maps through a Normal Map node, then adjust UV scale with a Mapping node so the material repeats naturally on your model.
For the full step-by-step setup, see How to Use Seamless Textures in Blender. Browse related material examples in wood, concrete, and metal.
Yes. This texture is designed as a seamless tileable PBR material, so it can repeat across large surfaces without visible borders.
You can download PNG/WEBP versions and use 1K, 2K, 4K and 8K download options when available on the page.
Yes. The download options and engine-mapped ZIP workflow are designed for Blender, Unreal Engine, Unity Standard, URP and HDRP material pipelines.
Yes. The texture is available under the AITextured free commercial license. Review the license page for redistribution and AI-training restrictions.

Generate, preview, and export seamless PBR materials for Blender, Unity, and Unreal Engine—directly in your browser.
AI text-to-texture: type a prompt and get a seamless, tileable base image ready for PBR workflows (great starting point for materials).
Create a full PBR set (Normal, Roughness, AO, Metallic, etc.) from a single image. Seamless and tiling-friendly.
Instant WebGL viewer: inspect materials on a sphere, plane, and cube. Check tiling and lighting in real time.
Re-packages maps per engine: Unreal (BaseColor + ORM), Unity (Mask/MetallicSmoothness), Blender (separate channels).
PNG ↔ JPG ↔ SVG: fast convert, SVG rasterize, embed/trace options, quality & background controls.