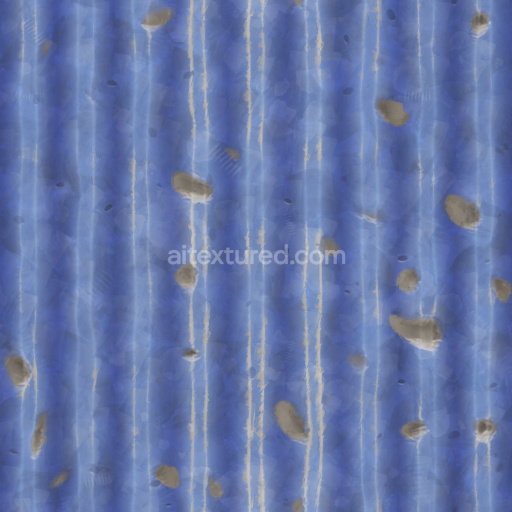
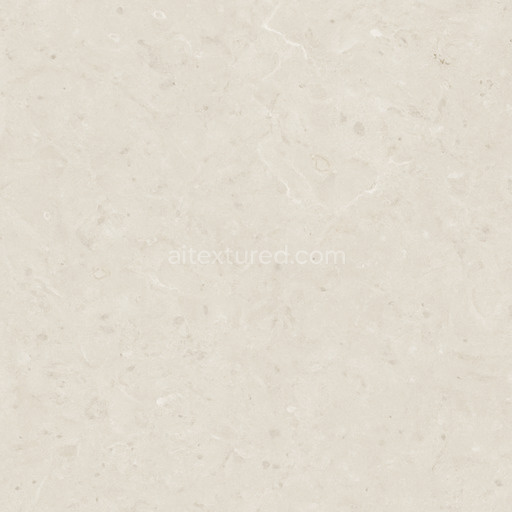
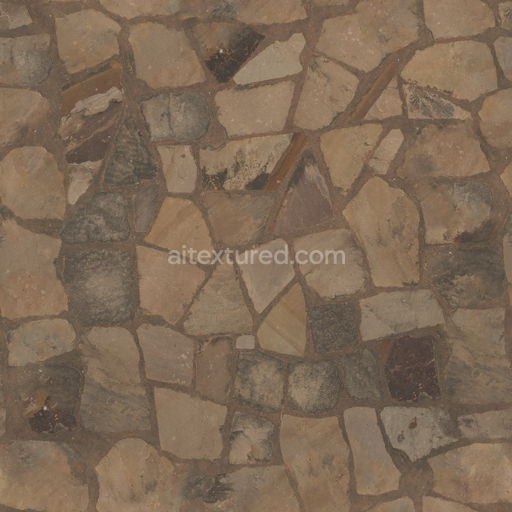
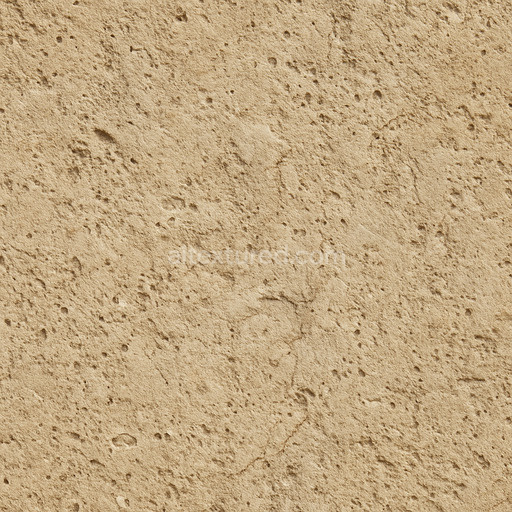
Default Column Greek Marble Painted Roman Stone - Seamless PBR Texture
Seamless texture (tileable) · PNG, WEBP, PBR ZIP. License: AITextured Free Commercial License (FCL) v1.1. Free personal and commercial use. Raw resale, standalone redistribution, mirroring/scraping, competing asset packs, and AI/ML training are not allowed without written permission. Attribution is not required, but appreciated..

| ID | stylized-boulder-seamless-texture |
|---|---|
| Category | Rock |
| Formats | PNG, WEBP, PBR ZIP |
| Size | 1k (1024x1024px), 2k (2048x2048px), 4k (4096x4096px), 8k (8192x8192px) |
| Color | sRGB |
| Tileable | Yes |
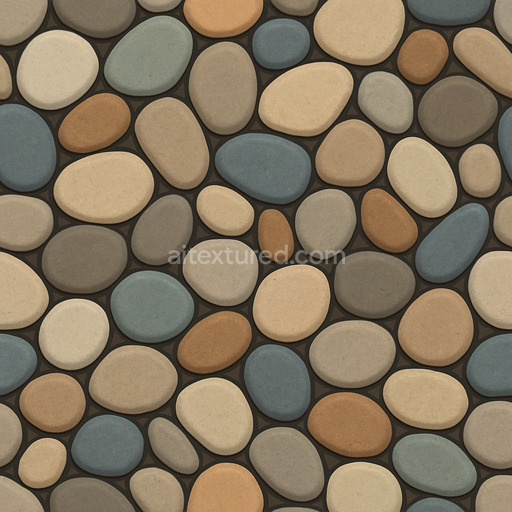
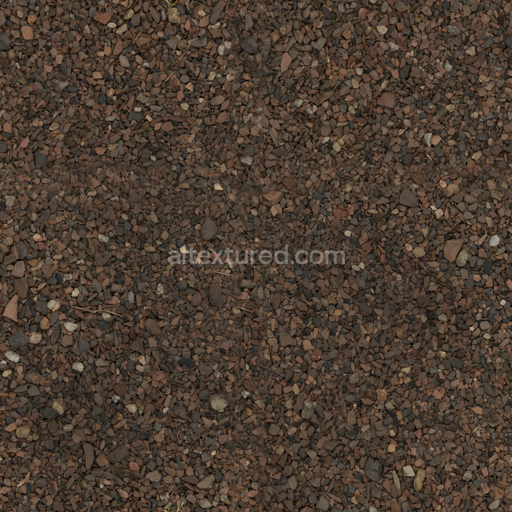
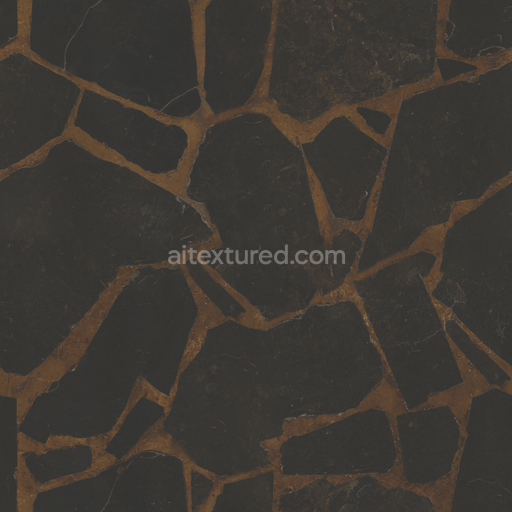
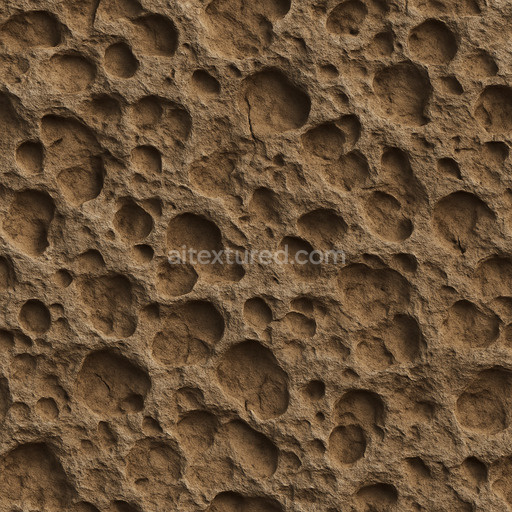
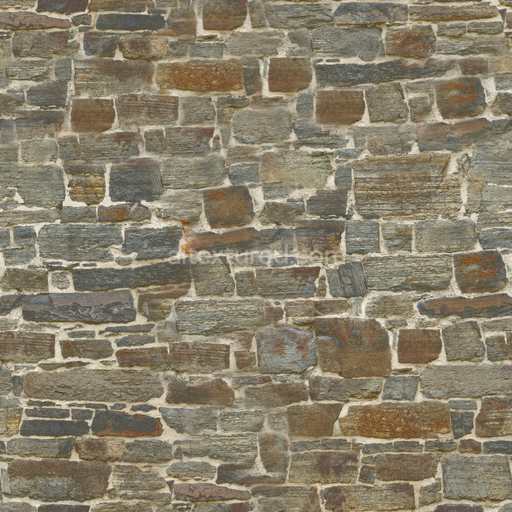
The Stylized Boulder Seamless Texture is a meticulously crafted material designed to replicate the natural composition and visual complexity of rock surfaces commonly found in rugged boulder formations. Its base substrate mimics coarse-grained mineral aggregates bound together by natural silicate adhesives exhibiting subtle variations in grain orientation and porosity that reflect realistic weathering effects. The surface finish presents a slightly rough matte texture with nuanced colorants derived from earthy pigments and iron oxide layers producing warm browns muted grays and subtle ochres that enhance the tactile authenticity of the stone. This texture’s physical characteristics translate directly across PBR channels: the BaseColor captures the multi-hued mineral deposits and pigment variations while the Normal map conveys the intricate micro-geometry and grain relief of the boulder’s surface. The Roughness channel reflects the naturally uneven finish balancing matte and semi-diffuse reflections to simulate weathered stone and the Ambient Occlusion map deepens shadow details in crevices and fissures for enhanced depth perception. The Height or Displacement map emphasizes the high-relief topology of the rock face enabling realistic parallax effects in real-time rendering while the Metallic channel remains minimal as expected for non-metallic rock materials.
Rendered at an impressive resolution of up to 8K this tileable stylized boulder seamless texture maintains exceptional clarity and cohesion even when applied to large UV islands making it ideal for modern content creation pipelines. Its seamless tiling quality ensures no visible repetition or artifacts which are often challenging in auto-generated textures thus preserving the natural randomness and organic feel essential for believable rock textures in 3D environments. Fully compatible and optimized for real-time engines such as Blender Unity and Unreal Engine the texture supports accelerated iteration loops allowing artists to efficiently incorporate it into cinematic renders level dressing or material studies without compromising performance or visual fidelity.
For best practical results it is recommended to carefully adjust the roughness intensity to suit the specific lighting rig of your scene as this will help ground the material convincingly within the environment. Additionally experimenting with UV scale can control the perceived grain size and detail level ensuring the stylized boulder texture integrates naturally across various scene scales. The combination of high resolution seamless tiling and physical accuracy makes this PBR material stylized boulder seamless texture an invaluable asset for anyone seeking to enhance their 3D projects with authentic high-quality rock textures supported by detailed 3D preview capabilities.
Import the texture maps into Blender with sRGB color space for albedo/base color and Non-Color for normal, roughness, metallic, AO, height, and ORM maps. Connect normal maps through a Normal Map node, then adjust UV scale with a Mapping node so the material repeats naturally on your model.
For the full step-by-step setup, see How to Use Seamless Textures in Blender. Browse related material examples in wood, concrete, and metal.
Yes. This texture is designed as a seamless tileable PBR material, so it can repeat across large surfaces without visible borders.
You can download PNG/WEBP versions and use 1K, 2K, 4K and 8K download options when available on the page.
Yes. The download options and engine-mapped ZIP workflow are designed for Blender, Unreal Engine, Unity Standard, URP and HDRP material pipelines.
Yes. The texture is available under the AITextured free commercial license. Review the license page for redistribution and AI-training restrictions.

Generate, preview, and export seamless PBR materials for Blender, Unity, and Unreal Engine—directly in your browser.
AI text-to-texture: type a prompt and get a seamless, tileable base image ready for PBR workflows (great starting point for materials).
Create a full PBR set (Normal, Roughness, AO, Metallic, etc.) from a single image. Seamless and tiling-friendly.
Instant WebGL viewer: inspect materials on a sphere, plane, and cube. Check tiling and lighting in real time.
Re-packages maps per engine: Unreal (BaseColor + ORM), Unity (Mask/MetallicSmoothness), Blender (separate channels).
PNG ↔ JPG ↔ SVG: fast convert, SVG rasterize, embed/trace options, quality & background controls.