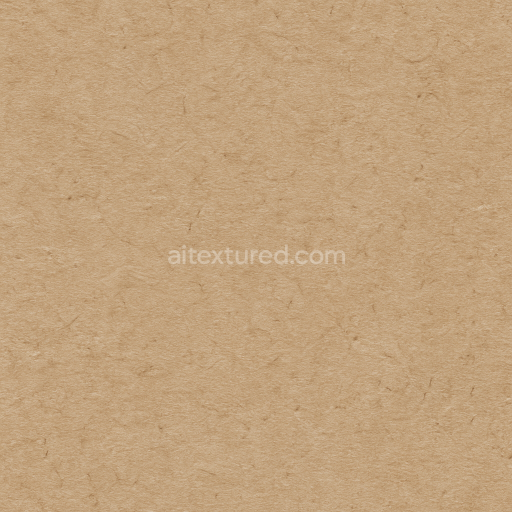
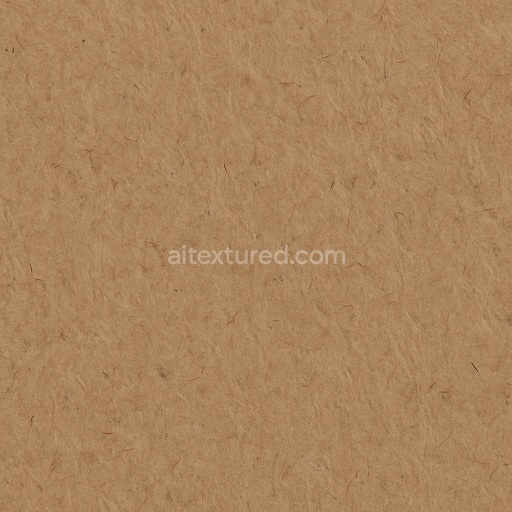
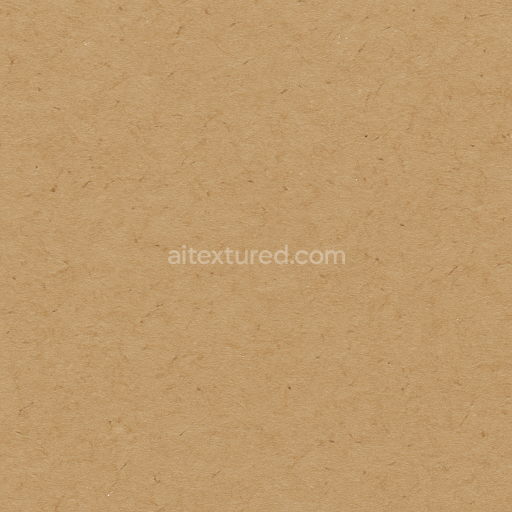
Featuring Compressed Fiber Cardboard With Layered Grain And Fiber Detail
Seamless texture (tileable) · PNG, WEBP, PBR ZIP. License: AITextured Free Commercial License (FCL) v1.1. Free personal and commercial use. Raw resale, standalone redistribution, mirroring/scraping, competing asset packs, and AI/ML training are not allowed without written permission. Attribution is not required, but appreciated..

| ID | seamless-3d-texture-pbr-8k-of-cardboard-perforation-with-visible-fiber-strands-and-grainy-surface |
|---|---|
| Category | Cardboard |
| Formats | PNG, WEBP, PBR ZIP |
| Size | 1k (1024x1024px), 2k (2048x2048px), 4k (4096x4096px), 8k (8192x8192px) |
| Color | sRGB |
| Tileable | Yes |
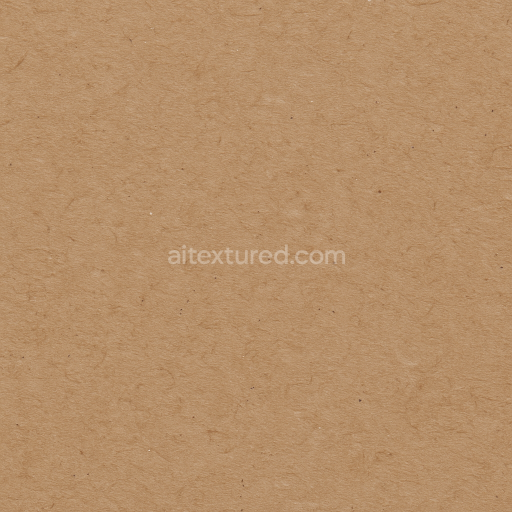
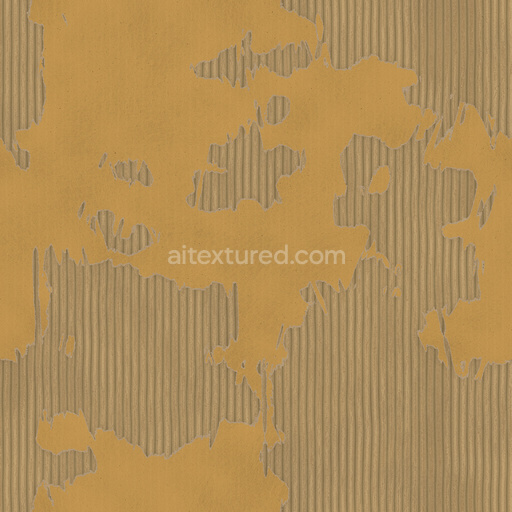
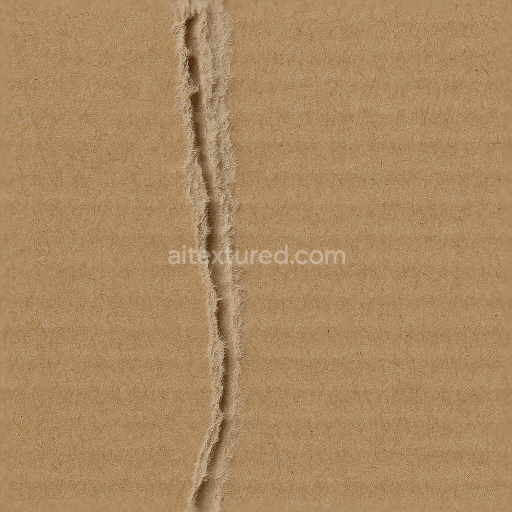
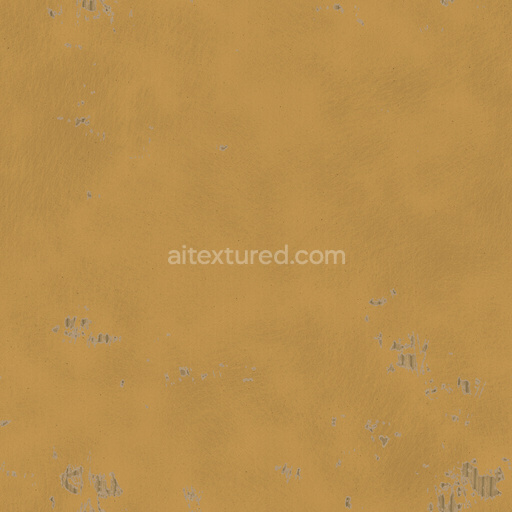
This seamless 8K PBR texture captures the complex materiality and subtle geometric form of natural cardboard focusing on its characteristic perforation marks alongside detailed fiber strands and a grainy surface pattern. The base material is primarily composed of compressed cellulose pulp fibers which give cardboard its distinctive fibrous structure and moderate porosity. These visible fiber strands are interwoven and randomly oriented creating a naturally irregular grain that contributes both to the tactile feel and visual complexity of the surface. The perforation pattern consists of small evenly spaced punctures that slightly deform the fiber matrix adding subtle depth and shadow variation to the overall form.
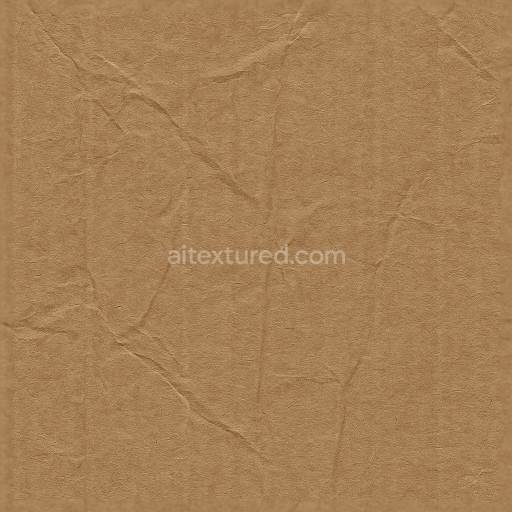
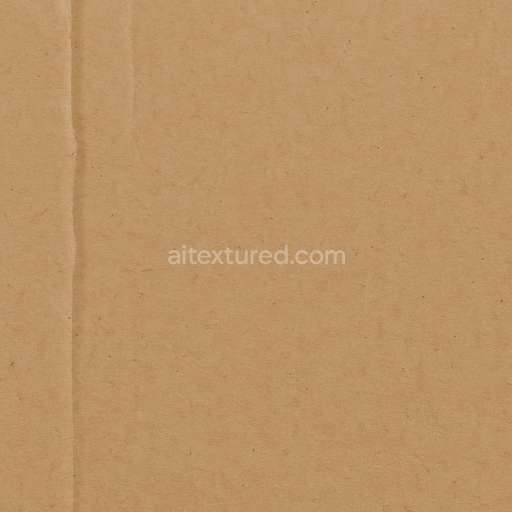
The cardboard substrate is formed from layered pulp fibers bonded by natural adhesives and minimal synthetic binders which enhance structural integrity without significantly altering the natural texture. The surface finish is matte and uncoated preserving the organic roughness and subtle grain variance characteristic of raw cardboard. The color palette ranges from pale beige to light brown tones reflecting the untreated pulp fiber’s natural pigmentation. This coloration is faithfully represented in the BaseColor (Albedo) channel while the Normal and Height maps emphasize the delicate fiber relief and perforation indentations. Roughness values are moderate to high capturing the scattering and diffuse reflection typical of fibrous porous materials. The Metallic channel remains close to zero consistent with the non-metallic organic composition while Ambient Occlusion enhances the perception of depth around perforations and fiber intersections.
Designed for high-fidelity applications this texture is optimized at 8K resolution to ensure crisp detail even on close-up renders making it well suited for use in Blender Unreal Engine and Unity environments. Its seamless tiling capability allows for versatile application across large surfaces without visible repetition maintaining realism in packaging prototypes industrial visualization or environmental set dressing. The subtle grain and fiber detail are ideal for projects requiring authentic natural cardboard representation where both micro and macro surface features contribute to material believability.
For practical implementation it is recommended to adjust the UV scale to balance the visibility of fiber strands and perforations according to object size—smaller scales emphasize fine grain while larger scales highlight the perforation pattern. Additionally fine-tuning the Roughness map can help simulate wear or coating effects and blending height or normal maps can enhance parallax effects for increased surface dimensionality in real-time engines. This approach ensures maximum flexibility and realism across diverse visualization needs.
Import the texture maps into Blender with sRGB color space for albedo/base color and Non-Color for normal, roughness, metallic, AO, height, and ORM maps. Connect normal maps through a Normal Map node, then adjust UV scale with a Mapping node so the material repeats naturally on your model.
For the full step-by-step setup, see How to Use Seamless Textures in Blender. Browse related material examples in wood, concrete, and metal.
Yes. This texture is designed as a seamless tileable PBR material, so it can repeat across large surfaces without visible borders.
You can download PNG/WEBP versions and use 1K, 2K, 4K and 8K download options when available on the page.
Yes. The download options and engine-mapped ZIP workflow are designed for Blender, Unreal Engine, Unity Standard, URP and HDRP material pipelines.
Yes. The texture is available under the AITextured free commercial license. Review the license page for redistribution and AI-training restrictions.

Generate, preview, and export seamless PBR materials for Blender, Unity, and Unreal Engine—directly in your browser.
AI text-to-texture: type a prompt and get a seamless, tileable base image ready for PBR workflows (great starting point for materials).
Create a full PBR set (Normal, Roughness, AO, Metallic, etc.) from a single image. Seamless and tiling-friendly.
Instant WebGL viewer: inspect materials on a sphere, plane, and cube. Check tiling and lighting in real time.
Re-packages maps per engine: Unreal (BaseColor + ORM), Unity (Mask/MetallicSmoothness), Blender (separate channels).
PNG ↔ JPG ↔ SVG: fast convert, SVG rasterize, embed/trace options, quality & background controls.