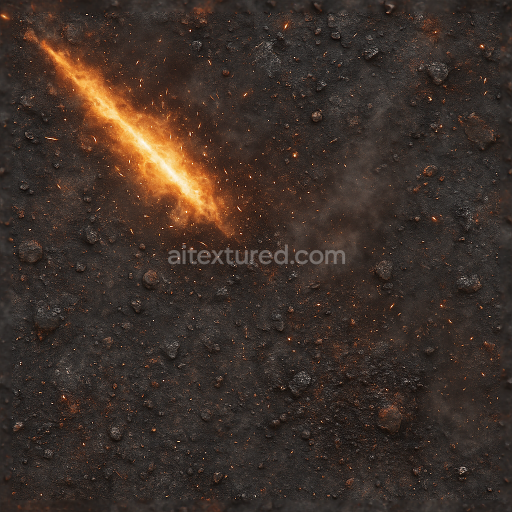
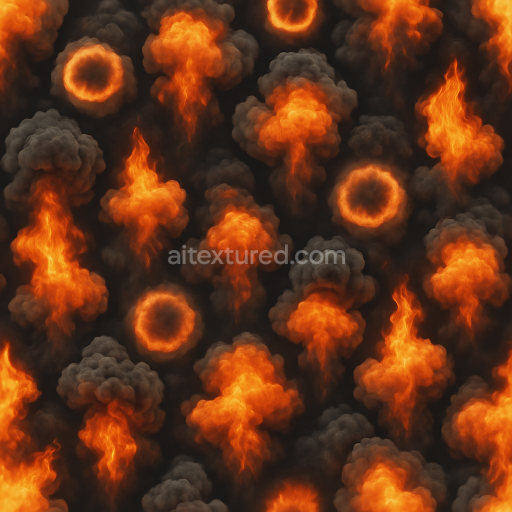
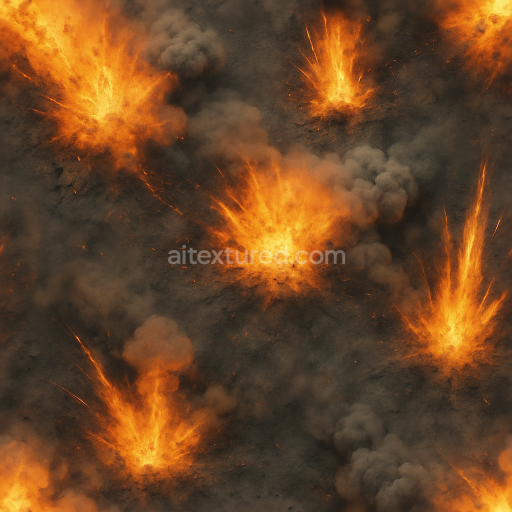
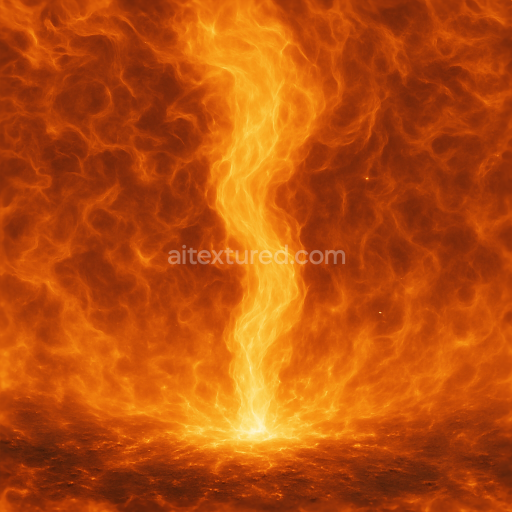
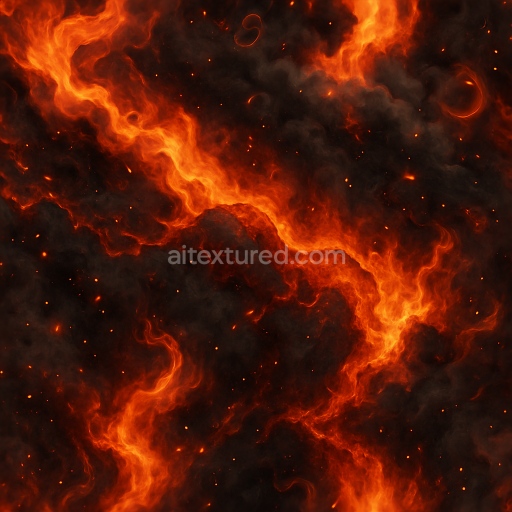
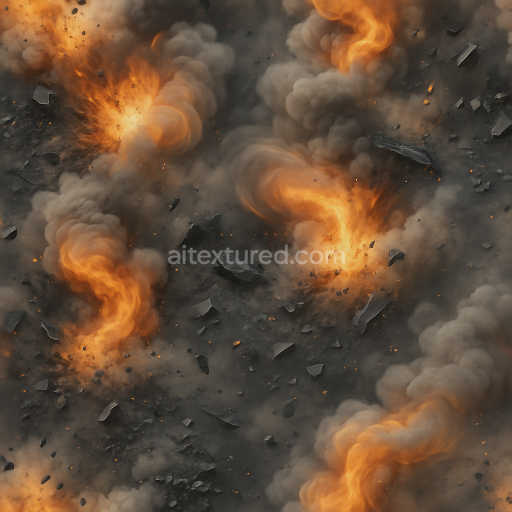
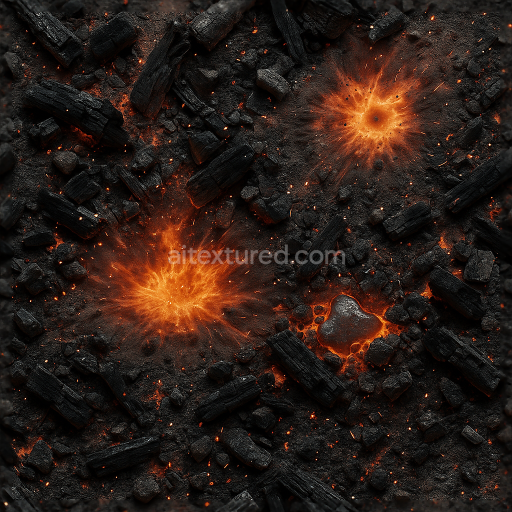
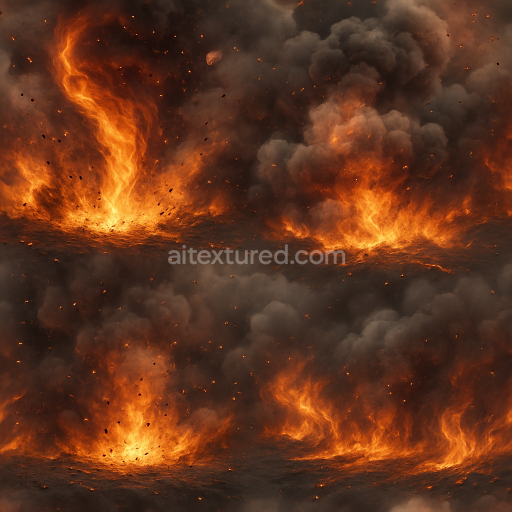
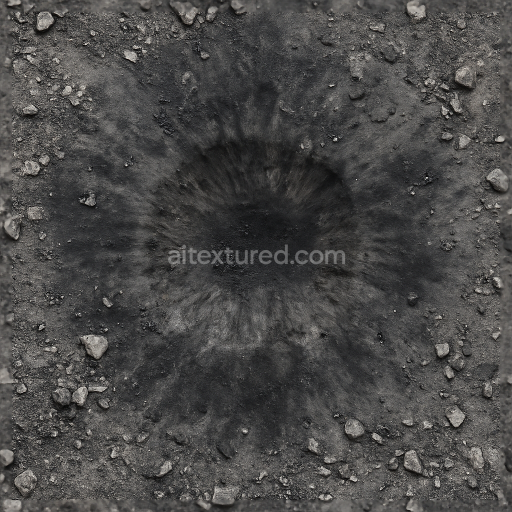
Seamless 8K PBR 3D texture displaying fire flare with scorched earth and gunpowder residue
Seamless texture (tileable) · PNG, WEBP, PBR ZIP. License: AITextured Free Commercial License (FCL) v1.1. Free personal and commercial use. Raw resale, standalone redistribution, mirroring/scraping, competing asset packs, and AI/ML training are not allowed without written permission. Attribution is not required, but appreciated..

| ID | seamless-3d-texture-with-fire-flare-and-explosive-flare-effects-showing-dynamic-explosion-bursts-in-8k-pbr |
|---|---|
| Category | Explosion |
| Formats | PNG, WEBP, PBR ZIP |
| Size | 1k (1024x1024px), 2k (2048x2048px), 4k (4096x4096px), 8k (8192x8192px) |
| Color | sRGB |
| Tileable | Yes |
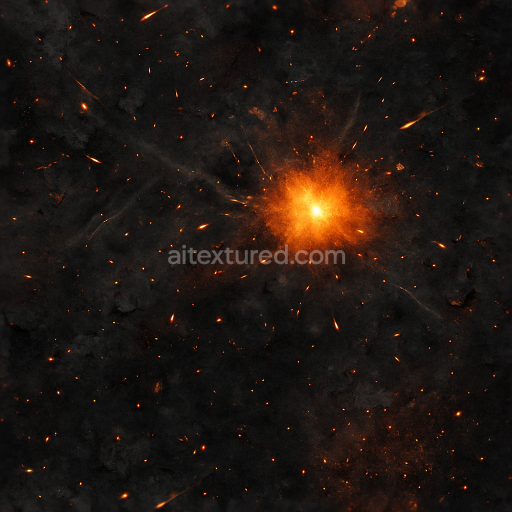
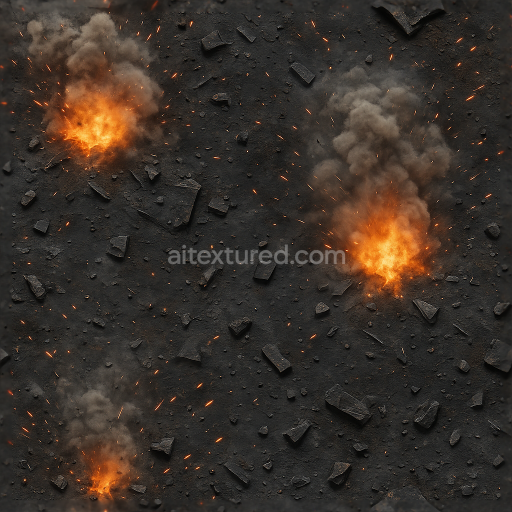
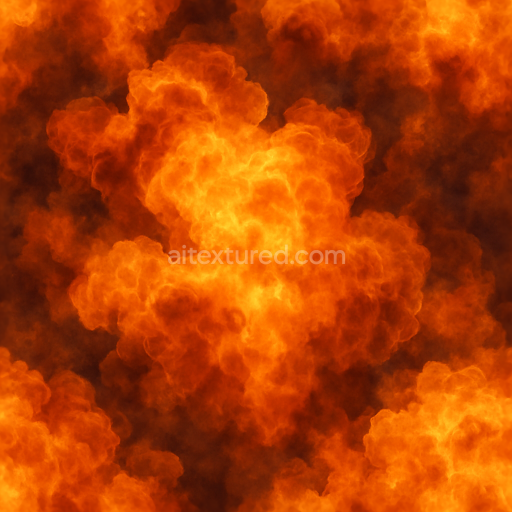
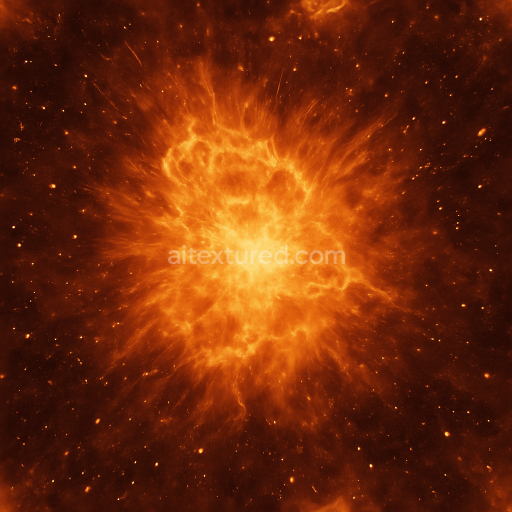
This seamless 3D texture simulates a dynamic explosion surface characterized by vivid fire flare and explosive flare effects. The underlying material evokes a complex composite of thermally altered substrates resembling scorched and fractured mineral-rich rock intermixed with molten slag layers. The base appears as a rugged porous volcanic stone with embedded crystalline aggregates that reflect intense heat exposure. The substrate is bound by a partially vitrified matrix mimicking the fusion of mineral grains and silicate glass formed through high-temperature combustion. This composite structure is punctuated by fissures and cavities that enhance the texture’s depth and realism while the surface finish combines rough matte areas with sporadic polished glossy zones where molten residues have cooled and solidified.
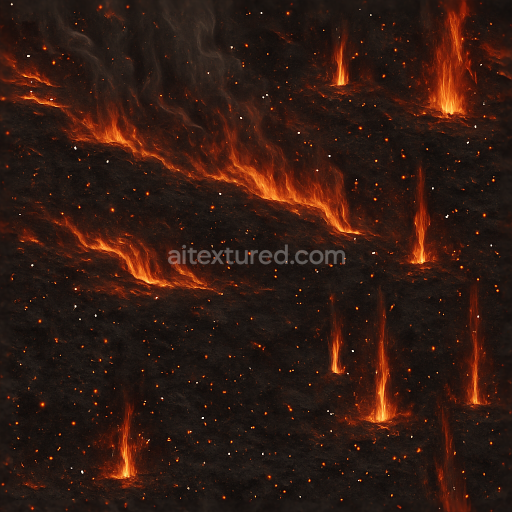
Color-wise the texture employs a carefully balanced palette of deep charcoals ember reds and bright yellows layered with thermal scorch gradients that transition smoothly across the surface. The fire flare and explosive flare bursts manifest as radiant semi-transparent tongues of flame glowing embers and scattered fire sparks creating a vivid energy burst effect. These elements are embedded within the texture’s Normal and Height maps to simulate the undulating three-dimensional relief of flames licking across the substrate. The Roughness channel varies between high values in cooled ashy regions and lower values near active flare zones to replicate the difference between matte burnt rock and glowing molten surfaces. The Metallic channel remains minimal reflecting the non-metallic nature of the volcanic substrate while Ambient Occlusion enhances the perception of depth within fissures and crevices formed by explosive fragmentation.
Rendered at an 8K resolution this texture ensures exceptional detail and crispness suitable for high-fidelity projects in Blender Unreal Engine and Unity. The high resolution allows for close-up inspection without loss of clarity capturing subtle details such as fire sparks and thermal gradients. The texture’s seamless tiling capability facilitates consistent application over large surfaces or complex geometries without visible repetition or seams making it ideal for dynamic explosion simulations or environmental effects in games and animations.
For practical integration it is recommended to carefully adjust UV scaling to align flare bursts with model contours avoiding stretched or compressed details. Fine-tuning the roughness map can help balance the contrast between matte burnt areas and glossy molten highlights enhancing material realism. Additionally blending height and normal maps can improve parallax effects accentuating the depth of fire tongues and fissures which contributes to a more immersive three-dimensional explosion visualization.
Import the texture maps into Blender with sRGB color space for albedo/base color and Non-Color for normal, roughness, metallic, AO, height, and ORM maps. Connect normal maps through a Normal Map node, then adjust UV scale with a Mapping node so the material repeats naturally on your model.
For the full step-by-step setup, see How to Use Seamless Textures in Blender. Browse related material examples in wood, concrete, and metal.
Yes. This texture is designed as a seamless tileable PBR material, so it can repeat across large surfaces without visible borders.
You can download PNG/WEBP versions and use 1K, 2K, 4K and 8K download options when available on the page.
Yes. The download options and engine-mapped ZIP workflow are designed for Blender, Unreal Engine, Unity Standard, URP and HDRP material pipelines.
Yes. The texture is available under the AITextured free commercial license. Review the license page for redistribution and AI-training restrictions.


Build, preview, and export seamless PBR materials. Generate full map sets from a single image, inspect them in a real-time WebGL viewer, and re-package maps for Unreal, Unity, and Blender—directly in your browser.
AI text-to-texture: type a prompt and get a seamless, tileable base image ready for PBR workflows (great starting point for materials).
Create a full PBR set (Normal, Roughness, AO, Metallic, etc.) from a single image. Seamless and tiling-friendly.
Instant WebGL viewer: inspect materials on a sphere, plane, and cube. Check tiling and lighting in real time.
Re-packages maps per engine: Unreal (BaseColor + ORM), Unity (Mask/MetallicSmoothness), Blender (separate channels).
PNG ↔ JPG ↔ SVG: fast convert, SVG rasterize, embed/trace options, quality & background controls.