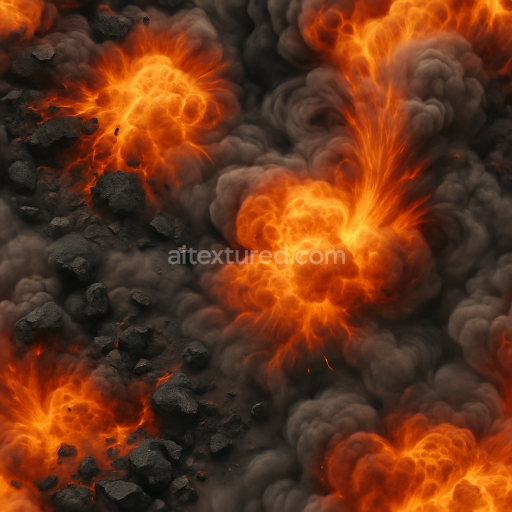
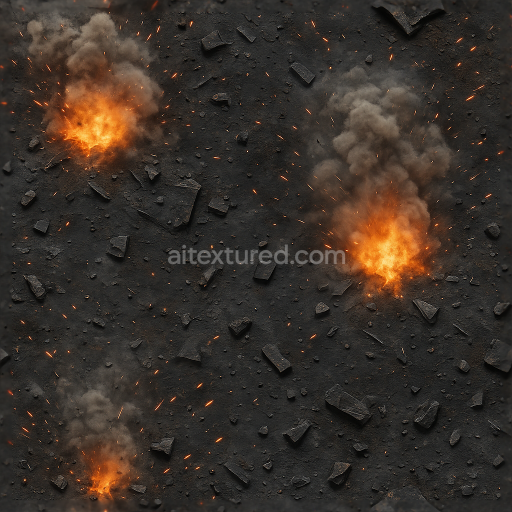
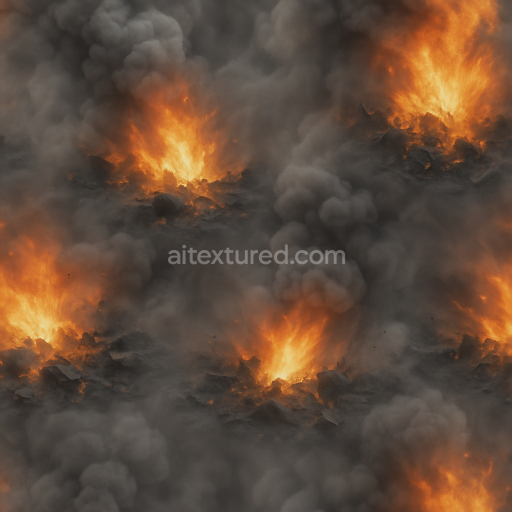
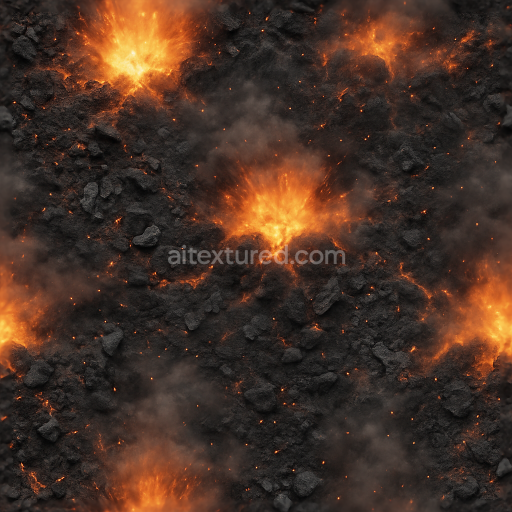
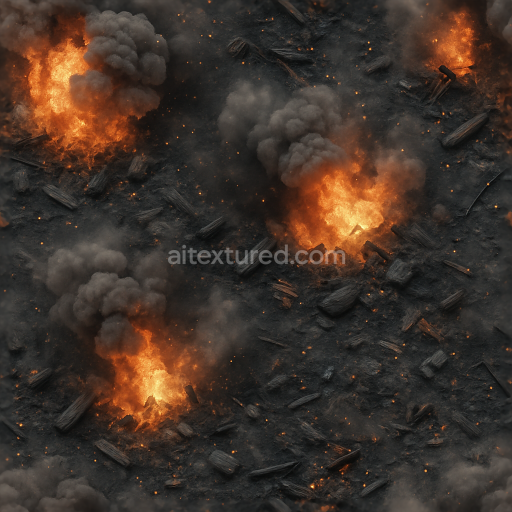
Seamless 8K PBR 3D texture of charred rubble with burst flames and explosion ripple effec…
Seamless texture (tileable) · PNG, WEBP, PBR ZIP. License: AITextured Free Commercial License (FCL) v1.1. Free personal and commercial use. Raw resale, standalone redistribution, mirroring/scraping, competing asset packs, and AI/ML training are not allowed without written permission. Attribution is not required, but appreciated..

| ID | seamless-3d-texture-showing-combustion-and-gunpowder-residue-after-explosive-ignition-in-detailed-8k-pbr |
|---|---|
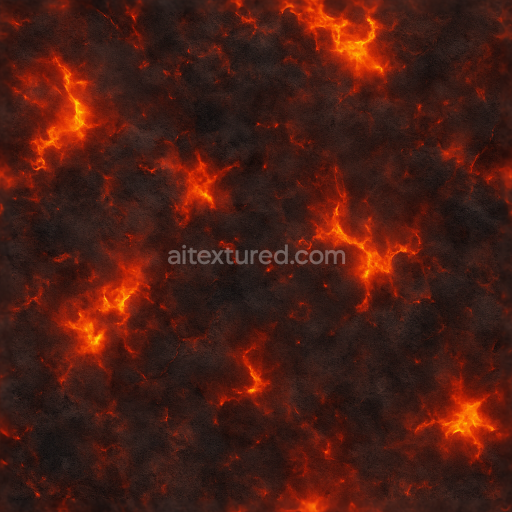
| Category | Explosion |
| Formats | PNG, WEBP, PBR ZIP |
| Size | 1k (1024x1024px), 2k (2048x2048px), 4k (4096x4096px), 8k (8192x8192px) |
| Color | sRGB |
| Tileable | Yes |
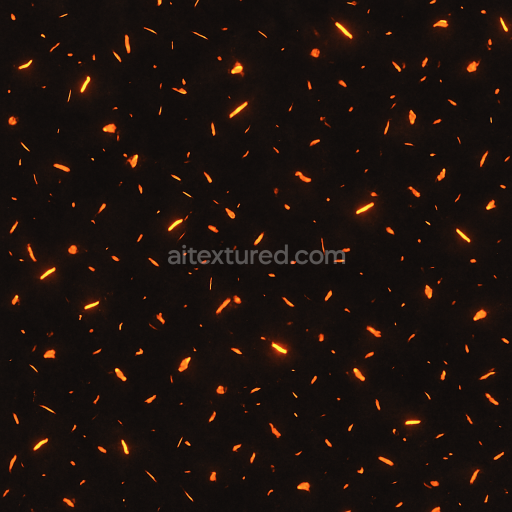
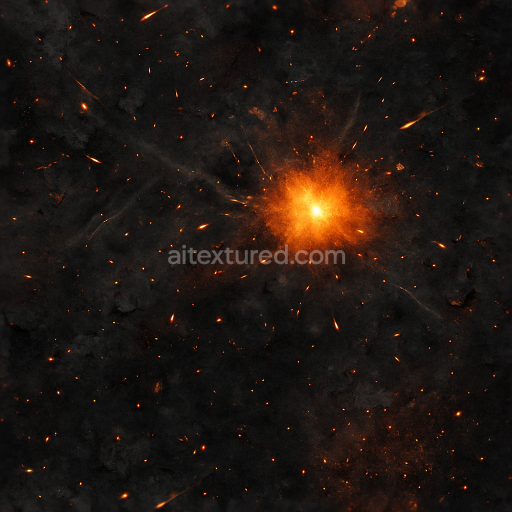
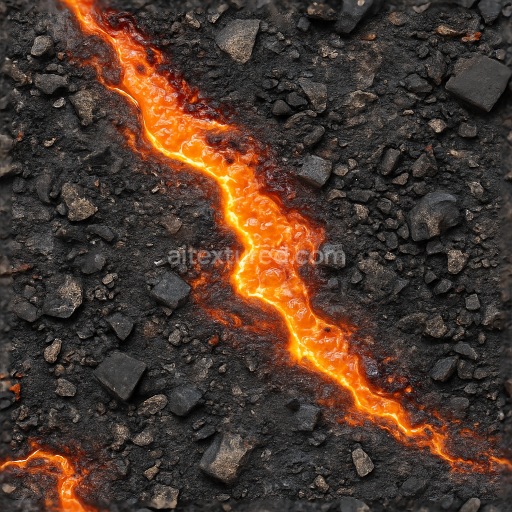
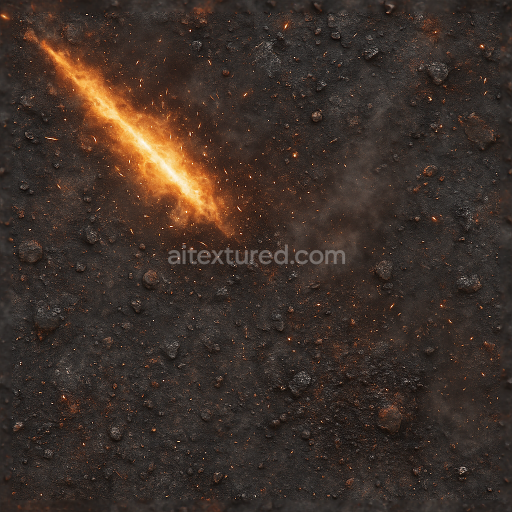
This seamless 3D texture depicts the complex aftermath of explosive ignition focusing on the layered combustion and gunpowder residue left on roughened surfaces. The base material resembles aged concrete or weathered metal heavily textured with burn marks and smoldering charcoal deposits. The underlying substrate is porous and irregular featuring microfractures and pitted areas where explosive shockwaves have physically altered the surface geometry. Thin layers of adhesive-like combustion byproducts and granular gunpowder remnants scatter unevenly across the form creating a tactile interplay of rough and cracked zones. These residues combine organic carbonized particles with mineral ash resulting in a nuanced palette of deep blacks grays and muted browns with thermal scorch gradients transitioning into subtle orange embers at the edges.
From a materials perspective the surface finish is oxidized and matte featuring a combination of rough patches and slightly smoother burnt areas where heat has partially melted or fused particles together. The texture’s PBR setup expertly maps these characteristics: the BaseColor (Albedo) channel captures the complex color shifts of charred gunpowder and thermal scorch hues while the Normal map emphasizes the intricate pitted geometry and fractured layers caused by explosive force. Roughness values vary across the surface to distinguish between powdery residue zones—high roughness—and semi-fused burn marks with lower roughness. The Metallic channel remains minimal or near zero reflecting the primarily non-metallic nature of the composite materials while Ambient Occlusion enhances shadowing within crevices intensifying depth perception. Height and Displacement maps provide fine detail for blast-induced surface deformations allowing realistic parallax effects or micro-relief in real-time engines.
Rendered at an ultra-high 8K resolution this texture ensures exceptional clarity and detail when applied to large-scale models or environments. It is optimized for seamless tiling without noticeable repetition making it suitable for use in Blender Unreal Engine and Unity workflows. The high fidelity of the maps supports both close-up inspection and broad scene coverage supporting photorealistic visualization of post-explosion damage on urban structures industrial machinery or battlefield debris. The neutral lighting condition baked into the albedo channel provides flexibility for dynamic scene illumination without color conflicts.
For practical integration it is recommended to carefully adjust the UV scale to maintain the fine granular details of the gunpowder residue and burn patterns without overly stretching the texture. Additionally blending height or parallax maps with normal maps can significantly enhance surface realism especially for interactive or first-person perspectives. Fine-tuning the roughness channel allows artists to control the perceived dryness or slight glossiness of scorched areas adapting the texture to varying environmental conditions such as rain or dust accumulation.
Import the texture maps into Blender with sRGB color space for albedo/base color and Non-Color for normal, roughness, metallic, AO, height, and ORM maps. Connect normal maps through a Normal Map node, then adjust UV scale with a Mapping node so the material repeats naturally on your model.
For the full step-by-step setup, see How to Use Seamless Textures in Blender. Browse related material examples in wood, concrete, and metal.
Yes. This texture is designed as a seamless tileable PBR material, so it can repeat across large surfaces without visible borders.
You can download PNG/WEBP versions and use 1K, 2K, 4K and 8K download options when available on the page.
Yes. The download options and engine-mapped ZIP workflow are designed for Blender, Unreal Engine, Unity Standard, URP and HDRP material pipelines.
Yes. The texture is available under the AITextured free commercial license. Review the license page for redistribution and AI-training restrictions.

Build, preview, and export seamless PBR materials. Generate full map sets from a single image, inspect them in a real-time WebGL viewer, and re-package maps for Unreal, Unity, and Blender—directly in your browser.
AI text-to-texture: type a prompt and get a seamless, tileable base image ready for PBR workflows (great starting point for materials).
Create a full PBR set (Normal, Roughness, AO, Metallic, etc.) from a single image. Seamless and tiling-friendly.
Instant WebGL viewer: inspect materials on a sphere, plane, and cube. Check tiling and lighting in real time.
Re-packages maps per engine: Unreal (BaseColor + ORM), Unity (Mask/MetallicSmoothness), Blender (separate channels).
PNG ↔ JPG ↔ SVG: fast convert, SVG rasterize, embed/trace options, quality & background controls.