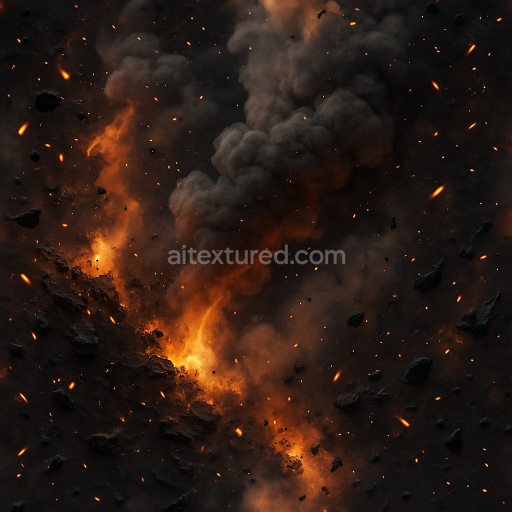
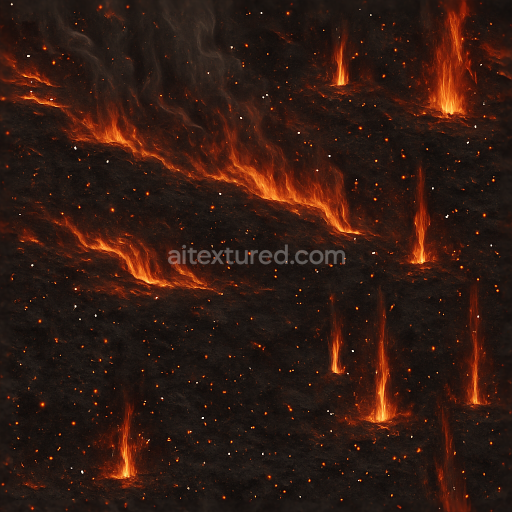
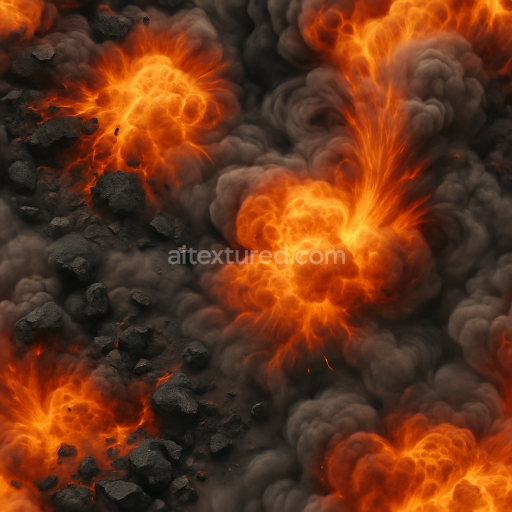
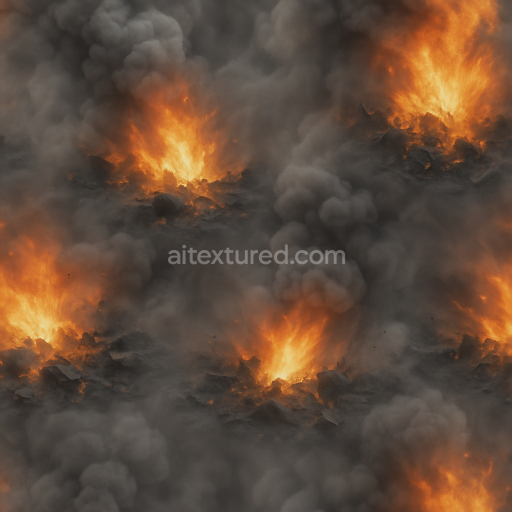
Seamless 8K PBR 3D texture of burning fragments with fire sparks and thermal glow highlig…
Seamless texture (tileable) · PNG, WEBP, PBR ZIP. License: AITextured Free Commercial License (FCL) v1.1. Free personal and commercial use. Raw resale, standalone redistribution, mirroring/scraping, competing asset packs, and AI/ML training are not allowed without written permission. Attribution is not required, but appreciated..

| ID | seamless-3d-texture-depicting-smoky-explosion-with-dense-black-smoke-and-volatile-gases-in-8k-pbr-detail |
|---|---|
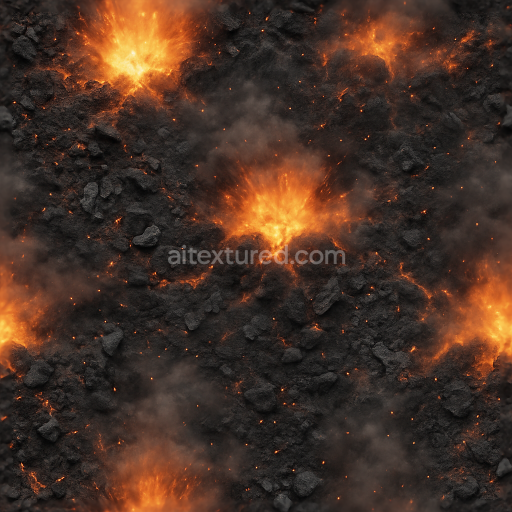
| Category | Explosion |
| Formats | PNG, WEBP, PBR ZIP |
| Size | 1k (1024x1024px), 2k (2048x2048px), 4k (4096x4096px), 8k (8192x8192px) |
| Color | sRGB |
| Tileable | Yes |
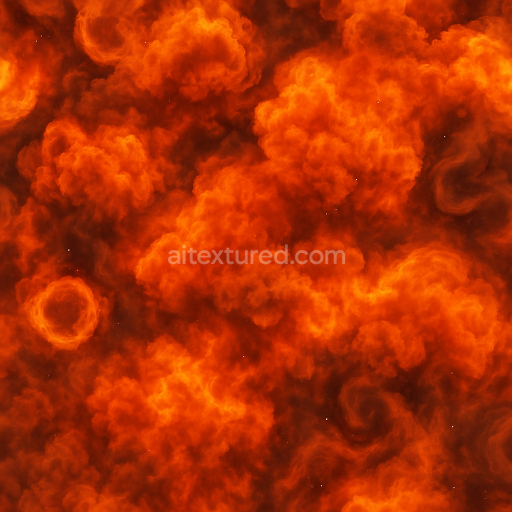
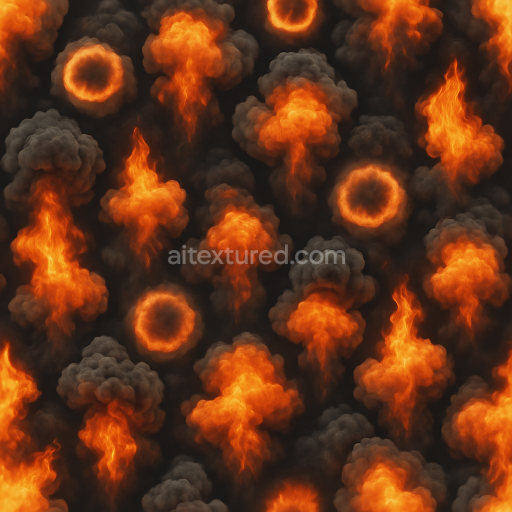
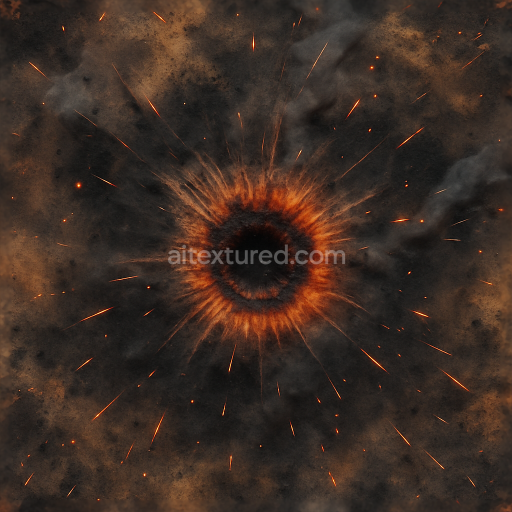
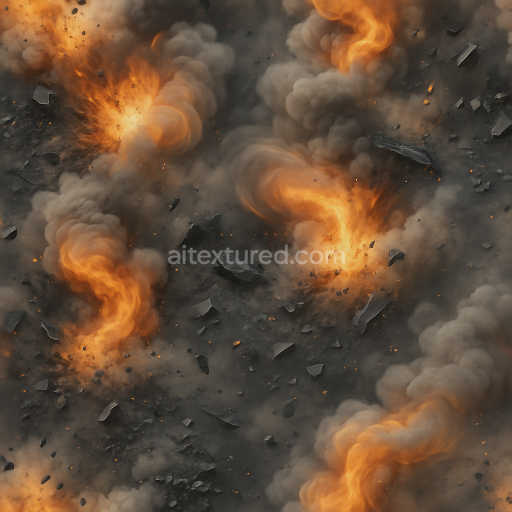
This seamless 3D texture captures the complex form of a smoky explosion with dense black smoke and volatile gases intricately interwoven into a dynamic smoke plume. The base material can be understood as a volatile fume cloud composed primarily of airborne particulate matter suspended within gaseous combustion products. The underlying structure is amorphous and turbulent lacking rigid geometric patterns but instead featuring fluid swirling forms that simulate the chaotic movement of smoke and fire. This texture mimics the layering of fine carbon soot particles and combustion byproducts which create a granular yet diffuse surface conveying the depth and density typical of incendiary smoke clouds.
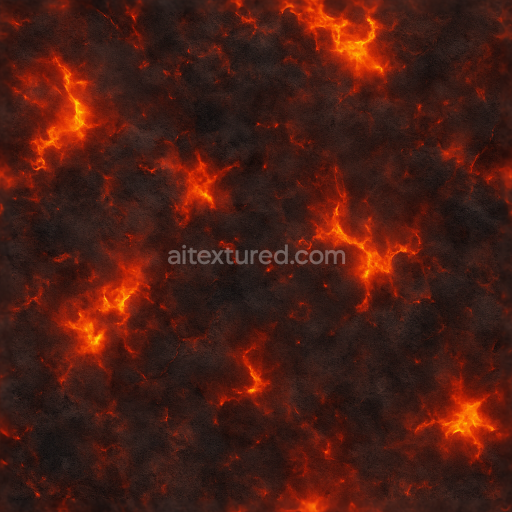
From a materials perspective the texture visualizes a substrate of microscopic soot grains and combustion residues bound by volatile gases and heat-driven chemical reactions. The “adhesive” here is the heat-induced turbulence that holds the smoke plume together temporarily before dissipating. The surface finish appears matte and soft representing the diffusive scattering of light through smoky layers with no metallic or glossy reflections but subtle variations in roughness that highlight thick versus thin pockets of smoke. The color palette centers on deep blacks and grays with occasional warm amber hues hinting at residual heat and incendiary effects. This nuanced interplay of pigments simulates combustion soot and gas ionization contributing to realistic shading and shadowing in the texture.
Mapped to PBR channels the BaseColor (Albedo) conveys the dark smoky tones with subtle color gradations to emphasize depth and volume within the plume. The Normal map encodes the turbulent folds and eddies of the smoke’s surface adding volumetric complexity despite the texture’s 2D nature. Roughness values are generally high reflecting the matte non-reflective quality of smoke but vary to show denser versus thinner areas of particulate matter. Metallic is zeroed out consistent with non-metallic airborne particles. Ambient Occlusion enhances the perception of depth in overlapping smoke layers while Height/Displacement maps provide subtle volumetric cues that support realistic parallax effects in rendering engines.
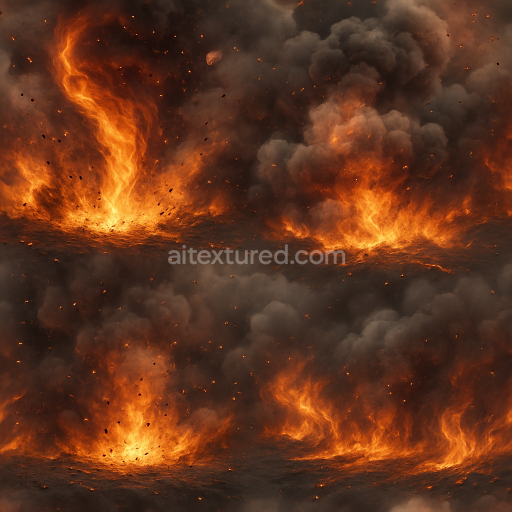
Rendered at an ultra-high 8K resolution this texture ensures exceptional detail and crispness when applied to surfaces in Blender Unreal Engine and Unity. Its seamless design allows for infinite tiling without visible borders perfect for large-scale environmental effects or close-up shots involving smoky explosions and incendiary phenomena. For practical use it is recommended to carefully adjust UV scale to maintain the natural flow and turbulence of the smoke plume avoiding repetitive patterns. Additionally tuning roughness maps can enhance the contrast between thick black smoke pockets and thinner volatile gas regions while blending height and normal maps can improve the perceived volumetric depth critical for realistic fire and explosion simulations.
Import the texture maps into Blender with sRGB color space for albedo/base color and Non-Color for normal, roughness, metallic, AO, height, and ORM maps. Connect normal maps through a Normal Map node, then adjust UV scale with a Mapping node so the material repeats naturally on your model.
For the full step-by-step setup, see How to Use Seamless Textures in Blender. Browse related material examples in wood, concrete, and metal.
Yes. This texture is designed as a seamless tileable PBR material, so it can repeat across large surfaces without visible borders.
You can download PNG/WEBP versions and use 1K, 2K, 4K and 8K download options when available on the page.
Yes. The download options and engine-mapped ZIP workflow are designed for Blender, Unreal Engine, Unity Standard, URP and HDRP material pipelines.
Yes. The texture is available under the AITextured free commercial license. Review the license page for redistribution and AI-training restrictions.

Build, preview, and export seamless PBR materials. Generate full map sets from a single image, inspect them in a real-time WebGL viewer, and re-package maps for Unreal, Unity, and Blender—directly in your browser.
AI text-to-texture: type a prompt and get a seamless, tileable base image ready for PBR workflows (great starting point for materials).
Create a full PBR set (Normal, Roughness, AO, Metallic, etc.) from a single image. Seamless and tiling-friendly.
Instant WebGL viewer: inspect materials on a sphere, plane, and cube. Check tiling and lighting in real time.
Re-packages maps per engine: Unreal (BaseColor + ORM), Unity (Mask/MetallicSmoothness), Blender (separate channels).
PNG ↔ JPG ↔ SVG: fast convert, SVG rasterize, embed/trace options, quality & background controls.