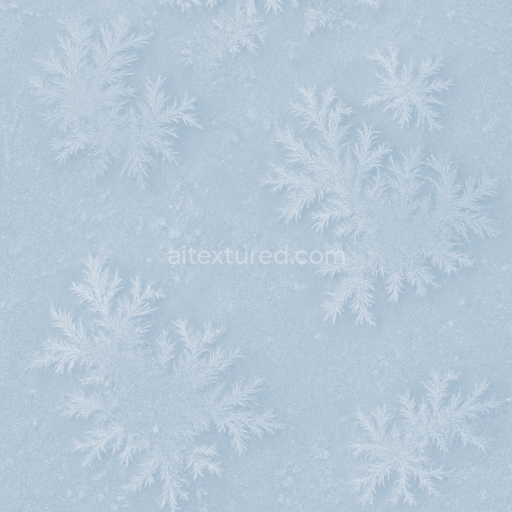
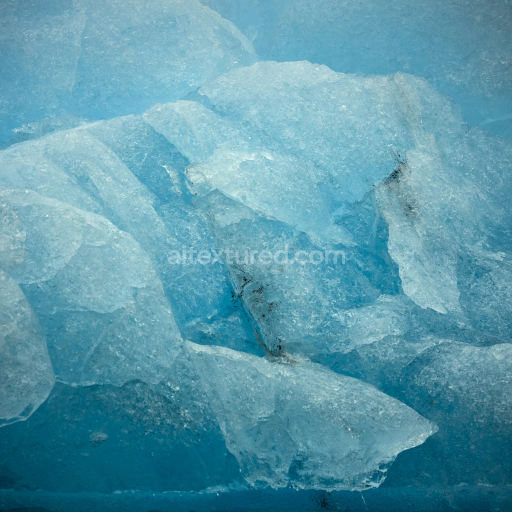
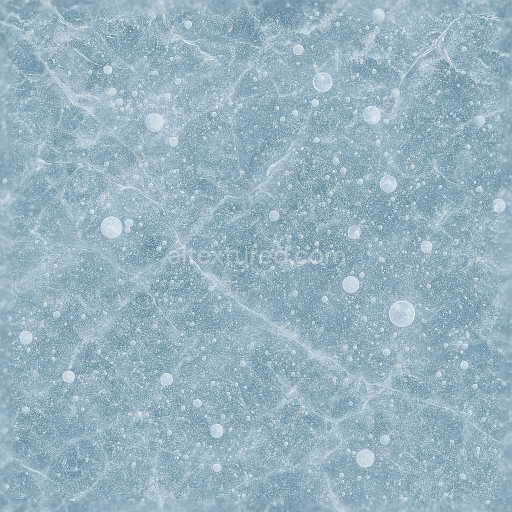
Icy Glaze With Ice Frost Glaze And Frost Rim Details
Seamless texture (tileable) · PNG, WEBP, PBR ZIP. License: AITextured Free Commercial License (FCL) v1.1. Free personal and commercial use. Raw resale, standalone redistribution, mirroring/scraping, competing asset packs, and AI/ML training are not allowed without written permission. Attribution is not required, but appreciated..

| ID | seamless-3d-texture-pbr-8k-presenting-melting-ice-with-wet-ice-and-ice-melt-puddle-details |
|---|---|
| Category | Ice |
| Formats | PNG, WEBP, PBR ZIP |
| Size | 1k (1024x1024px), 2k (2048x2048px), 4k (4096x4096px), 8k (8192x8192px) |
| Color | sRGB |
| Tileable | Yes |
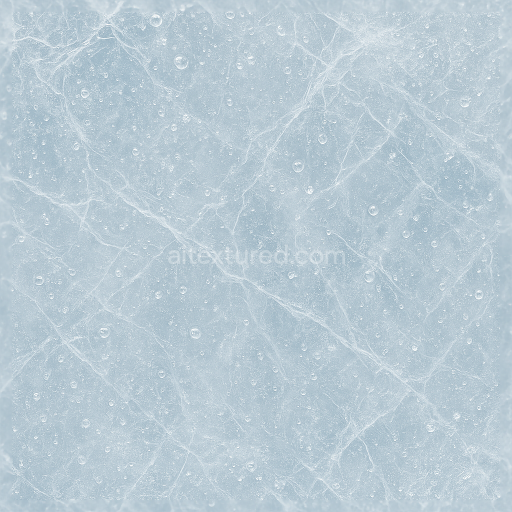
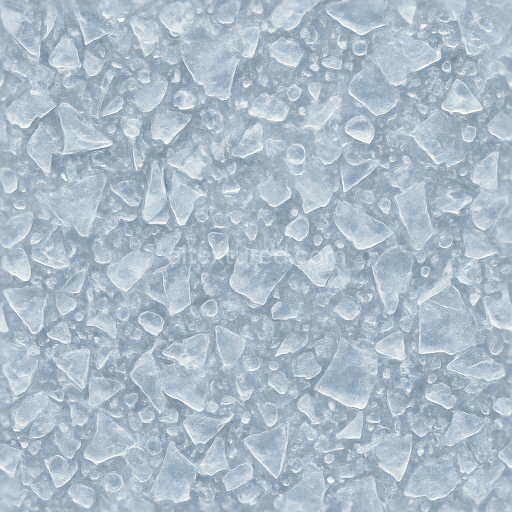
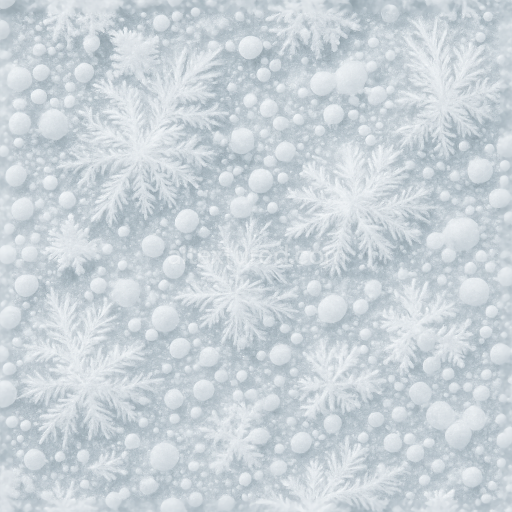
This seamless 3D texture in 8K resolution masterfully depicts melting ice combining wet ice surfaces with detailed ice melt puddles to create an authentic portrayal of ice in transition. The base material mimics natural ice an organic crystalline substrate enhanced by subtle moisture accumulation and condensation effects that simulate water droplets frozen mid-thaw. The texture’s composition reflects a complex interplay between solid ice and liquid water with a thin icy glaze and sheen replicating surface wetness and gloss variations integral to realistic melting processes. Fine frozen droplets and small melt puddles are carefully integrated to illustrate localized melting and water pooling enhancing the natural look and feel of thawing ice patches on a cold surface exposed to temperature changes.
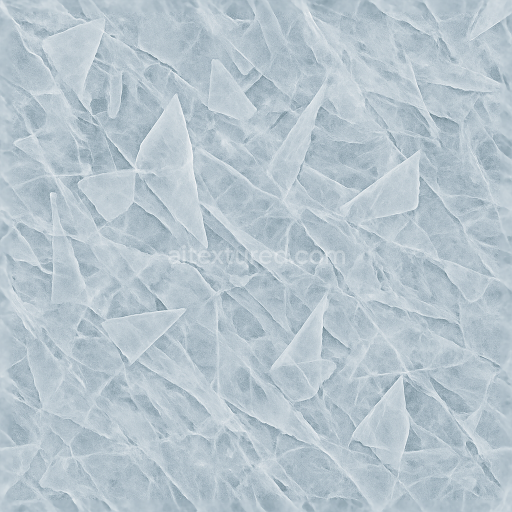
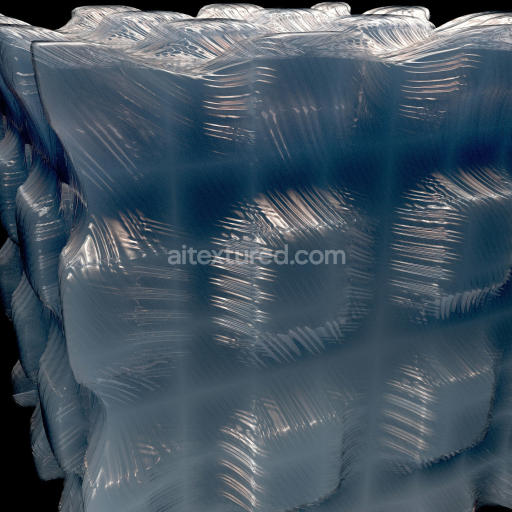
In terms of PBR channels this texture excels at conveying material depth and realism. The BaseColor/Albedo channel captures the translucent bluish-white hues of ice enriched with subtle color shifts where moisture saturates the surface. The Normal map defines fine surface irregularities such as cracks frost patterns and droplets giving a tactile sense of roughness and smooth wetness. The Roughness channel varies across the texture featuring polished glossy wet patches alongside matte frost-covered areas to simulate differing moisture levels and ice melt stages. The Metallic channel is minimal to none reflecting ice’s non-metallic nature while Ambient Occlusion emphasizes crevices and puddle edges for enhanced depth perception. Height and Displacement maps provide subtle relief illustrating thin layers of melting ice and shallow puddles perfect for parallax effects or fine surface detail enhancements.
Designed for seamless tiling this 8K melting ice texture is fully optimized for use in Blender Unreal Engine and Unity ensuring high fidelity and performance in 3D PBR workflows. The texture’s exceptional resolution captures intricate water particle details and nuanced wetness variations making it ideal for dynamic winter scenes environmental effects or objects undergoing temperature-induced changes. For best results adjusting the UV scale to maintain realistic puddle sizing and carefully tuning roughness values will help achieve natural wetness and gloss contrasts. This texture provides a versatile and convincing material solution for artists and developers seeking to portray melting ice with photorealistic accuracy and detailed surface interaction in their projects.
Import the texture maps into Blender with sRGB color space for albedo/base color and Non-Color for normal, roughness, metallic, AO, height, and ORM maps. Connect normal maps through a Normal Map node, then adjust UV scale with a Mapping node so the material repeats naturally on your model.
For the full step-by-step setup, see How to Use Seamless Textures in Blender. Browse related material examples in wood, concrete, and metal.
Yes. This texture is designed as a seamless tileable PBR material, so it can repeat across large surfaces without visible borders.
You can download PNG/WEBP versions and use 1K, 2K, 4K and 8K download options when available on the page.
Yes. The download options and engine-mapped ZIP workflow are designed for Blender, Unreal Engine, Unity Standard, URP and HDRP material pipelines.
Yes. The texture is available under the AITextured free commercial license. Review the license page for redistribution and AI-training restrictions.


Generate, preview, and export seamless PBR materials for Blender, Unity, and Unreal Engine—directly in your browser.
AI text-to-texture: type a prompt and get a seamless, tileable base image ready for PBR workflows (great starting point for materials).
Create a full PBR set (Normal, Roughness, AO, Metallic, etc.) from a single image. Seamless and tiling-friendly.
Instant WebGL viewer: inspect materials on a sphere, plane, and cube. Check tiling and lighting in real time.
Re-packages maps per engine: Unreal (BaseColor + ORM), Unity (Mask/MetallicSmoothness), Blender (separate channels).
PNG ↔ JPG ↔ SVG: fast convert, SVG rasterize, embed/trace options, quality & background controls.