
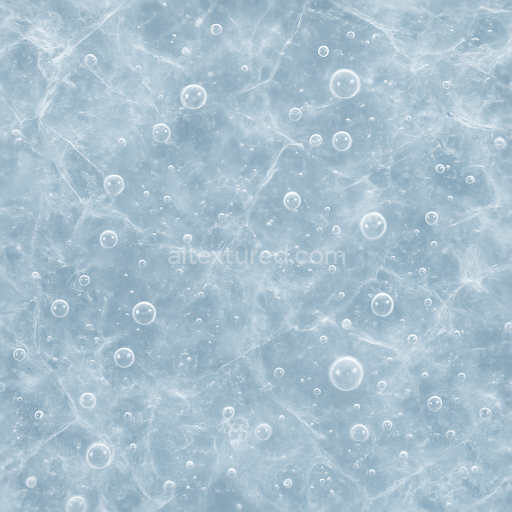
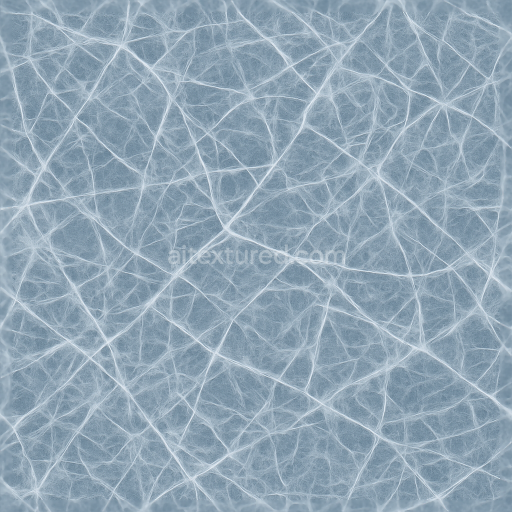
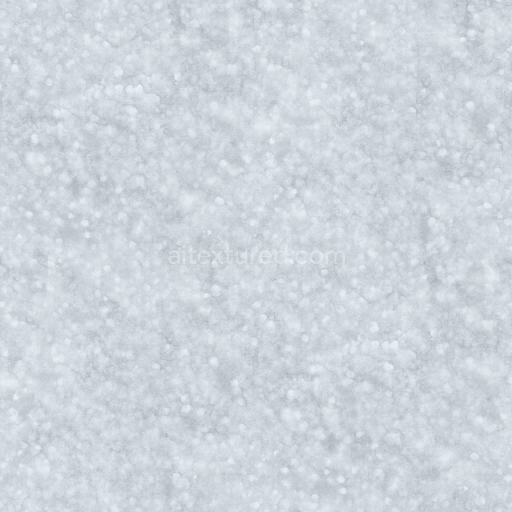
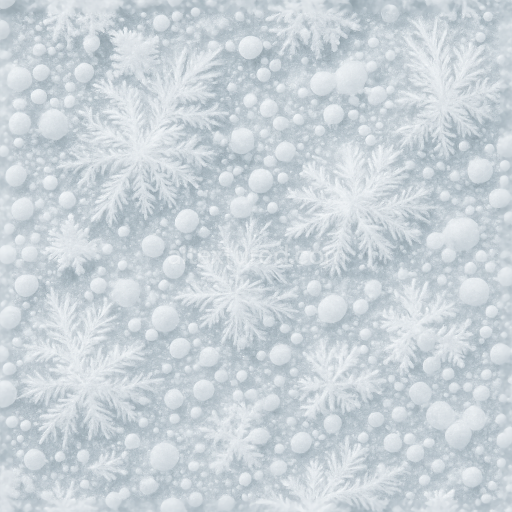
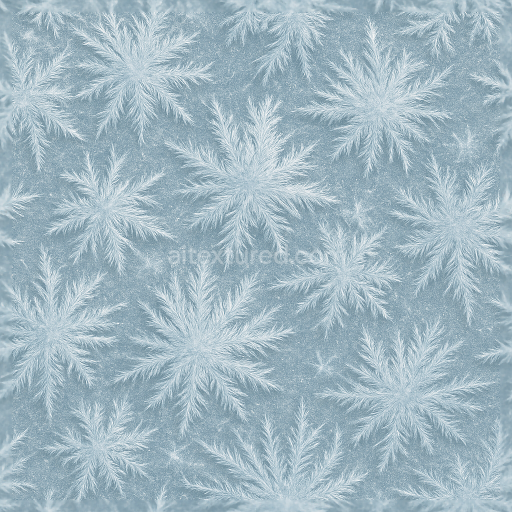
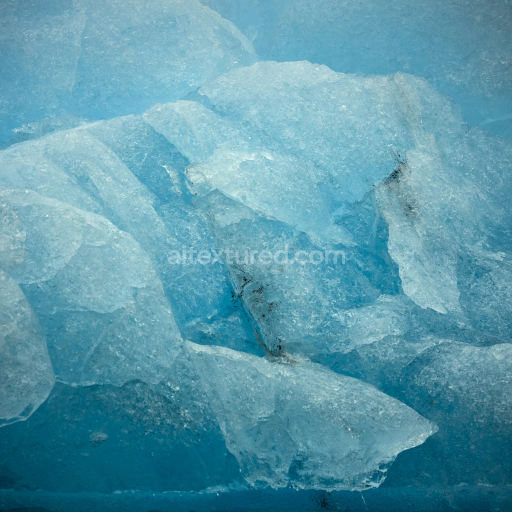
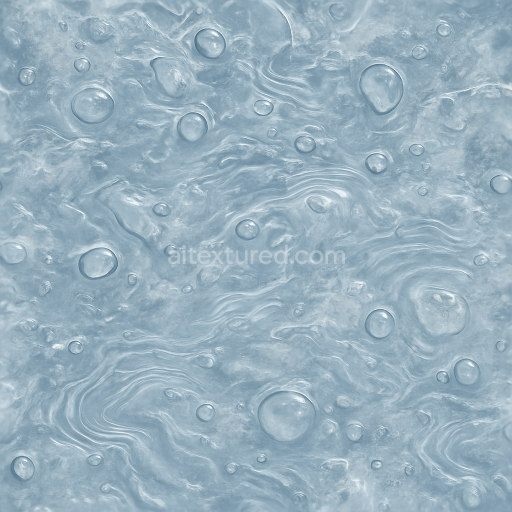
Showing Frozen Water Surface With Ice Bubbles Cluster And Icy Sparkle
Seamless texture (tileable) · PNG, WEBP, PBR ZIP. License: AITextured Free Commercial License (FCL) v1.1. Free personal and commercial use. Raw resale, standalone redistribution, mirroring/scraping, competing asset packs, and AI/ML training are not allowed without written permission. Attribution is not required, but appreciated..

| ID | seamless-3d-texture-pbr-8k-of-ice-sheets-with-ice-layers-stratification-and-icy-matte-finish |
|---|---|
| Category | Ice |
| Formats | PNG, WEBP, PBR ZIP |
| Size | 1k (1024x1024px), 2k (2048x2048px), 4k (4096x4096px), 8k (8192x8192px) |
| Color | sRGB |
| Tileable | Yes |
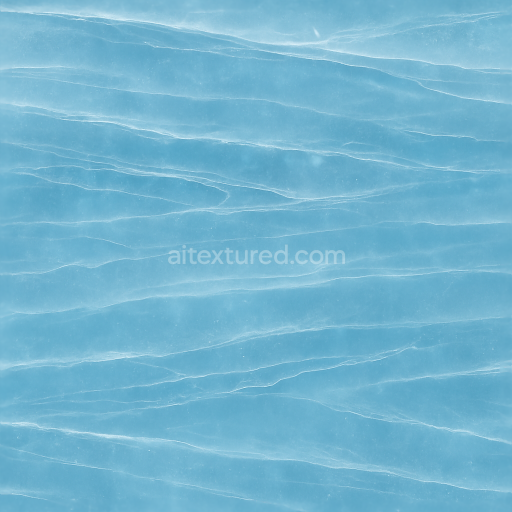
This seamless 3D PBR texture captures the intricate natural composition of broad ice sheets with distinct ice layers stratification beneath a smooth icy matte finish. The base substrate mimics glacial ice composed of compacted frozen water with subtle mineral inclusions and trapped air pockets that create mild porosity. The stratified layers reflect the natural sedimentation and pressure-driven recrystallization processes typical of aged ice sheets while visible scarring and erosion effects illustrate the slow movement and deformation under glacial pressure. The surface finish is matte reducing glossiness to achieve a subdued realistic look that simulates the diffused reflection of light on weathered frost-covered ice surfaces. Colorants appear as subtle blue and white hues with occasional gray undertones enhancing the natural depth and cold appearance of the texture.
In PBR channels the BaseColor/Albedo map displays nuanced tonal variations from icy whites to pale blues highlighting the layered stratification and natural discoloration from impurities and trapped air bubbles. The Normal map emphasizes surface irregularities including fine micro-scratches pressure ridges and subtle erosion marks adding tactile realism. Roughness is calibrated to reflect the matte finish with higher values that diffuse light and minimize specular highlights while the Metallic channel remains near zero as ice is non-metallic. Ambient Occlusion enhances the perception of depth between layers and crevices and the Height/Displacement map provides realistic relief for micro-topography and stratification edges perfect for parallax or tessellation effects in real-time rendering.
Rendered at an ultra-high 8K resolution this texture ensures exceptional detail and sharpness even on large-scale frozen surfaces making it ideal for photorealistic environments in Blender Unreal Engine and Unity. The seamless tiling guarantees continuous coverage without visible borders essential for expansive ice field simulations. For practical use it is recommended to adjust the UV scale to maintain natural layering proportions and to fine-tune roughness values to match varying lighting conditions enhancing the authenticity of icy matte surfaces in diverse scenes.
Import the texture maps into Blender with sRGB color space for albedo/base color and Non-Color for normal, roughness, metallic, AO, height, and ORM maps. Connect normal maps through a Normal Map node, then adjust UV scale with a Mapping node so the material repeats naturally on your model.
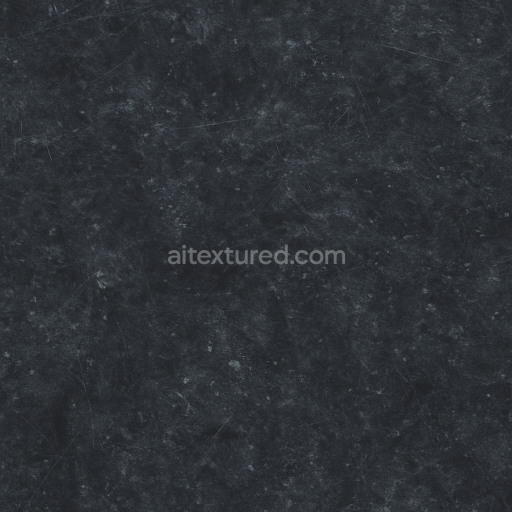
For the full step-by-step setup, see How to Use Seamless Textures in Blender. Browse related material examples in wood, concrete, and metal.
Yes. This texture is designed as a seamless tileable PBR material, so it can repeat across large surfaces without visible borders.
You can download PNG/WEBP versions and use 1K, 2K, 4K and 8K download options when available on the page.
Yes. The download options and engine-mapped ZIP workflow are designed for Blender, Unreal Engine, Unity Standard, URP and HDRP material pipelines.
Yes. The texture is available under the AITextured free commercial license. Review the license page for redistribution and AI-training restrictions.
Generate, preview, and export seamless PBR materials for Blender, Unity, and Unreal Engine—directly in your browser.
AI text-to-texture: type a prompt and get a seamless, tileable base image ready for PBR workflows (great starting point for materials).
Create a full PBR set (Normal, Roughness, AO, Metallic, etc.) from a single image. Seamless and tiling-friendly.
Instant WebGL viewer: inspect materials on a sphere, plane, and cube. Check tiling and lighting in real time.
Re-packages maps per engine: Unreal (BaseColor + ORM), Unity (Mask/MetallicSmoothness), Blender (separate channels).
PNG ↔ JPG ↔ SVG: fast convert, SVG rasterize, embed/trace options, quality & background controls.