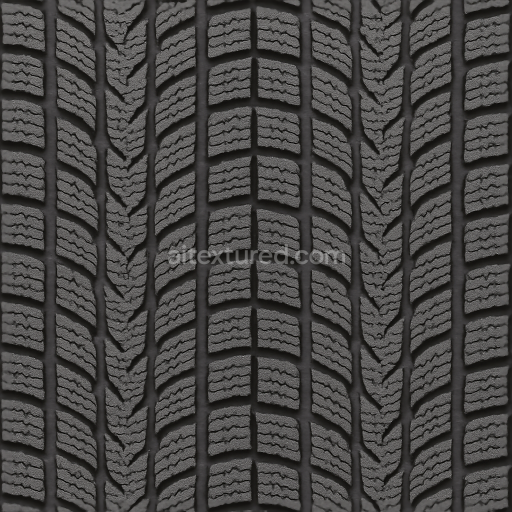
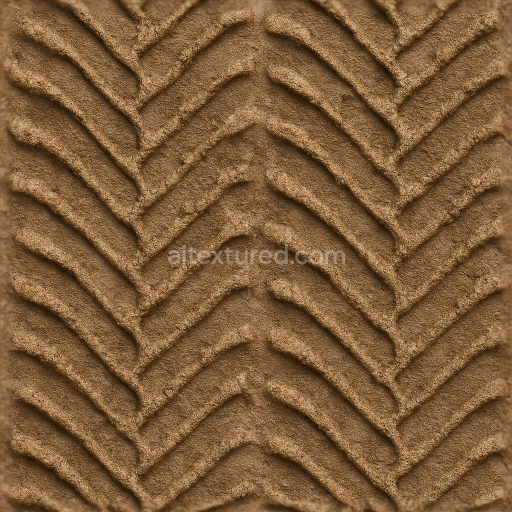
Snow Tire With Winter Tread And Snow Track Patterns For Cold Weather Vehicle Tire Realism
Seamless texture (tileable) · PNG, WEBP, PBR ZIP. License: AITextured Free Commercial License (FCL) v1.1. Free personal and commercial use. Raw resale, standalone redistribution, mirroring/scraping, competing asset packs, and AI/ML training are not allowed without written permission. Attribution is not required, but appreciated..

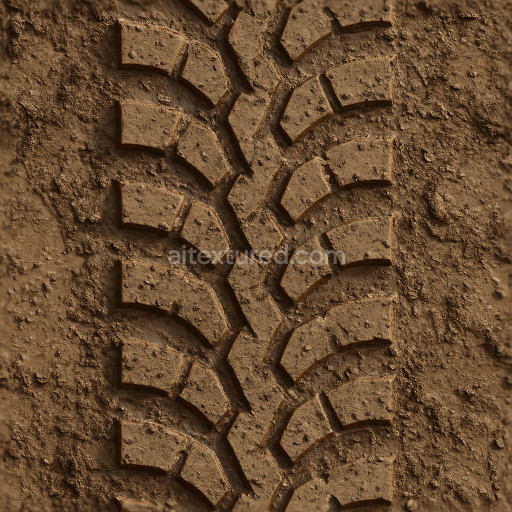
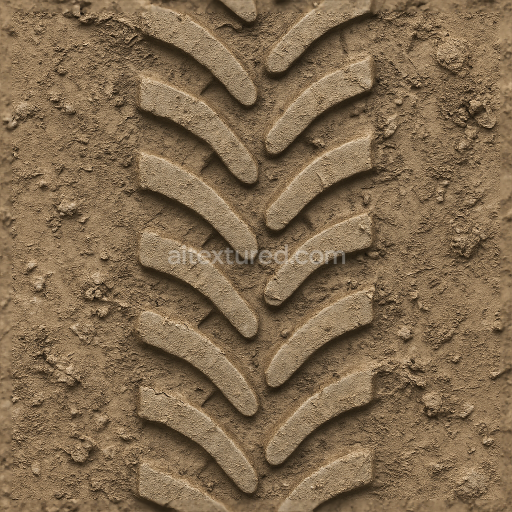
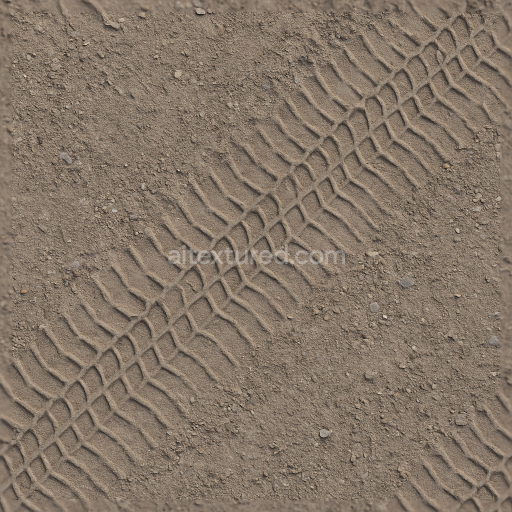
| ID | seamless-3d-texture-pbr-8k-muddy-road-tire-track-dirt-imprint-tire-mark-dirt-muddy-ground-track |
|---|---|
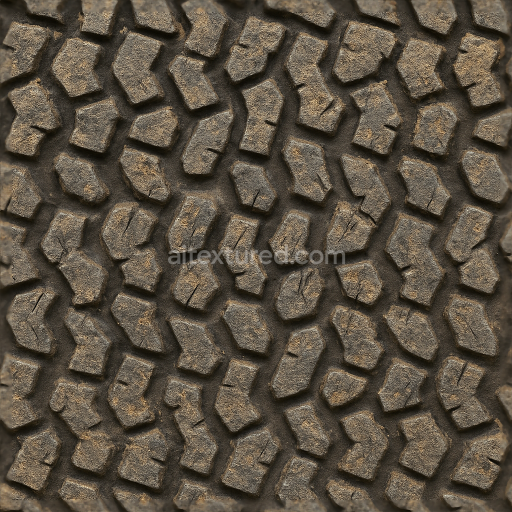
| Category | Tire prints |
| Formats | PNG, WEBP, PBR ZIP |
| Size | 1k (1024x1024px), 2k (2048x2048px), 4k (4096x4096px), 8k (8192x8192px) |
| Color | sRGB |
| Tileable | Yes |
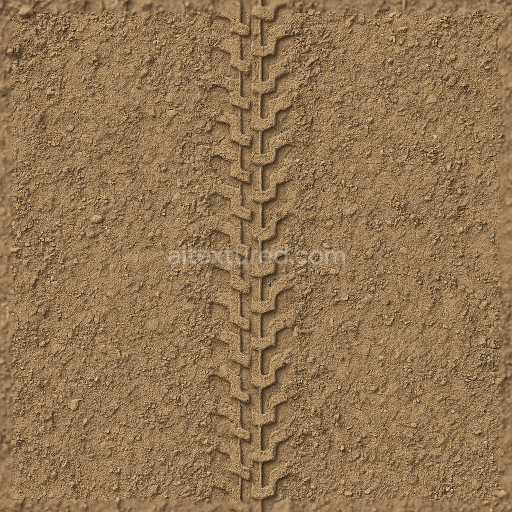
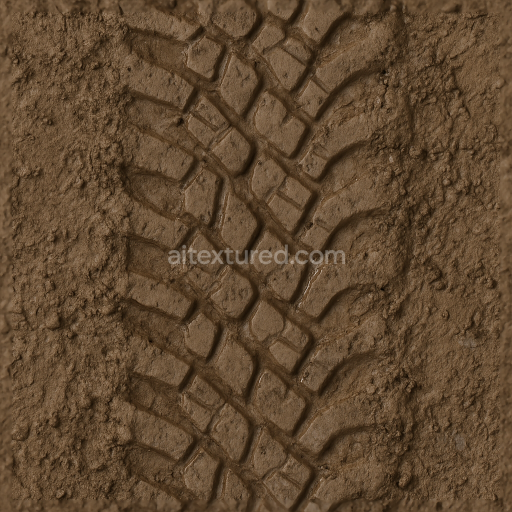
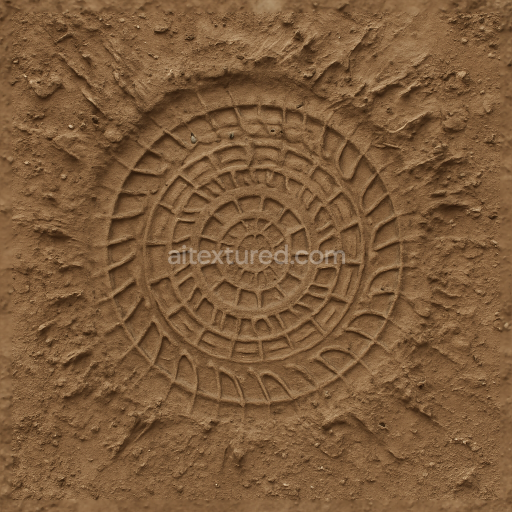
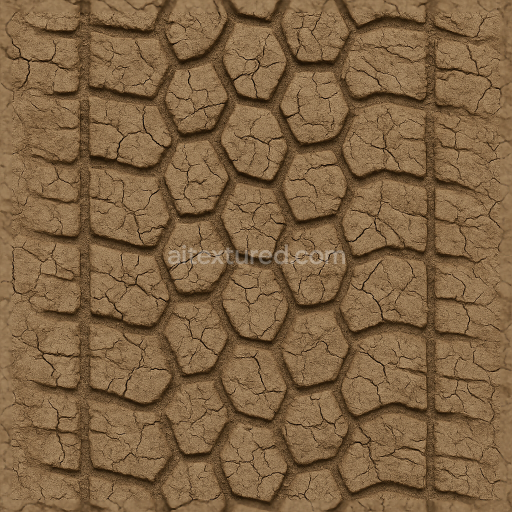
This seamless 8K PBR 3D texture captures the intricate details of a muddy road surface imprinted with tire tracks dirt marks and mud trails forming a complex organic pattern reminiscent of natural offroad terrain. The base material is primarily composed of compacted wet soil mixed with fine clay particles and coarse aggregates like small gravel and silt which together create a dense yet porous substrate. The mud’s consistency suggests a high moisture content producing a plastic malleable surface that deforms under tire pressure leaving distinctive tread patterns and depressions. The texture’s geometric form is irregular and undulating characterized by elongated tire track imprints interspersed with scattered dirt clumps and smoothed mud patches reflecting the dynamic interaction between vehicle tires and the soft ground.
The composition showcases a heterogeneous mixture where mineral binders such as clay and organic matter act as natural adhesives holding the aggregate grains together while retaining some porosity that allows water retention and gradual drying effects. Weathering is evident in subtle surface cracking and uneven compaction which contribute to the texture’s realistic roughness and height variation. The surface finish is predominantly matte with occasional glossy wet spots emulating freshly disturbed mud. Coloration is dominated by earthy browns and dark ochres with slight saturation shifts corresponding to moisture levels and dirt concentration which are accurately represented in the BaseColor (Albedo) map. The Normal and Height maps emphasize the tire tread depth and fine granular details while the Roughness map balances smooth wet areas against rough dry mud patches. The Metallic channel is minimal reflecting the non-metallic nature of soil and the Ambient Occlusion map enhances the perception of depth and crevice shadows within the tire marks and ground undulations.
This high-resolution texture is optimized for use in Blender Unreal Engine and Unity providing artists and developers with a versatile resource for realistic environmental rendering. Its seamless tiling ensures continuous application over large terrains without visible repetition or seams essential for offroad vehicle simulations game environments or visual effects requiring authentic muddy ground conditions. The 8K resolution preserves fine detail even at close camera distances supporting photorealistic lighting and shading workflows.
For best results it is recommended to carefully adjust the UV scale to maintain proportionality of the tire track patterns relative to vehicle models in the scene. Additionally tuning the Roughness map can simulate varying moisture content—lower roughness values for wetter shinier mud and higher values for drier cracked surfaces. Combining subtle Height or Parallax Occlusion effects with Normal mapping enhances the three-dimensional feel of the tire imprints adding realism without excessive geometry overhead.
Import the texture maps into Blender with sRGB color space for albedo/base color and Non-Color for normal, roughness, metallic, AO, height, and ORM maps. Connect normal maps through a Normal Map node, then adjust UV scale with a Mapping node so the material repeats naturally on your model.
For the full step-by-step setup, see How to Use Seamless Textures in Blender. Browse related material examples in wood, concrete, and metal.
Yes. This texture is designed as a seamless tileable PBR material, so it can repeat across large surfaces without visible borders.
You can download PNG/WEBP versions and use 1K, 2K, 4K and 8K download options when available on the page.
Yes. The download options and engine-mapped ZIP workflow are designed for Blender, Unreal Engine, Unity Standard, URP and HDRP material pipelines.
Yes. The texture is available under the AITextured free commercial license. Review the license page for redistribution and AI-training restrictions.


Build, preview, and export seamless PBR materials. Generate full map sets from a single image, inspect them in a real-time WebGL viewer, and re-package maps for Unreal, Unity, and Blender—directly in your browser.
AI text-to-texture: type a prompt and get a seamless, tileable base image ready for PBR workflows (great starting point for materials).
Create a full PBR set (Normal, Roughness, AO, Metallic, etc.) from a single image. Seamless and tiling-friendly.
Instant WebGL viewer: inspect materials on a sphere, plane, and cube. Check tiling and lighting in real time.
Re-packages maps per engine: Unreal (BaseColor + ORM), Unity (Mask/MetallicSmoothness), Blender (separate channels).
PNG ↔ JPG ↔ SVG: fast convert, SVG rasterize, embed/trace options, quality & background controls.