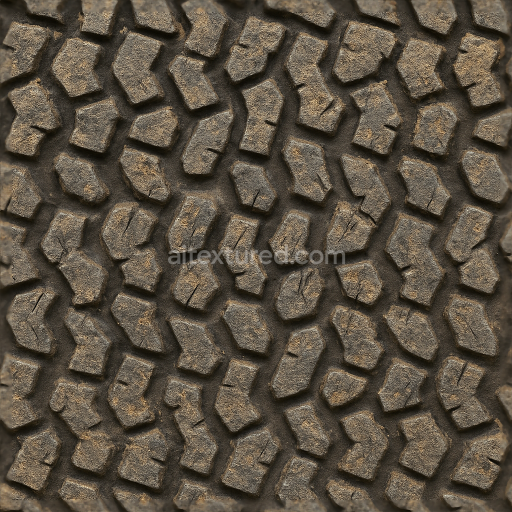
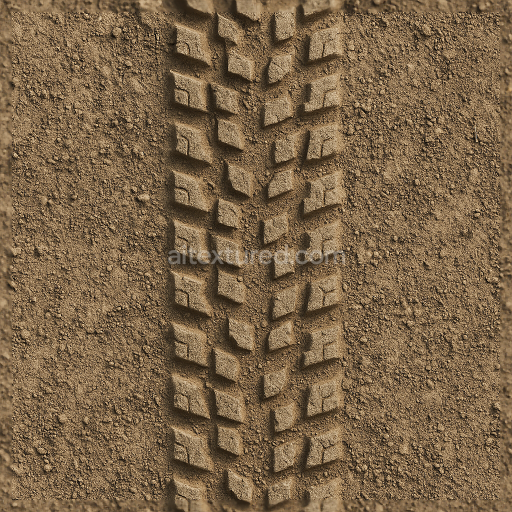
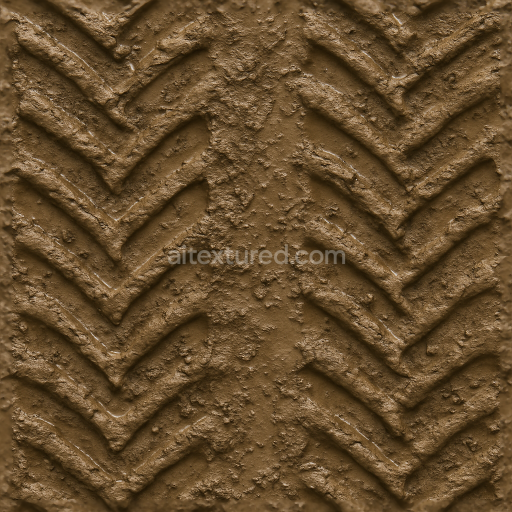
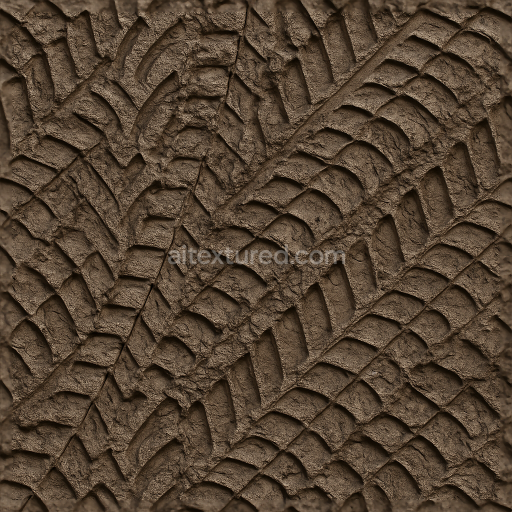
Offroad Tire With Knobby Tread And Dirt Embedded For Rugged Terrain Vehicle Tire Modeling
Seamless texture (tileable) · PNG, WEBP, PBR ZIP. License: AITextured Free Commercial License (FCL) v1.1. Free personal and commercial use. Raw resale, standalone redistribution, mirroring/scraping, competing asset packs, and AI/ML training are not allowed without written permission. Attribution is not required, but appreciated..

| ID | seamless-3d-texture-pbr-8k-snow-tire-print-icy-tire-print-forest-ground-print |
|---|---|
| Category | Tire prints |
| Formats | PNG, WEBP, PBR ZIP |
| Size | 1k (1024x1024px), 2k (2048x2048px), 4k (4096x4096px), 8k (8192x8192px) |
| Color | sRGB |
| Tileable | Yes |
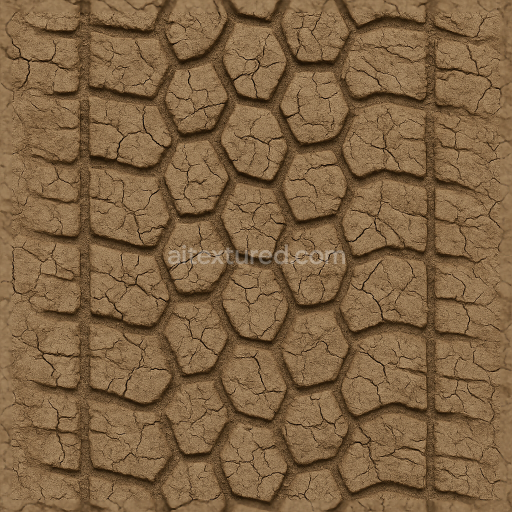
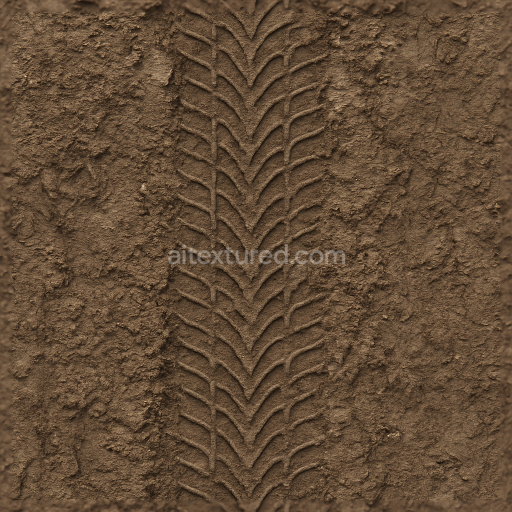
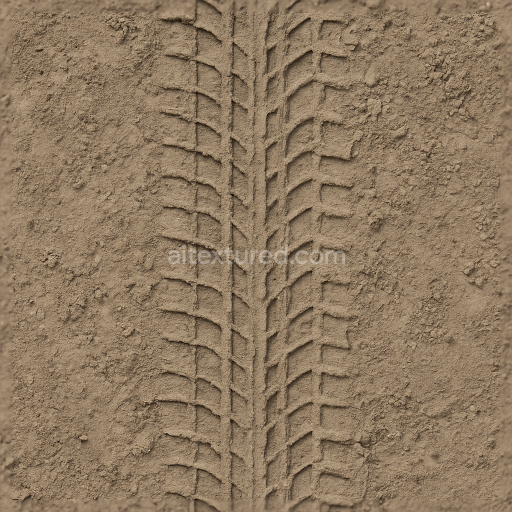
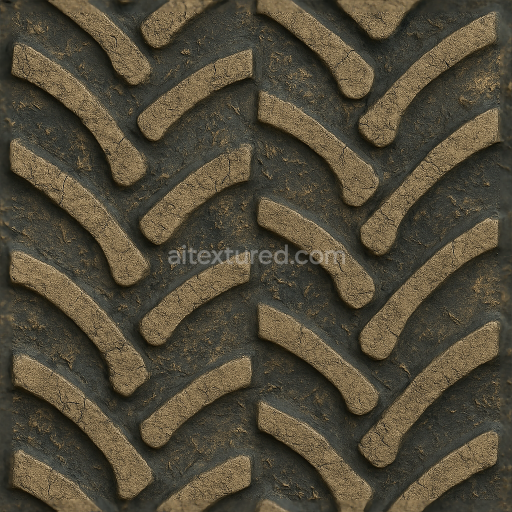
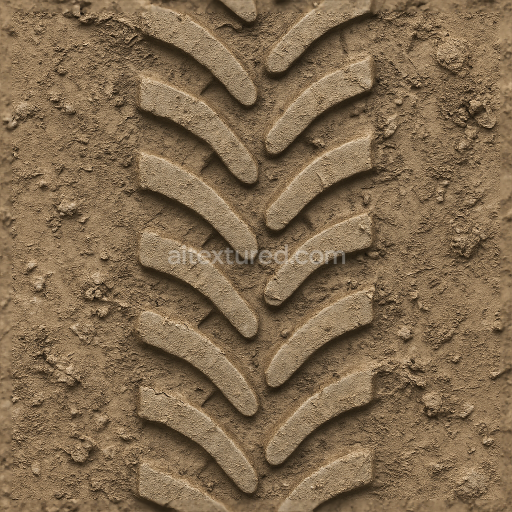
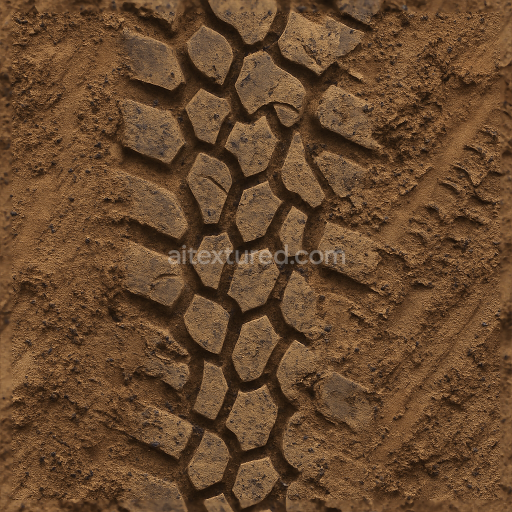
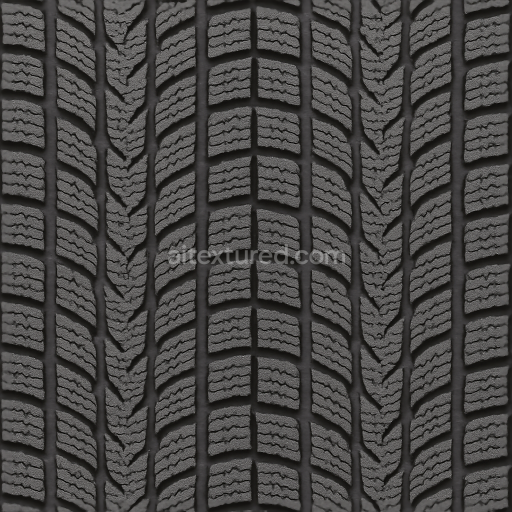
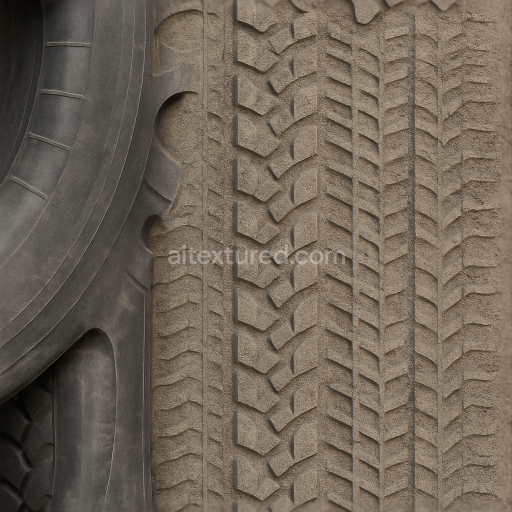
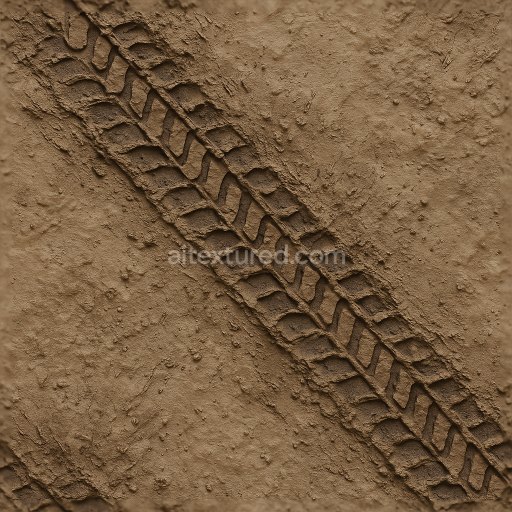
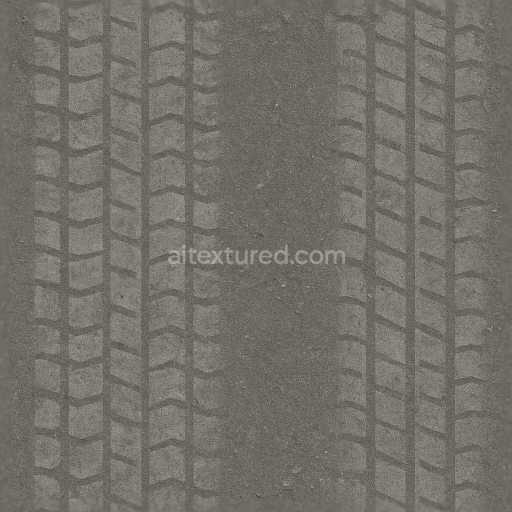
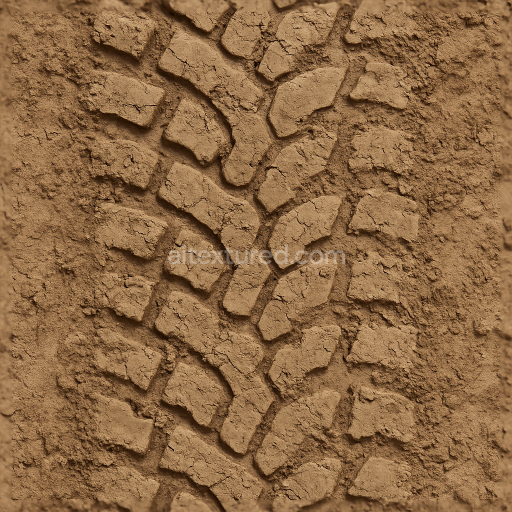
This seamless 8K PBR texture captures the intricate details of snow tire prints embedded in a forest ground substrate combining natural earth materials with seasonal ice and snow overlays. The base material is composed primarily of compacted soil and forest detritus—small organic particles fine dirt grains and decomposed leaves—bound together by moisture and frozen water acting as natural adhesives. This creates a moderately porous surface with subtle cavities and depressions shaped by the deep tread patterns of off-road tires. The tire tread detail presents a geometric form characterized by a repeating pattern of interlocking grooves and raised blocks producing a distinct compact trail with deep angular indentations that reflect the rugged design of winter tires optimized for icy and snowy conditions.
The surface finish exhibits a natural matte appearance with localized variations in roughness due to the mix of frozen snow patches and exposed soil. The snow and ice elements introduce subtle reflectivity and translucency effects especially visible along the edges of the tire print imprints where frozen moisture gathers. Pigmentation is driven by earthy browns and muted grays of the forest floor contrasted with the bright whites and faint blues of the icy snow resulting in a balanced photorealistic BaseColor (Albedo) map. The Normal map accentuates the depth and sharpness of the deep tire tread grooves capturing fine micro-details such as dirt clumps and snow buildup. Roughness maps vary dynamically simulating the difference between dry soil icy slicks and compact snow while the Ambient Occlusion channel enhances the shadowing within the tread recesses and organic debris. The Height/Displacement map provides subtle elevation differences for realistic surface deformation critical for close-up renderings.
Metallness is essentially absent reflecting the organic and non-metallic nature of the substrate and tire print residue. The texture is optimized for high-fidelity rendering engines including Blender Unreal Engine and Unity ensuring it integrates seamlessly into winter environment visualizations simulations and game assets. The 8K resolution guarantees crisp detail even at close camera distances preserving the intricacies of the tire print dirt and snow trails without pixelation or blurring.
For practical application it is recommended to carefully adjust the UV scale to match the realistic size of tire tracks relative to the terrain model. Fine-tuning the roughness parameter can help emphasize either the icy slickness or the rough soil texture depending on the desired environmental conditions. Additionally blending the height map with parallax occlusion or normal maps can enhance the three-dimensional illusion of depth and layering especially useful when simulating compact trail surfaces on uneven forest ground.
Import the texture maps into Blender with sRGB color space for albedo/base color and Non-Color for normal, roughness, metallic, AO, height, and ORM maps. Connect normal maps through a Normal Map node, then adjust UV scale with a Mapping node so the material repeats naturally on your model.
For the full step-by-step setup, see How to Use Seamless Textures in Blender. Browse related material examples in wood, concrete, and metal.
Yes. This texture is designed as a seamless tileable PBR material, so it can repeat across large surfaces without visible borders.
You can download PNG/WEBP versions and use 1K, 2K, 4K and 8K download options when available on the page.
Yes. The download options and engine-mapped ZIP workflow are designed for Blender, Unreal Engine, Unity Standard, URP and HDRP material pipelines.
Yes. The texture is available under the AITextured free commercial license. Review the license page for redistribution and AI-training restrictions.

Build, preview, and export seamless PBR materials. Generate full map sets from a single image, inspect them in a real-time WebGL viewer, and re-package maps for Unreal, Unity, and Blender—directly in your browser.
AI text-to-texture: type a prompt and get a seamless, tileable base image ready for PBR workflows (great starting point for materials).
Create a full PBR set (Normal, Roughness, AO, Metallic, etc.) from a single image. Seamless and tiling-friendly.
Instant WebGL viewer: inspect materials on a sphere, plane, and cube. Check tiling and lighting in real time.
Re-packages maps per engine: Unreal (BaseColor + ORM), Unity (Mask/MetallicSmoothness), Blender (separate channels).
PNG ↔ JPG ↔ SVG: fast convert, SVG rasterize, embed/trace options, quality & background controls.