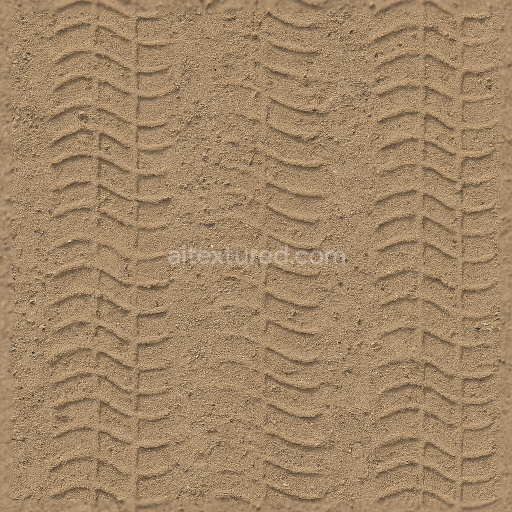
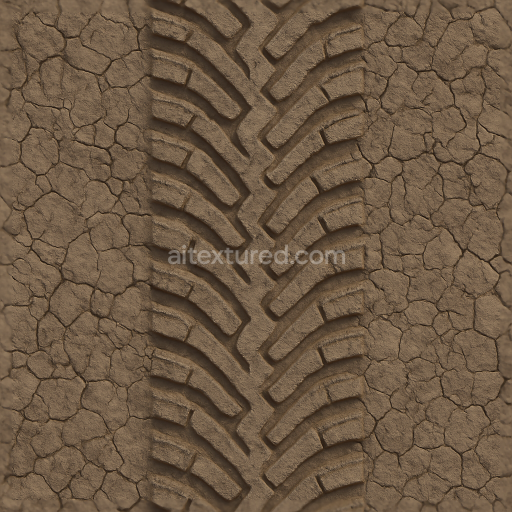
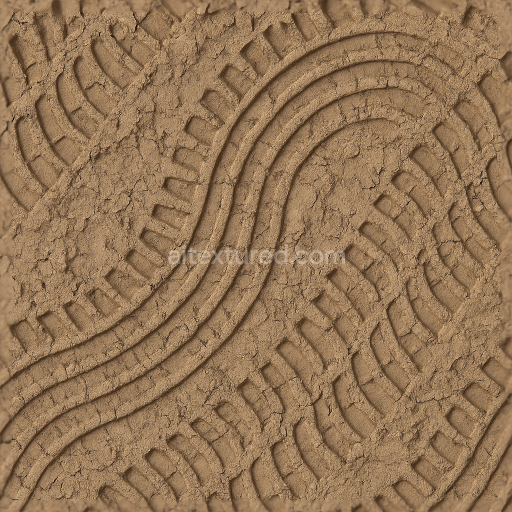
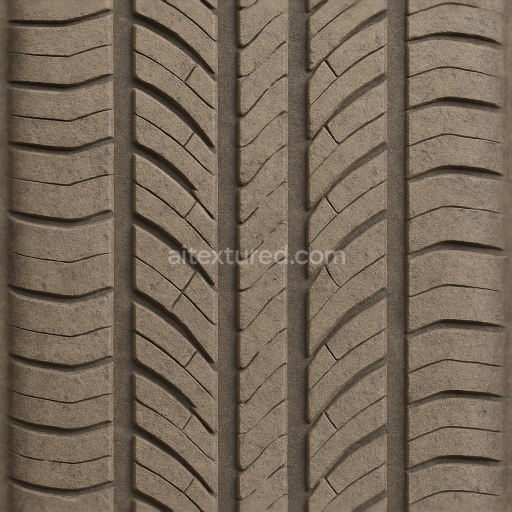
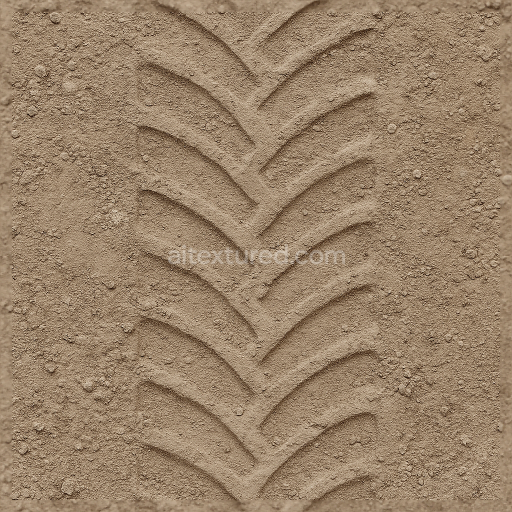
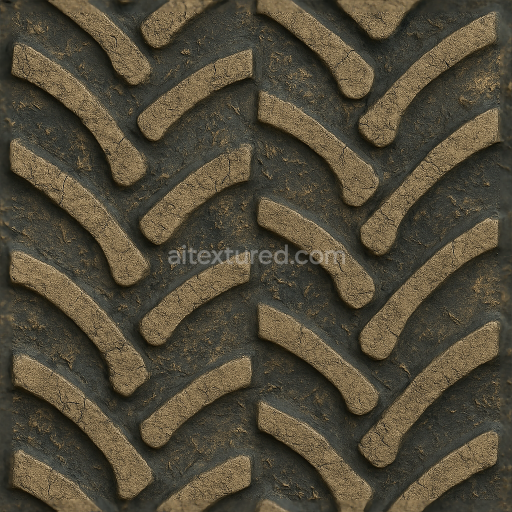
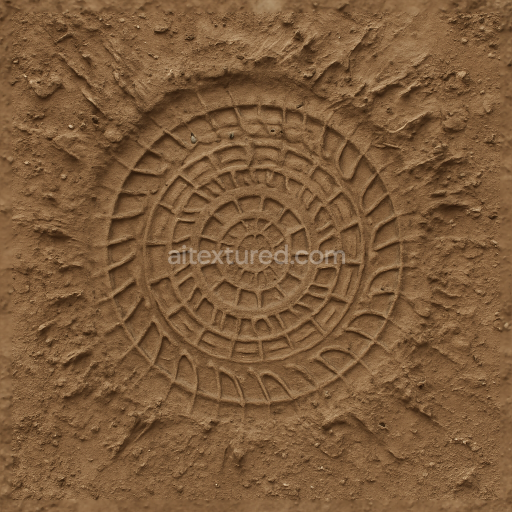
Flat Tire Print On Dry Sand With Shallow Tread And Loose Gravel Soil Imprint
Seamless texture (tileable) · PNG, WEBP, PBR ZIP. License: AITextured Free Commercial License (FCL) v1.1. Free personal and commercial use. Raw resale, standalone redistribution, mirroring/scraping, competing asset packs, and AI/ML training are not allowed without written permission. Attribution is not required, but appreciated..

| ID | seamless-3d-texture-pbr-8k-wet-tire-print-wet-mud-track-wet-soil-print-tire-track-wet-wet-asphalt-mark |
|---|---|
| Category | Tire prints |
| Formats | PNG, WEBP, PBR ZIP |
| Size | 1k (1024x1024px), 2k (2048x2048px), 4k (4096x4096px), 8k (8192x8192px) |
| Color | sRGB |
| Tileable | Yes |
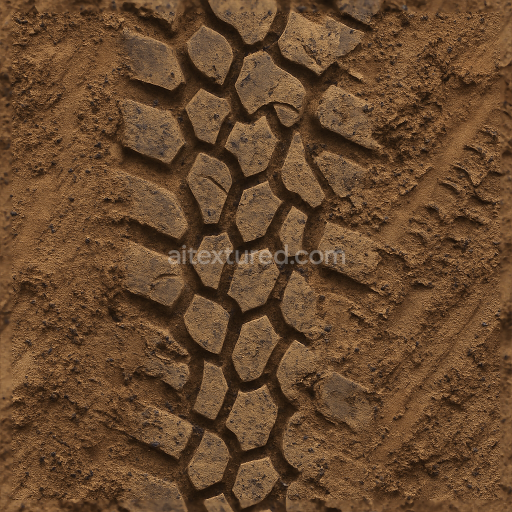
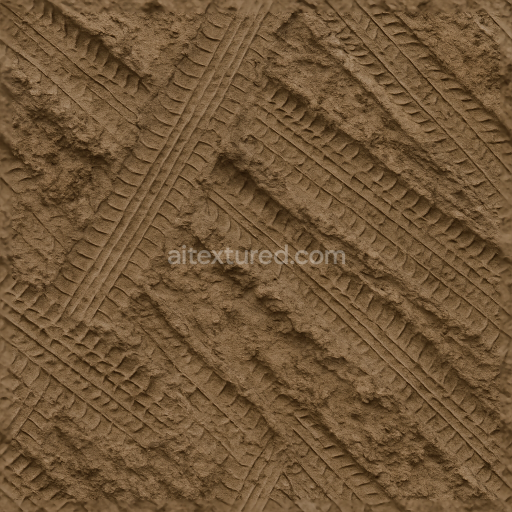
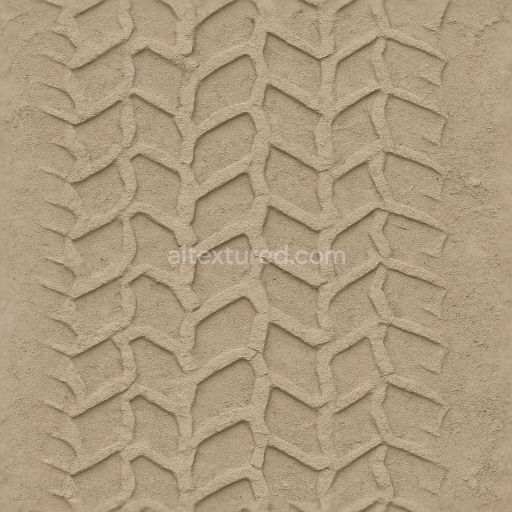
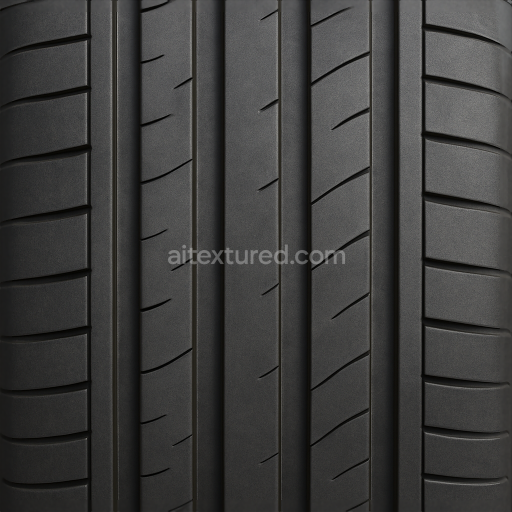
This seamless 8K PBR texture captures the intricate details of wet tire prints embedded in a mixture of wet mud soil and asphalt surfaces. The base material is a composite of compacted soil and fine-grained mud layered atop weathered asphalt showcasing a complex interplay between natural earth elements and man-made road materials. The substrate consists of densely packed mineral particles and organic matter bound together by moisture acting as a natural adhesive giving the surface its characteristic cohesion. Visible aggregates range from fine silt and clay particles to coarser grains with occasional small stones embedded within the tire grooves. The wetness saturates the material reducing surface porosity and creating a glossy reflective finish that highlights the tire groove patterns with striking clarity.
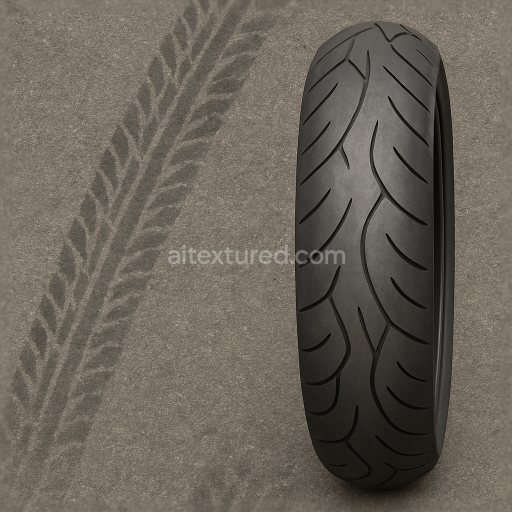
The geometric form of the texture is defined by repeating tire track imprints featuring deep curved grooves and tread patterns that mimic realistic road tire designs. The raised tire ridges and recessed channels form a rhythmic pattern that repeats seamlessly making it ideal for large-scale surface applications without visible tiling. The tread patterns create subtle variations in surface height which are accurately represented through the height/displacement map enhancing the three-dimensional relief of the texture. The normal map further accentuates these details simulating the micro-variations on the wet soil and asphalt surface including the roughness of the dirt particles and the smooth polished wet asphalt areas where water pools.
In terms of PBR channel composition the BaseColor (Albedo) layer accurately reproduces the dark rich brown hues of wet mud and soil contrasted with the muted gray-black of wet asphalt interspersed with tire print dirt deposits. The Roughness map captures the variation between glossy wet patches and the slightly rougher drier soil areas providing realistic light scattering and reflections. The Metallic channel remains near zero reflecting the non-metallic nature of the substrate. Ambient Occlusion enhances shadowed crevices within the tire grooves and soil creases adding depth and realism. Height and displacement maps are finely tuned to emphasize the subtle elevation changes from tire ridges to depressions filled with water and mud enabling precise parallax effects in supported engines.
This texture is optimized for use in Blender Unreal Engine and Unity leveraging its ultra-high 8K resolution to deliver exceptional detail even at close camera distances. It is particularly suited for simulations of wet road conditions muddy trails and environments requiring authentic tire track impressions on varied substrates. For practical application adjusting the UV scale to match scene context is advised to maintain natural proportions of the tire prints. Additionally tuning the roughness map can simulate different moisture levels from freshly wet to partially dried surfaces while blending height and normal maps carefully ensures smooth transitions between raised tire grooves and flat asphalt areas enhancing overall visual fidelity.
Import the texture maps into Blender with sRGB color space for albedo/base color and Non-Color for normal, roughness, metallic, AO, height, and ORM maps. Connect normal maps through a Normal Map node, then adjust UV scale with a Mapping node so the material repeats naturally on your model.
For the full step-by-step setup, see How to Use Seamless Textures in Blender. Browse related material examples in wood, concrete, and metal.
Yes. This texture is designed as a seamless tileable PBR material, so it can repeat across large surfaces without visible borders.
You can download PNG/WEBP versions and use 1K, 2K, 4K and 8K download options when available on the page.
Yes. The download options and engine-mapped ZIP workflow are designed for Blender, Unreal Engine, Unity Standard, URP and HDRP material pipelines.
Yes. The texture is available under the AITextured free commercial license. Review the license page for redistribution and AI-training restrictions.

Build, preview, and export seamless PBR materials. Generate full map sets from a single image, inspect them in a real-time WebGL viewer, and re-package maps for Unreal, Unity, and Blender—directly in your browser.
AI text-to-texture: type a prompt and get a seamless, tileable base image ready for PBR workflows (great starting point for materials).
Create a full PBR set (Normal, Roughness, AO, Metallic, etc.) from a single image. Seamless and tiling-friendly.
Instant WebGL viewer: inspect materials on a sphere, plane, and cube. Check tiling and lighting in real time.
Re-packages maps per engine: Unreal (BaseColor + ORM), Unity (Mask/MetallicSmoothness), Blender (separate channels).
PNG ↔ JPG ↔ SVG: fast convert, SVG rasterize, embed/trace options, quality & background controls.