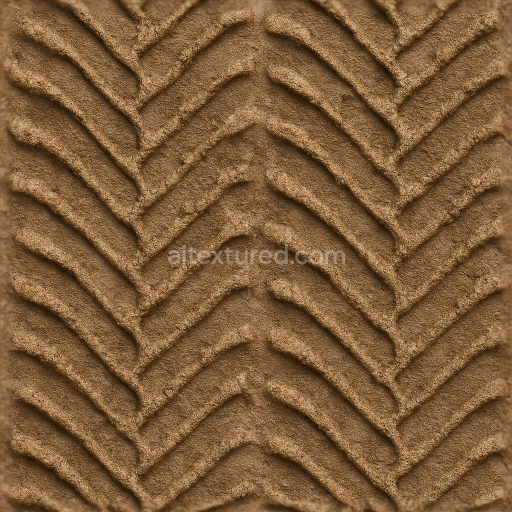
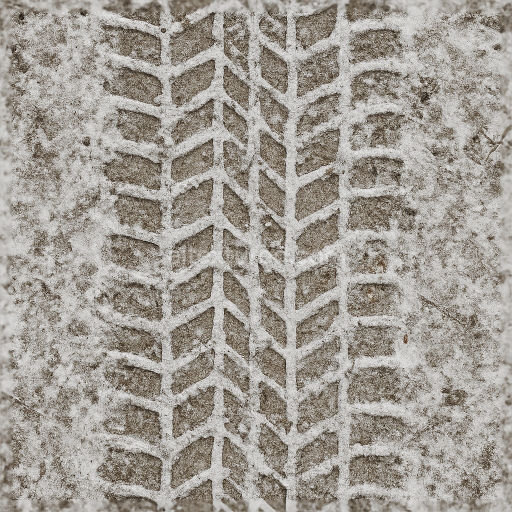
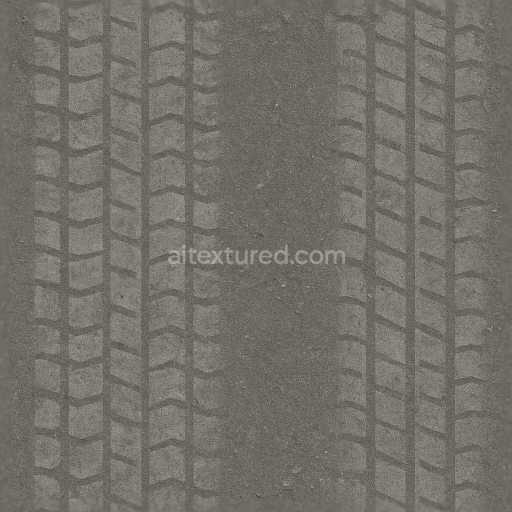
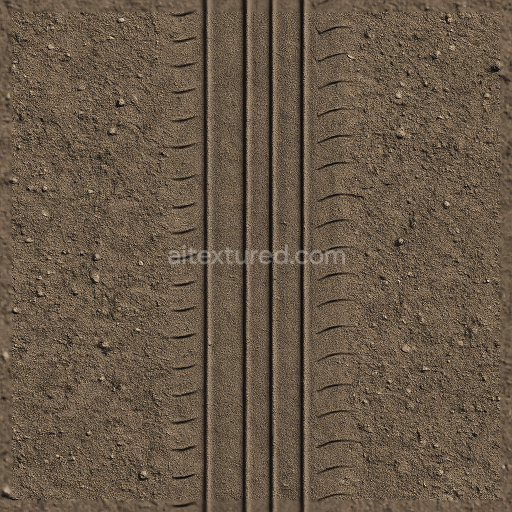
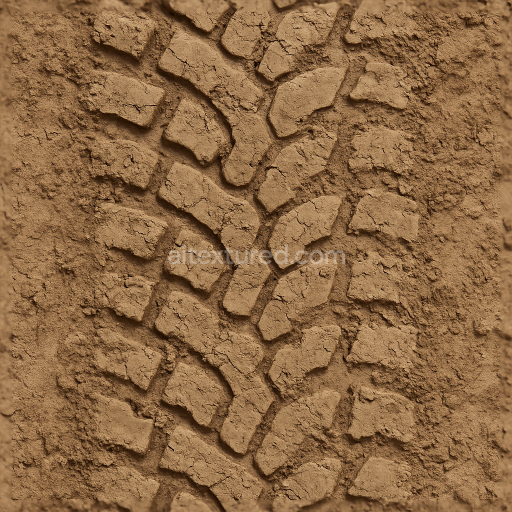
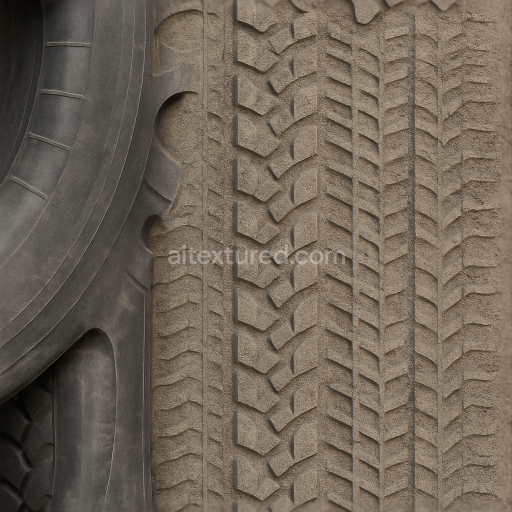
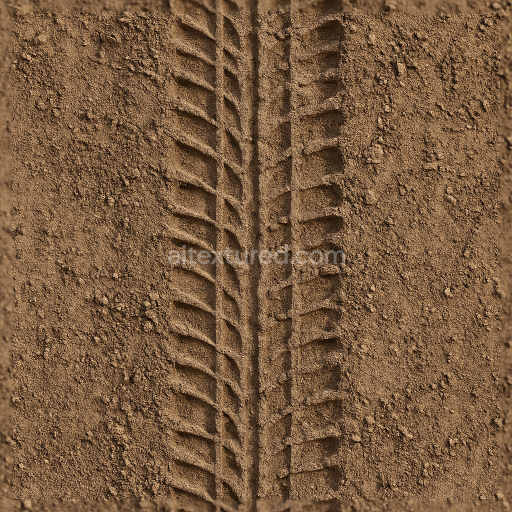
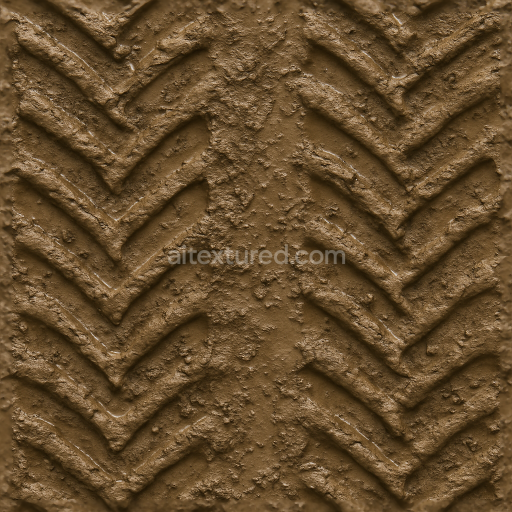
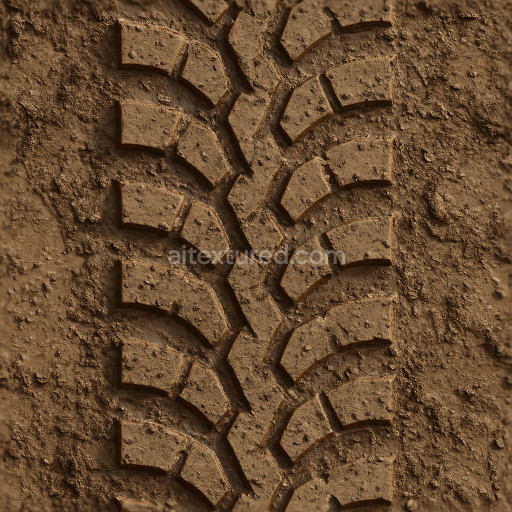
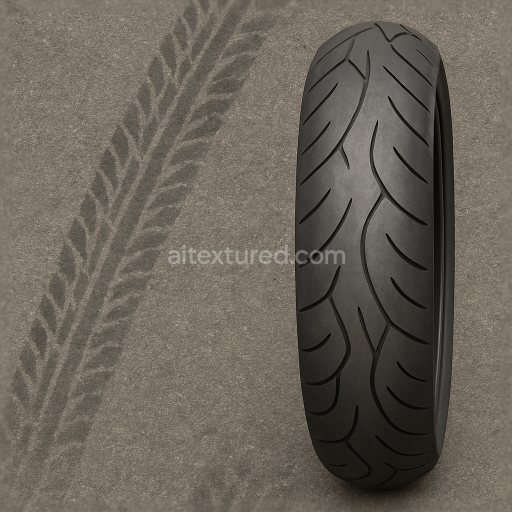
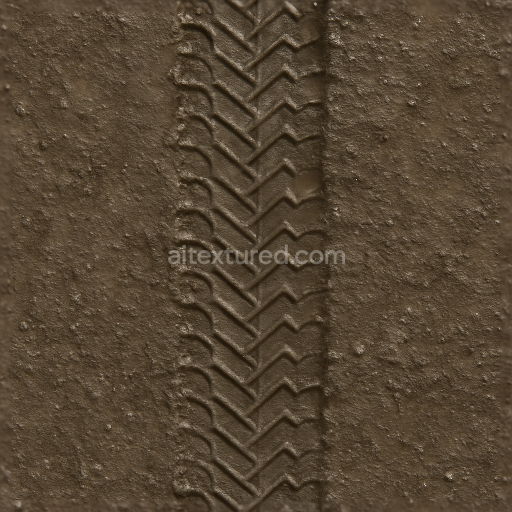
Wet Tire Print On Sand Print With Zigzag Tread And Wet Sand Soil Imprint
Seamless texture (tileable) · PNG, WEBP, PBR ZIP. License: AITextured Free Commercial License (FCL) v1.1. Free personal and commercial use. Raw resale, standalone redistribution, mirroring/scraping, competing asset packs, and AI/ML training are not allowed without written permission. Attribution is not required, but appreciated..

| ID | seamless-3d-texture-pbr-8k-snow-tire-with-winter-tread-and-snow-track-patterns-for-cold-weather-vehicle-tire-realism |
|---|---|
| Category | Tire prints |
| Formats | PNG, WEBP, PBR ZIP |
| Size | 1k (1024x1024px), 2k (2048x2048px), 4k (4096x4096px), 8k (8192x8192px) |
| Color | sRGB |
| Tileable | Yes |
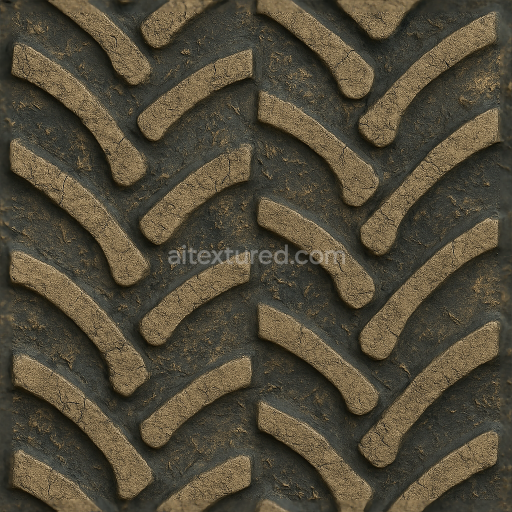
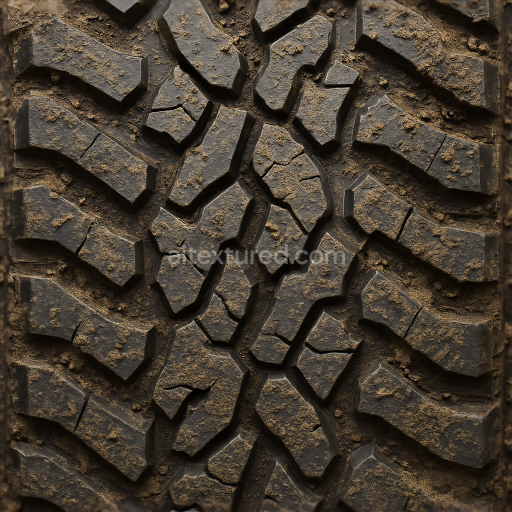
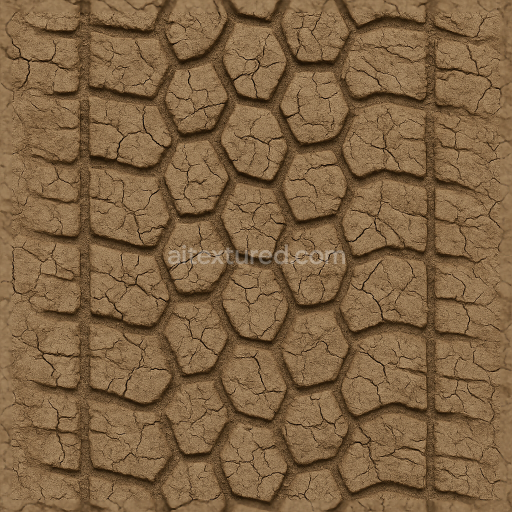
This seamless 8K PBR texture depicts a snow tire surface characterized by its intricate winter tread pattern expertly designed to mimic the complex geometry of a vehicle tire optimized for cold weather traction. The base material is a dense high-performance rubber compound commonly reinforced with synthetic polymers and carbon black pigments to enhance durability and flexibility in subzero temperatures. The tread features a repeating geometric arrangement of deep grooves sharp siping and raised blocks forming a highly detailed relief pattern that effectively channels snow and slush away from the contact patch. Microscopically the rubber surface exhibits a matte finish with subtle micro-roughness contributing to realistic light scattering and diffuse reflection under varying lighting conditions.
Structurally the texture captures the multi-layered composition of the tire’s outer surface. The substrate is modeled as a resilient elastomer matrix embedded with fine fibrous reinforcements that provide tensile strength and resistance to deformation. The tread pattern includes a mix of wide circumferential grooves and narrower lateral cuts each carefully sculpted to simulate the tire’s ability to maintain grip on snow-covered roads. Porosity is minimal but perceptible in the form of slight surface wear and embedded snow particles within tire grooves enhancing realism. The surface finish is a non-glossy slightly rough rubber with subtle variations in roughness and height maps to replicate wear and accumulation of snow residues.
From a PBR mapping perspective the BaseColor (Albedo) channel uses a muted black-gray palette with subtle color shifts to indicate rubber compound aging and embedded snow dusting. The Normal map encodes the high-frequency details of the tread blocks grooves and snow-filled indentations delivering strong surface relief essential for realistic light interaction. Roughness values vary across the texture with smoother areas on raised tread blocks contrasted by rougher snow-dusted grooves to simulate differential light scattering. The Metallic channel remains near zero consistent with non-metallic rubber materials. Ambient Occlusion enhances the perception of depth within the tread pattern recesses while the Height/Displacement map provides accurate geometric displacement for advanced rendering techniques emphasizing the tire’s multi-dimensional tread structure.
Designed for seamless tiling this texture is optimized at 8K resolution to deliver exceptional detail suitable for close-up renders in Blender Unreal Engine and Unity. The high resolution ensures fidelity in both realtime and offline rendering scenarios allowing for precise representation of tire tread patterns and snow track impressions. For practical application it is recommended to carefully adjust the UV scale to maintain consistency with vehicle model proportions and to fine-tune roughness values to balance between matte rubber and slightly snow-covered surfaces. Additionally blending normal and height maps can enhance depth perception without excessive geometric complexity improving performance in realtime environments.
Import the texture maps into Blender with sRGB color space for albedo/base color and Non-Color for normal, roughness, metallic, AO, height, and ORM maps. Connect normal maps through a Normal Map node, then adjust UV scale with a Mapping node so the material repeats naturally on your model.
For the full step-by-step setup, see How to Use Seamless Textures in Blender. Browse related material examples in wood, concrete, and metal.
Yes. This texture is designed as a seamless tileable PBR material, so it can repeat across large surfaces without visible borders.
You can download PNG/WEBP versions and use 1K, 2K, 4K and 8K download options when available on the page.
Yes. The download options and engine-mapped ZIP workflow are designed for Blender, Unreal Engine, Unity Standard, URP and HDRP material pipelines.
Yes. The texture is available under the AITextured free commercial license. Review the license page for redistribution and AI-training restrictions.


Build, preview, and export seamless PBR materials. Generate full map sets from a single image, inspect them in a real-time WebGL viewer, and re-package maps for Unreal, Unity, and Blender—directly in your browser.
AI text-to-texture: type a prompt and get a seamless, tileable base image ready for PBR workflows (great starting point for materials).
Create a full PBR set (Normal, Roughness, AO, Metallic, etc.) from a single image. Seamless and tiling-friendly.
Instant WebGL viewer: inspect materials on a sphere, plane, and cube. Check tiling and lighting in real time.
Re-packages maps per engine: Unreal (BaseColor + ORM), Unity (Mask/MetallicSmoothness), Blender (separate channels).
PNG ↔ JPG ↔ SVG: fast convert, SVG rasterize, embed/trace options, quality & background controls.