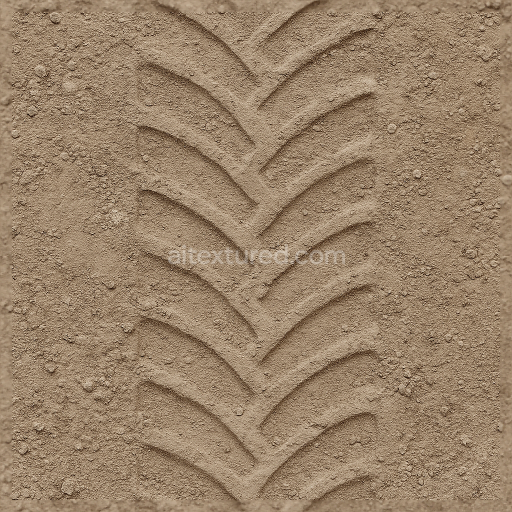
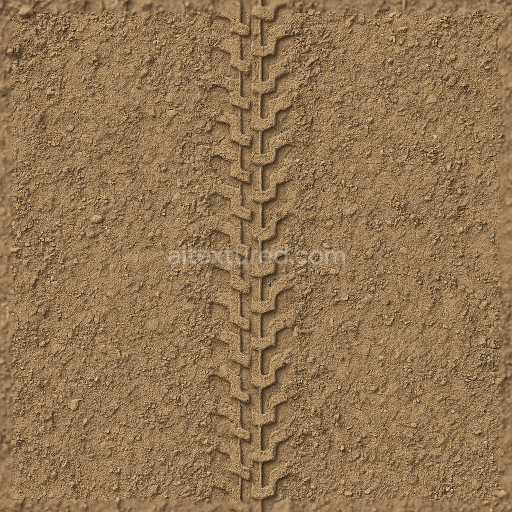
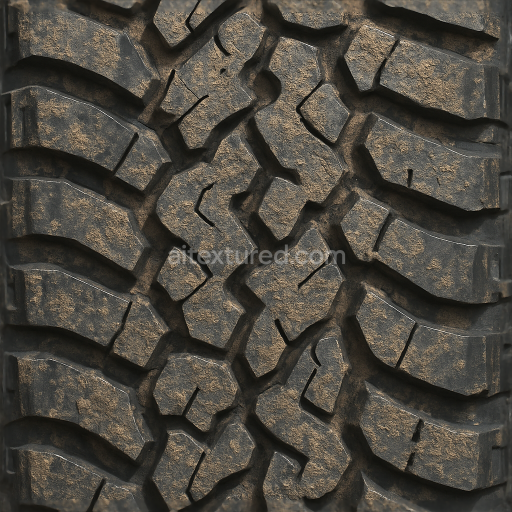
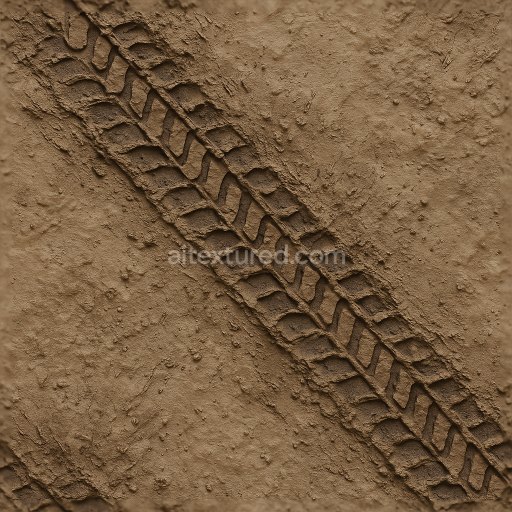
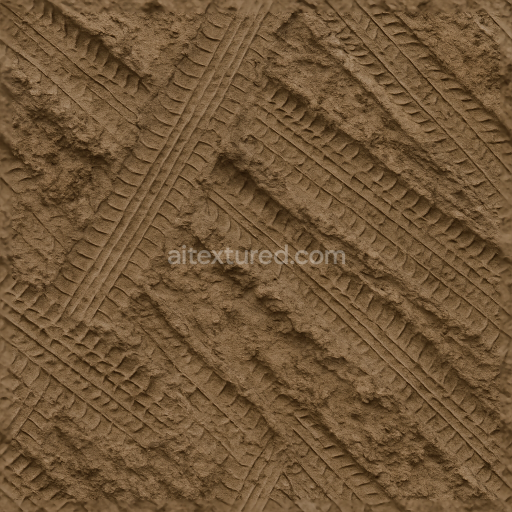
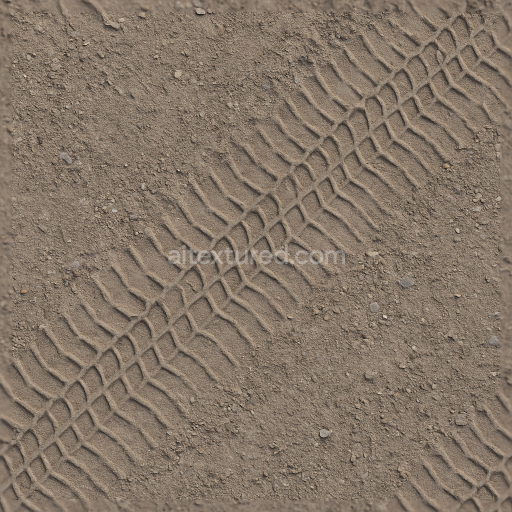
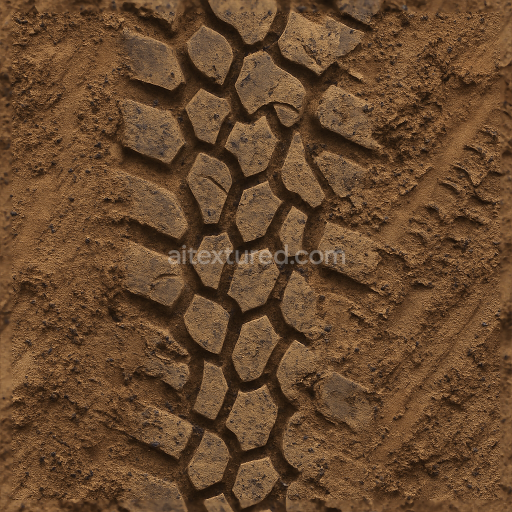
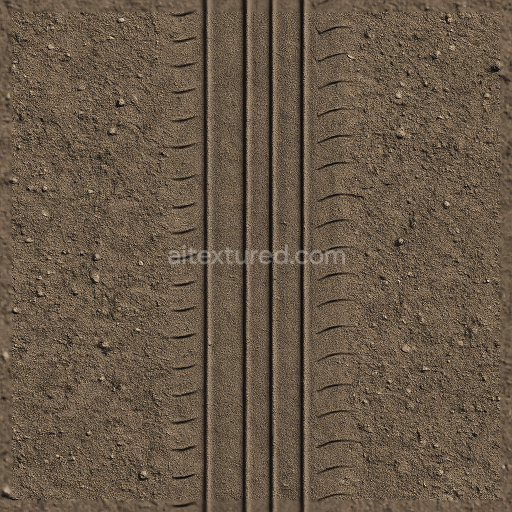
Construction Tire Print On Compacted Gravel With Shallow Tread And Dust Print
Seamless texture (tileable) · PNG, WEBP, PBR ZIP. License: AITextured Free Commercial License (FCL) v1.1. Free personal and commercial use. Raw resale, standalone redistribution, mirroring/scraping, competing asset packs, and AI/ML training are not allowed without written permission. Attribution is not required, but appreciated..

| ID | seamless-3d-texture-pbr-8k-winter-tread-snow-tire-with-icy-snow-track-and-tire-stud-details-for-cold-climate-vehicles |
|---|---|
| Category | Tire prints |
| Formats | PNG, WEBP, PBR ZIP |
| Size | 1k (1024x1024px), 2k (2048x2048px), 4k (4096x4096px), 8k (8192x8192px) |
| Color | sRGB |
| Tileable | Yes |
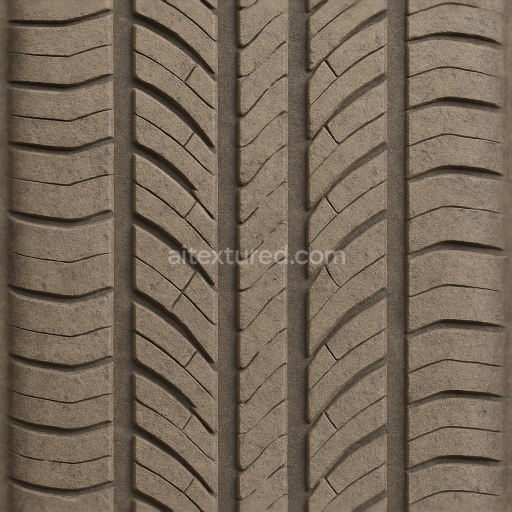
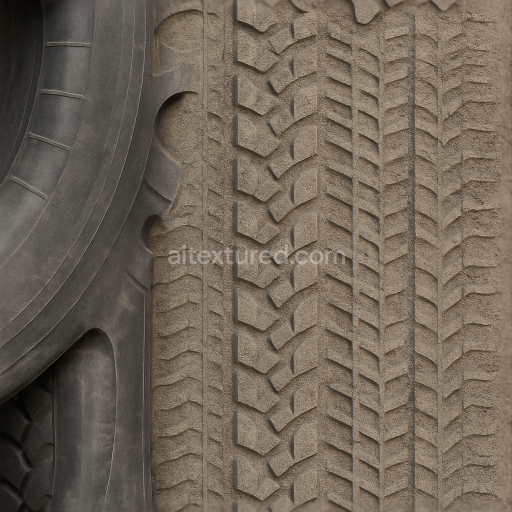
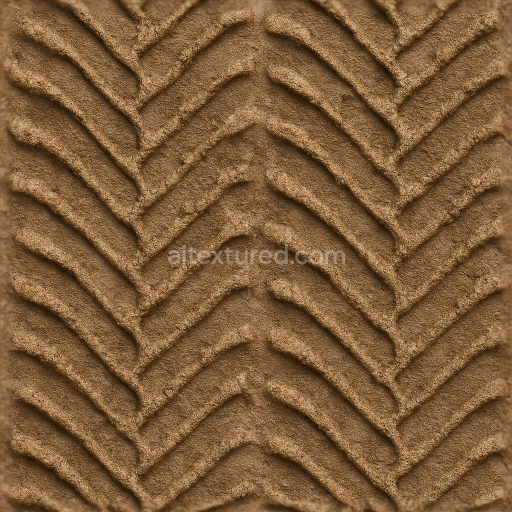
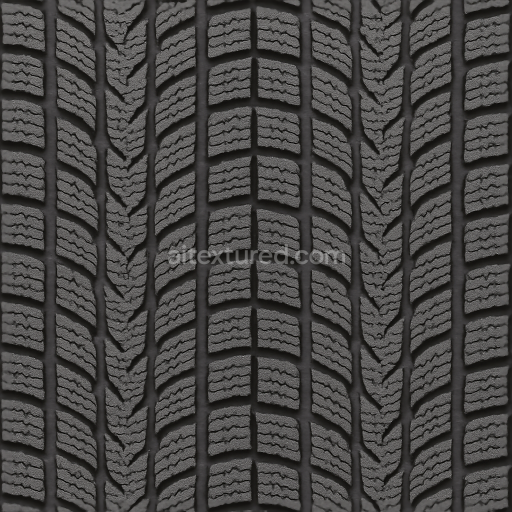
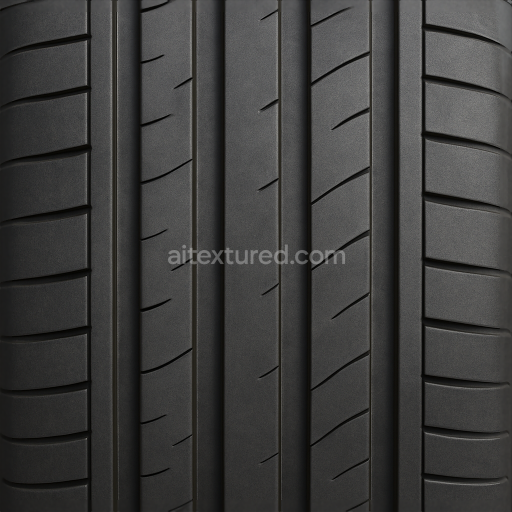
This seamless 8K PBR texture presents a meticulously detailed winter tread snow tire surface designed for vehicles operating in cold icy climates. The base material is primarily a durable synthetic rubber compound engineered to maintain elasticity and grip in subzero temperatures. This rubber substrate features embedded metallic tire studs that provide additional traction on ice. The tread pattern is geometrically complex combining deep angular grooves with raised blocky elements arranged in a repeating directional pattern to channel snow and slush away from the contact surface. The texture's form replicates the intricate interplay between the flexible rubber and the rigid metal studs capturing the micro-geometry of the tread blocks and the fine accumulations of icy snow lodged within the crevices.
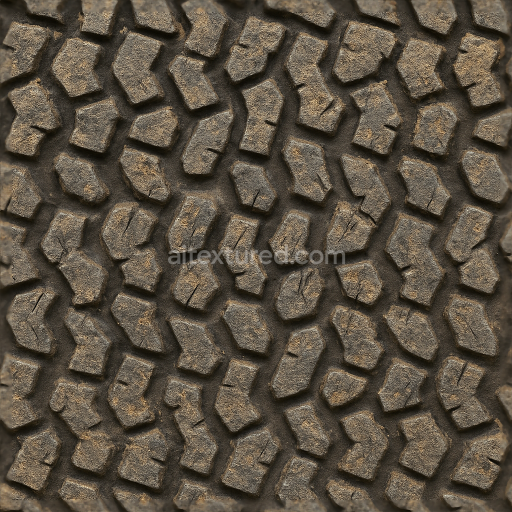
From a compositional standpoint the rubber substrate is interlaced with polymer binders that enhance resilience and wear resistance. The surface exhibits moderate porosity due to micro-cracks and weathering effects typical of winter tire use with subtle roughness variations caused by embedded ice crystals and compacted snow. The tire studs are composed of corrosion-resistant metal alloys providing a metallic contrast against the matte rubber. Color pigments in the rubber are deep black with slight bluish undertones while the icy snow deposits appear translucent with a frosted white tint. The finish is predominantly matte but interrupted by occasional glossy patches where ice melts and refreezes creating realistic specular highlights.
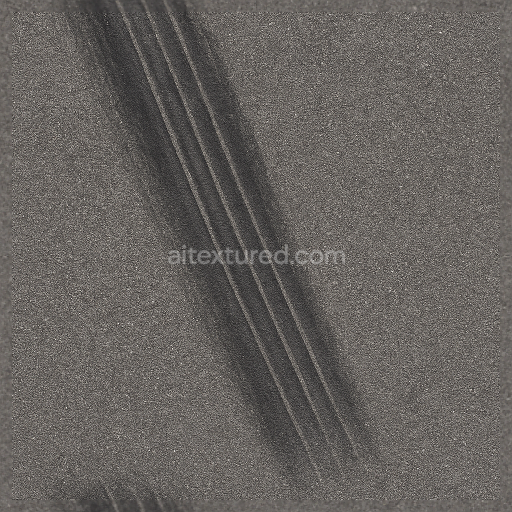
Technically the texture’s PBR channels are carefully mapped to enhance realism: the BaseColor (Albedo) channel reflects the dark rubber and icy whiteness; the Normal map accentuates the raised tread blocks stud protrusions and fine snow granularity; the Roughness map varies between the smooth icy surfaces and the coarse rubber texture; the Metallic channel highlights the tire studs exclusively; Ambient Occlusion deepens shadowing within tread grooves; and the Height/Displacement map defines the pronounced relief of the tread pattern and embedded snow buildup. This comprehensive channel setup ensures accurate light interaction and surface detail fidelity.
With its 8K resolution this texture is optimized for use in Blender Unreal Engine and Unity supporting seamless tiling to avoid visible repetition on large-scale vehicle models. For practical application it is recommended to carefully adjust the UV scale to match the real-world tire dimensions ensuring the tread pattern appears natural in 3D scenes. Additionally fine-tuning the roughness channel can balance the wet ice shine against the rubber’s matte finish while blending height and normal maps can further enhance depth perception without excessive geometry.
Import the texture maps into Blender with sRGB color space for albedo/base color and Non-Color for normal, roughness, metallic, AO, height, and ORM maps. Connect normal maps through a Normal Map node, then adjust UV scale with a Mapping node so the material repeats naturally on your model.
For the full step-by-step setup, see How to Use Seamless Textures in Blender. Browse related material examples in wood, concrete, and metal.
Yes. This texture is designed as a seamless tileable PBR material, so it can repeat across large surfaces without visible borders.
You can download PNG/WEBP versions and use 1K, 2K, 4K and 8K download options when available on the page.
Yes. The download options and engine-mapped ZIP workflow are designed for Blender, Unreal Engine, Unity Standard, URP and HDRP material pipelines.
Yes. The texture is available under the AITextured free commercial license. Review the license page for redistribution and AI-training restrictions.
Build, preview, and export seamless PBR materials. Generate full map sets from a single image, inspect them in a real-time WebGL viewer, and re-package maps for Unreal, Unity, and Blender—directly in your browser.
AI text-to-texture: type a prompt and get a seamless, tileable base image ready for PBR workflows (great starting point for materials).
Create a full PBR set (Normal, Roughness, AO, Metallic, etc.) from a single image. Seamless and tiling-friendly.
Instant WebGL viewer: inspect materials on a sphere, plane, and cube. Check tiling and lighting in real time.
Re-packages maps per engine: Unreal (BaseColor + ORM), Unity (Mask/MetallicSmoothness), Blender (separate channels).
PNG ↔ JPG ↔ SVG: fast convert, SVG rasterize, embed/trace options, quality & background controls.