
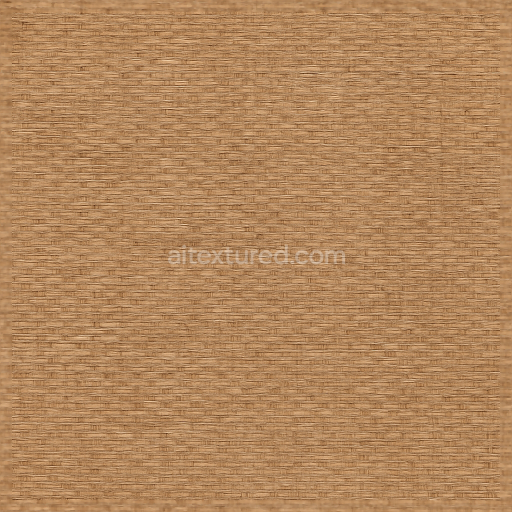
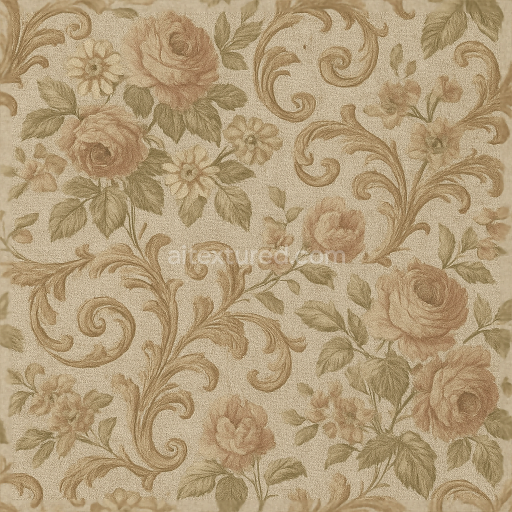
Vintage Floral Wallpaper With Textured Linen Weave
Seamless texture (tileable) · PNG, WEBP, PBR ZIP. License: AITextured Free Commercial License (FCL) v1.1. Free personal and commercial use. Raw resale, standalone redistribution, mirroring/scraping, competing asset packs, and AI/ML training are not allowed without written permission. Attribution is not required, but appreciated..

| ID | blue-plaster-weathered-old-weathered-worn-discolored-chipped-damaged |
|---|---|
| Category | Wallpaper |
| Formats | PNG, WEBP, PBR ZIP |
| Size | 1k (1024x1024px), 2k (2048x2048px), 4k (4096x4096px), 8k (8192x8192px) |
| Color | sRGB |
| Tileable | Yes |
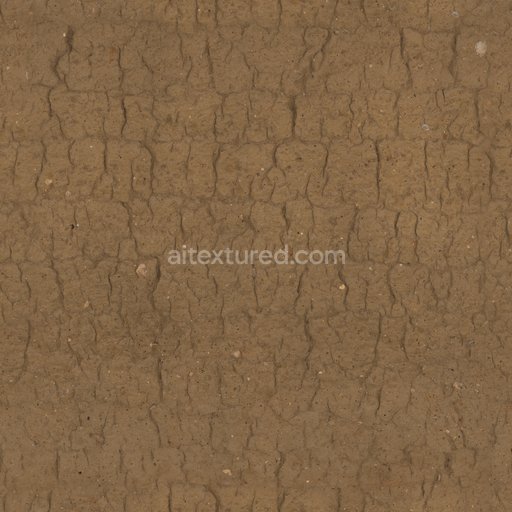
The Blue Plaster Weathered texture is a high-quality seamless 3D material designed to realistically represent exterior blue plaster surfaces that have aged and deteriorated over time. This plaster is primarily composed of mineral-based aggregates bound together with traditional cementitious or synthetic polymer adhesives creating a durable yet porous substrate. Over years of exposure to outdoor elements such as rain sun and wind the surface becomes worn chipped and peeling revealing layers of discoloration and timeworn imperfections. The characteristic blue pigment likely introduced through mineral oxides or synthetic dyes fades unevenly enhancing the weathered old appearance. The texture captures the subtle roughness and granular grain orientation of plaster combined with cracks and damaged patches that emphasize its deteriorated man-made nature. This balance between natural wear and manufactured finish results in a visually rich material ideal for realistic walls and exterior architectural elements.
This physically based rendering (PBR) texture pack includes meticulously crafted maps: Albedo (BaseColor) conveys the faded blue hues and discolored patches Normal maps emphasize the plaster’s uneven chipped surface detail and small-scale cracks while Roughness maps define the matte to slightly glossy finish reflecting the varying degradation levels. The Height (Displacement) channel accentuates the peeling layers and surface depth enhancing realism in both real-time and offline rendering. Ambient Occlusion maps add subtle shadowing around crevices and damaged areas enriching the perceived depth and complexity of the weathered plaster. The texture is optimized for modern production pipelines offering 4K resolution with an optional 8K upgrade for high-end visualization projects fully compatible with Blender Unreal Engine and Unity. The provided PNG and EXR files support tileable use ensuring seamless repetition across large surfaces without visible borders.
For best results applying this blue plaster weathered texture with a slightly increased UV scale can help emphasize the worn and peeling details in close-up shots while adjusting the roughness values allows tuning the balance between matte dusty areas and spots with residual moisture or slight gloss from weather exposure. This versatile physically based material delivers reliable consistent shading across diverse digital content creation tools and game engines requiring no manual tweaking to achieve authentic outdoor wall appearances. Its combination of fine detail and optimized performance makes it an excellent choice for creating realistic deteriorated exterior plaster surfaces in architectural visualization game environments and CGI projects.
Import the texture maps into Blender with sRGB color space for albedo/base color and Non-Color for normal, roughness, metallic, AO, height, and ORM maps. Connect normal maps through a Normal Map node, then adjust UV scale with a Mapping node so the material repeats naturally on your model.
For the full step-by-step setup, see How to Use Seamless Textures in Blender. Browse related material examples in wood, concrete, and metal.
Yes. This texture is designed as a seamless tileable PBR material, so it can repeat across large surfaces without visible borders.
You can download PNG/WEBP versions and use 1K, 2K, 4K and 8K download options when available on the page.
Yes. The download options and engine-mapped ZIP workflow are designed for Blender, Unreal Engine, Unity Standard, URP and HDRP material pipelines.
Yes. The texture is available under the AITextured free commercial license. Review the license page for redistribution and AI-training restrictions.


Generate, preview, and export seamless PBR materials for Blender, Unity, and Unreal Engine—directly in your browser.
AI text-to-texture: type a prompt and get a seamless, tileable base image ready for PBR workflows (great starting point for materials).
Create a full PBR set (Normal, Roughness, AO, Metallic, etc.) from a single image. Seamless and tiling-friendly.
Instant WebGL viewer: inspect materials on a sphere, plane, and cube. Check tiling and lighting in real time.
Re-packages maps per engine: Unreal (BaseColor + ORM), Unity (Mask/MetallicSmoothness), Blender (separate channels).
PNG ↔ JPG ↔ SVG: fast convert, SVG rasterize, embed/trace options, quality & background controls.