
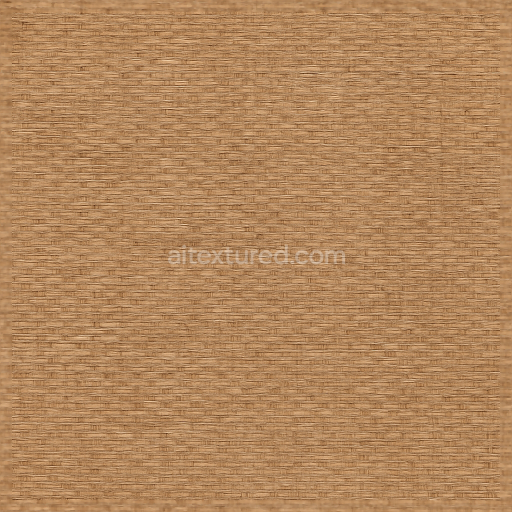
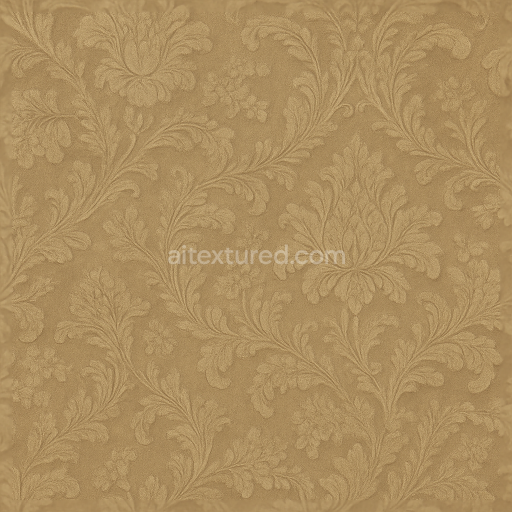
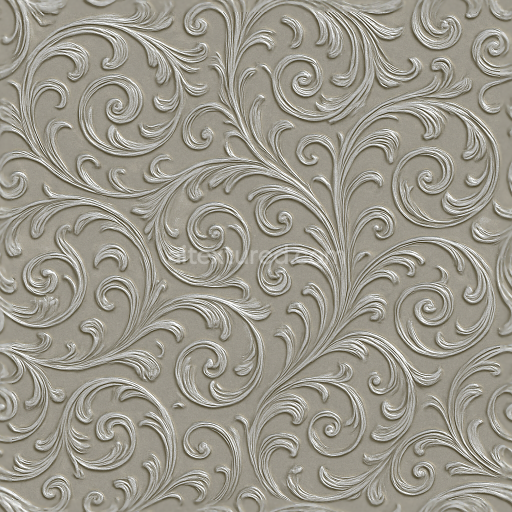
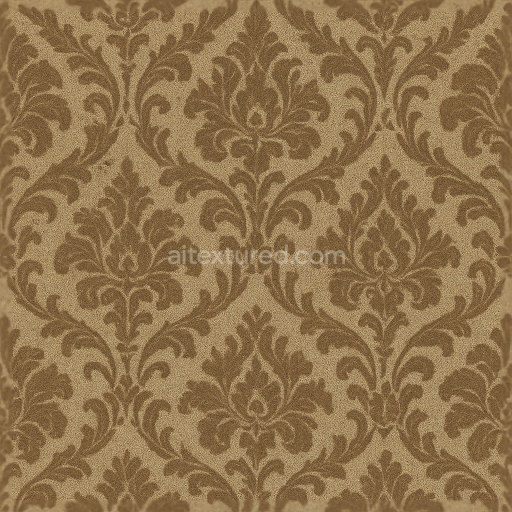
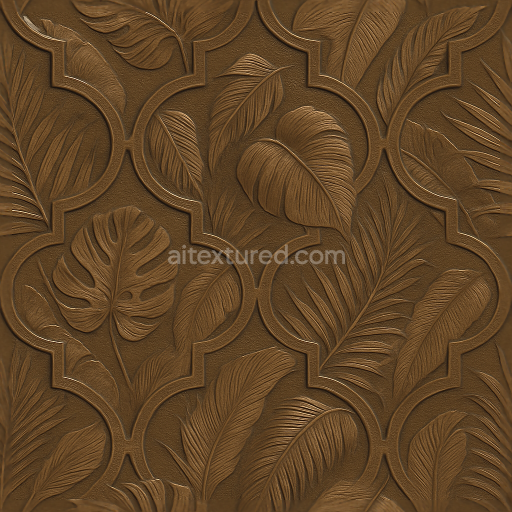
Floral Vines Wallpaper With Hand Painted Style
Seamless texture (tileable) · PNG, WEBP, PBR ZIP. License: AITextured Free Commercial License (FCL) v1.1. Free personal and commercial use. Raw resale, standalone redistribution, mirroring/scraping, competing asset packs, and AI/ML training are not allowed without written permission. Attribution is not required, but appreciated..

| ID | seamless-3d-texture-pbr-8k-retro-graffiti-wallpaper-with-distressed-grunge-effect |
|---|---|
| Category | Wallpaper |
| Formats | PNG, WEBP, PBR ZIP |
| Size | 1k (1024x1024px), 2k (2048x2048px), 4k (4096x4096px), 8k (8192x8192px) |
| Color | sRGB |
| Tileable | Yes |
This seamless 3D wallpaper texture features a retro graffiti design rendered in an 8K photorealistic PBR format capturing the intricate details of an urban wall surface. The base material simulates aged concrete or plaster substrate characterized by a slightly rough and porous finish that has absorbed layers of paint and grime over time. Embedded within this substrate are subtle aggregates and micro-cracks lending authenticity to the distressed and weathered aesthetic. The graffiti pattern itself appears as spray-painted pigments bound by a matte slightly chalky binder exhibiting uneven opacity and occasional paint chipping consistent with natural wear.
Geometrically the texture mimics a flat wall surface interrupted by small surface reliefs such as peeling paint edges faint indentations and irregularities in the plaster. This unevenness is articulated through finely detailed normal and height maps that highlight the subtle depth variations of the chipped paint and textured wall beneath. The roughness channel reflects a predominantly matte surface with higher roughness values on exposed concrete areas contrasting with smoother paint sections where the pigment is freshly applied or less weathered. The ambient occlusion map enhances the perception of depth around cracks and paint crevices while the metallic channel remains near zero accurately representing the non-metallic nature of the materials involved.
The composition’s color palette is dominated by faded muted tones typical of retro graffiti—vibrant reds blues yellows and greens that have dulled over time due to environmental exposure. These pigments are mapped in the base color (albedo) channel carefully balanced under neutral lighting conditions to preserve realism and versatility across rendering engines. The seamless nature of the texture ensures that when tiled no visible edges disrupt the continuity of the pattern making it ideal for large-scale wall applications in 3D scenes or virtual environments.
Optimized at 8K resolution this texture is fully compatible with Blender Unreal Engine and Unity supporting high-fidelity close-up renders and detailed environment creation. For practical use it is recommended to adjust the UV scale carefully to maintain the graffiti’s proportional realism on different wall sizes. Additionally tuning the roughness map can help adapt the surface finish to specific lighting scenarios while blending height and normal maps can enhance the perception of depth without excessive geometry optimizing performance in real-time engines.
Import the texture maps into Blender with sRGB color space for albedo/base color and Non-Color for normal, roughness, metallic, AO, height, and ORM maps. Connect normal maps through a Normal Map node, then adjust UV scale with a Mapping node so the material repeats naturally on your model.
For the full step-by-step setup, see How to Use Seamless Textures in Blender. Browse related material examples in wood, concrete, and metal.
Yes. This texture is designed as a seamless tileable PBR material, so it can repeat across large surfaces without visible borders.
You can download PNG/WEBP versions and use 1K, 2K, 4K and 8K download options when available on the page.
Yes. The download options and engine-mapped ZIP workflow are designed for Blender, Unreal Engine, Unity Standard, URP and HDRP material pipelines.
Yes. The texture is available under the AITextured free commercial license. Review the license page for redistribution and AI-training restrictions.


Generate, preview, and export seamless PBR materials for Blender, Unity, and Unreal Engine—directly in your browser.
AI text-to-texture: type a prompt and get a seamless, tileable base image ready for PBR workflows (great starting point for materials).
Create a full PBR set (Normal, Roughness, AO, Metallic, etc.) from a single image. Seamless and tiling-friendly.
Instant WebGL viewer: inspect materials on a sphere, plane, and cube. Check tiling and lighting in real time.
Re-packages maps per engine: Unreal (BaseColor + ORM), Unity (Mask/MetallicSmoothness), Blender (separate channels).
PNG ↔ JPG ↔ SVG: fast convert, SVG rasterize, embed/trace options, quality & background controls.