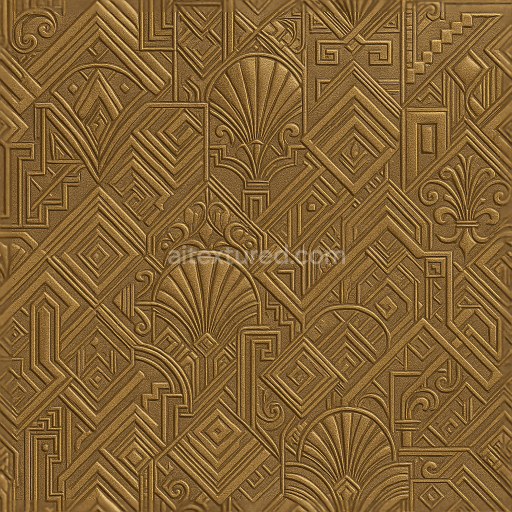
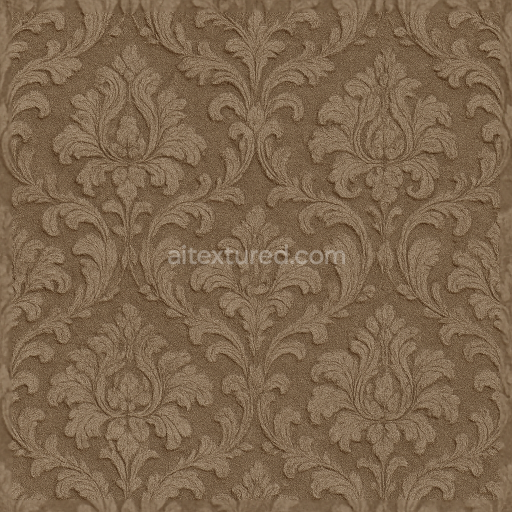
Art Deco Geometric Wallpaper With Metallic Brocade And Satin Embossed Highlights
Seamless texture (tileable) · PNG, WEBP, PBR ZIP. License: AITextured Free Commercial License (FCL) v1.1. Free personal and commercial use. Raw resale, standalone redistribution, mirroring/scraping, competing asset packs, and AI/ML training are not allowed without written permission. Attribution is not required, but appreciated..

| ID | seamless-3d-texture-pbr-8k-herringbone-jacquard-wallpaper-with-textured-basket-weave-effect |
|---|---|
| Category | Wallpaper |
| Formats | PNG, WEBP, PBR ZIP |
| Size | 1k (1024x1024px), 2k (2048x2048px), 4k (4096x4096px), 8k (8192x8192px) |
| Color | sRGB |
| Tileable | Yes |
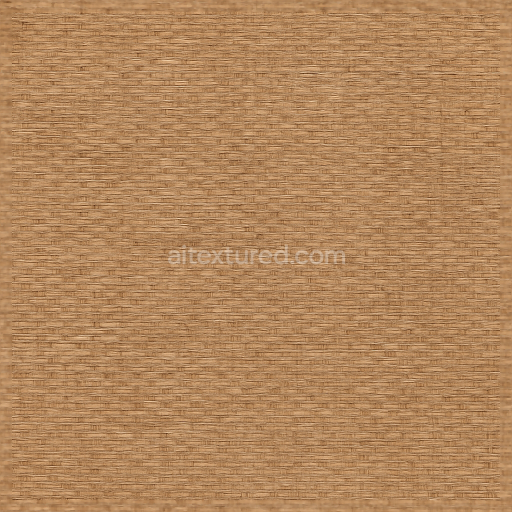
This seamless 3D texture wallpaper embodies a sophisticated fusion of classic herringbone patterning and jacquard textile weaving rendered in ultra-high 8K resolution for exceptional detail. The base material mimics a finely woven fabric substrate resembling natural fibers such as cotton or linen interlaced with subtle basket weave elements that create a tactile dimensionality. The jacquard effect enhances the surface with intricate raised motifs characteristic of traditional weaving techniques while the herringbone geometry organizes the weave into a dynamic zigzag formation adding structured rhythm and visual interest to the pattern.
The composition suggests a multilayered textile construction where the substrate acts as a dense yet breathable canvas supported by synthetic binders and adhesives that simulate the fabric’s integrity and flexibility. Fine fiber aggregates emulate natural yarns contributing to the texture’s porosity and slight roughness which in turn affects light interaction and shadow detail. The surface finish is matte with a softly textured hand avoiding gloss to preserve the natural feel of woven materials. Earth tones and muted shades are achieved through carefully calibrated pigments in the BaseColor (Albedo) channel offering a warm neutral palette that complements a broad range of interior styles.
Mapping to PBR channels is meticulously crafted to enhance realism: the Normal map captures the subtle elevations and depressions of the jacquard weave and basket textures providing convincing depth and relief. Roughness values are tuned to reflect the fabric’s matte surface with slight variation to mimic the natural inconsistencies in thread thickness and weave tightness. The Metallic channel remains near zero consistent with non-metallic textile fibers. Ambient Occlusion enriches shadowed crevices within the weave enhancing contrast and spatial definition. Height/Displacement maps enable precise surface contouring useful for parallax effects or displacement rendering in 3D environments.
Designed for seamless tiling this wallpaper texture is optimized for real-time applications and high-fidelity rendering in Blender Unreal Engine and Unity making it suitable for architectural visualization interior design projects and virtual staging. To maximize realism when applying this texture it is advisable to carefully adjust UV scaling to preserve the natural size of the weave and experiment with roughness blending to balance between softness and subtle surface detail. Combining height and normal maps thoughtfully can further enhance the tactile perception without compromising performance.
Import the texture maps into Blender with sRGB color space for albedo/base color and Non-Color for normal, roughness, metallic, AO, height, and ORM maps. Connect normal maps through a Normal Map node, then adjust UV scale with a Mapping node so the material repeats naturally on your model.
For the full step-by-step setup, see How to Use Seamless Textures in Blender. Browse related material examples in wood, concrete, and metal.
Yes. This texture is designed as a seamless tileable PBR material, so it can repeat across large surfaces without visible borders.
You can download PNG/WEBP versions and use 1K, 2K, 4K and 8K download options when available on the page.
Yes. The download options and engine-mapped ZIP workflow are designed for Blender, Unreal Engine, Unity Standard, URP and HDRP material pipelines.
Yes. The texture is available under the AITextured free commercial license. Review the license page for redistribution and AI-training restrictions.


Generate, preview, and export seamless PBR materials for Blender, Unity, and Unreal Engine—directly in your browser.
AI text-to-texture: type a prompt and get a seamless, tileable base image ready for PBR workflows (great starting point for materials).
Create a full PBR set (Normal, Roughness, AO, Metallic, etc.) from a single image. Seamless and tiling-friendly.
Instant WebGL viewer: inspect materials on a sphere, plane, and cube. Check tiling and lighting in real time.
Re-packages maps per engine: Unreal (BaseColor + ORM), Unity (Mask/MetallicSmoothness), Blender (separate channels).
PNG ↔ JPG ↔ SVG: fast convert, SVG rasterize, embed/trace options, quality & background controls.