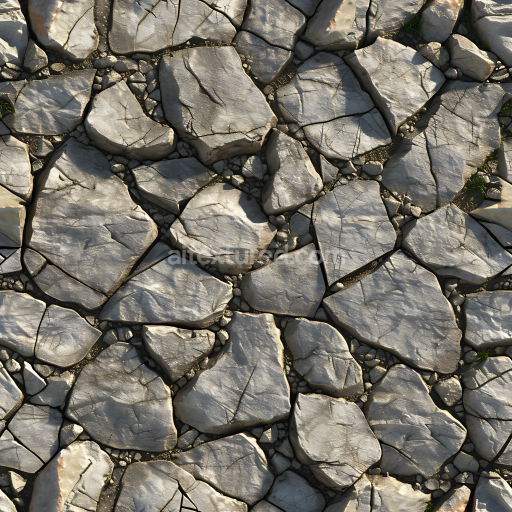
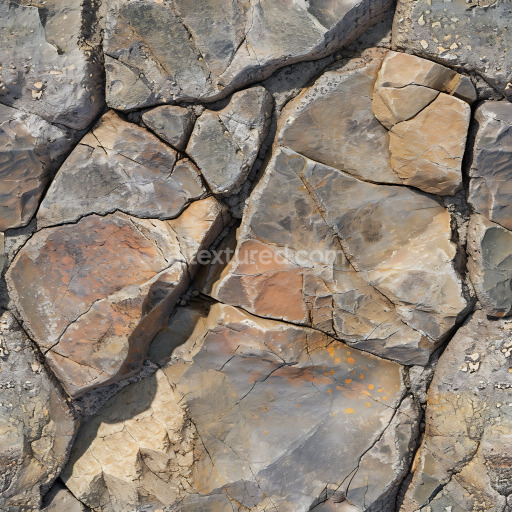
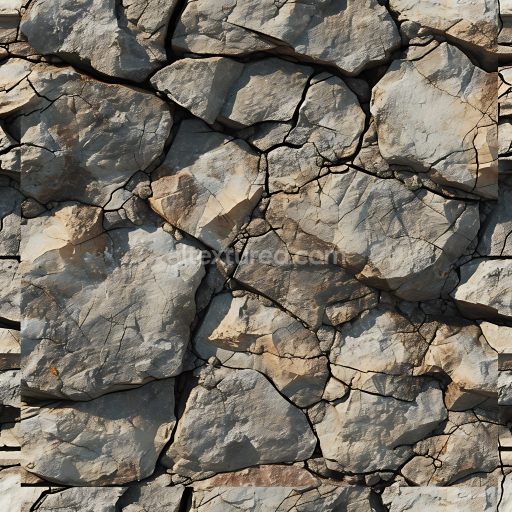
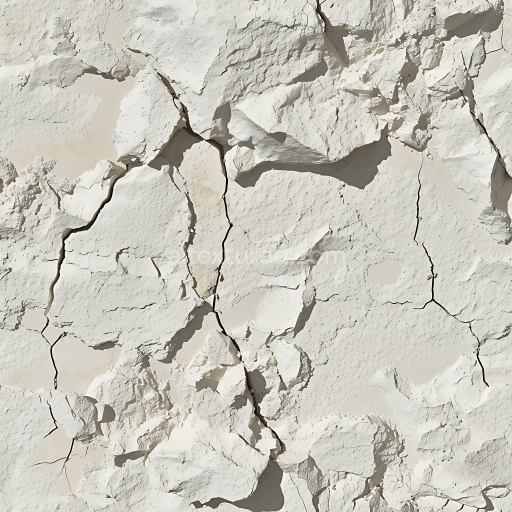
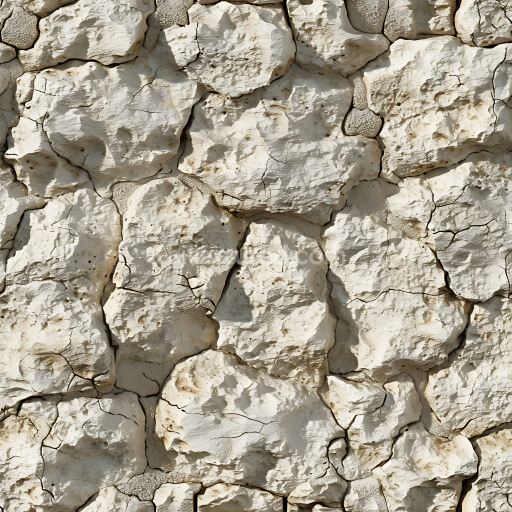
Seamless 3D Stone PBR Texture Featuring Cracked Flat Rocky Ground with Small Gravel
. Formats: WEBP, PNG . Free for personal & commercial use.

| ID | aged-slate-texture-seamless |
|---|---|
| Stone | |
| WEBP, PNG | |
| Size | 1k (1024x1024px), 2k (2048x2048px), 4k (4096x4096px), 8k (8192x8192px) |
| sRGB | |
The aged slate texture seamless high resolution up to 8ktexture captures the natural complexity and subtle variations of weathered slate stone a metamorphic rock composed primarily of fine-grained clay minerals and quartz. This AI-generated tileable aged slate texture seamless high resolution up to 8k reflects the characteristic layered mineral structure with its foliated grain orientation and visible sedimentary bedding planes. The surface displays a slightly rough matte finish typical of natural slate that has undergone extensive environmental exposure including mild oxidation and mineral staining which adds depth and authenticity to the stone textures. In PBR workflows these material qualities are represented through a carefully crafted BaseColor/Albedo channel rich in muted grays and earth tones while the Normal map conveys the subtle surface undulations and fine fissures. The Roughness channel balances areas of smoothness and micro-roughness simulating the aged surface’s tactile feel without glossy highlights and the Metallic channel remains near zero reflecting slate’s non-metallic nature. Ambient Occlusion enhances shadowed crevices and Height/Displacement maps provide realistic depth cues for enhanced parallax effects.
This tileable aged slate texture seamless high resolution up to 8k is optimized for use in high-end 3D rendering engines such as Blender Unreal Engine and Unity ensuring seamless scalability across large surfaces without visible seams or repetitive artifacts. With a resolution reaching up to 8K it delivers exceptional clarity and detail enabling artists and designers to accelerate their stone workflows efficiently. The texture’s consistent tiling pattern and polished AI generation process make it ideal for quick look development environment art architectural visualization and concept prototyping. Its performance-ready design supports fast iteration loops by maintaining visual stability and avoiding common pitfalls found in auto-generated textures such as obvious repetition or unnatural blur.
To maximize the impact of this aged slate texture seamless high resolution up to 8ktexture in your projects consider adjusting the UV scale to match the architectural context—larger scales work well for expansive walls or floors to emphasize the stone’s natural layering. For enhanced realism subtly tune the roughness channel to simulate varying surface wear and combine with a gentle ambient occlusion pass to highlight crevices and grain. Adding a light normal or height pass can break up flatness and enhance tactile perception without oversharpening ensuring the stone materials feel authentic and immersive in real-time 3D preview environments.
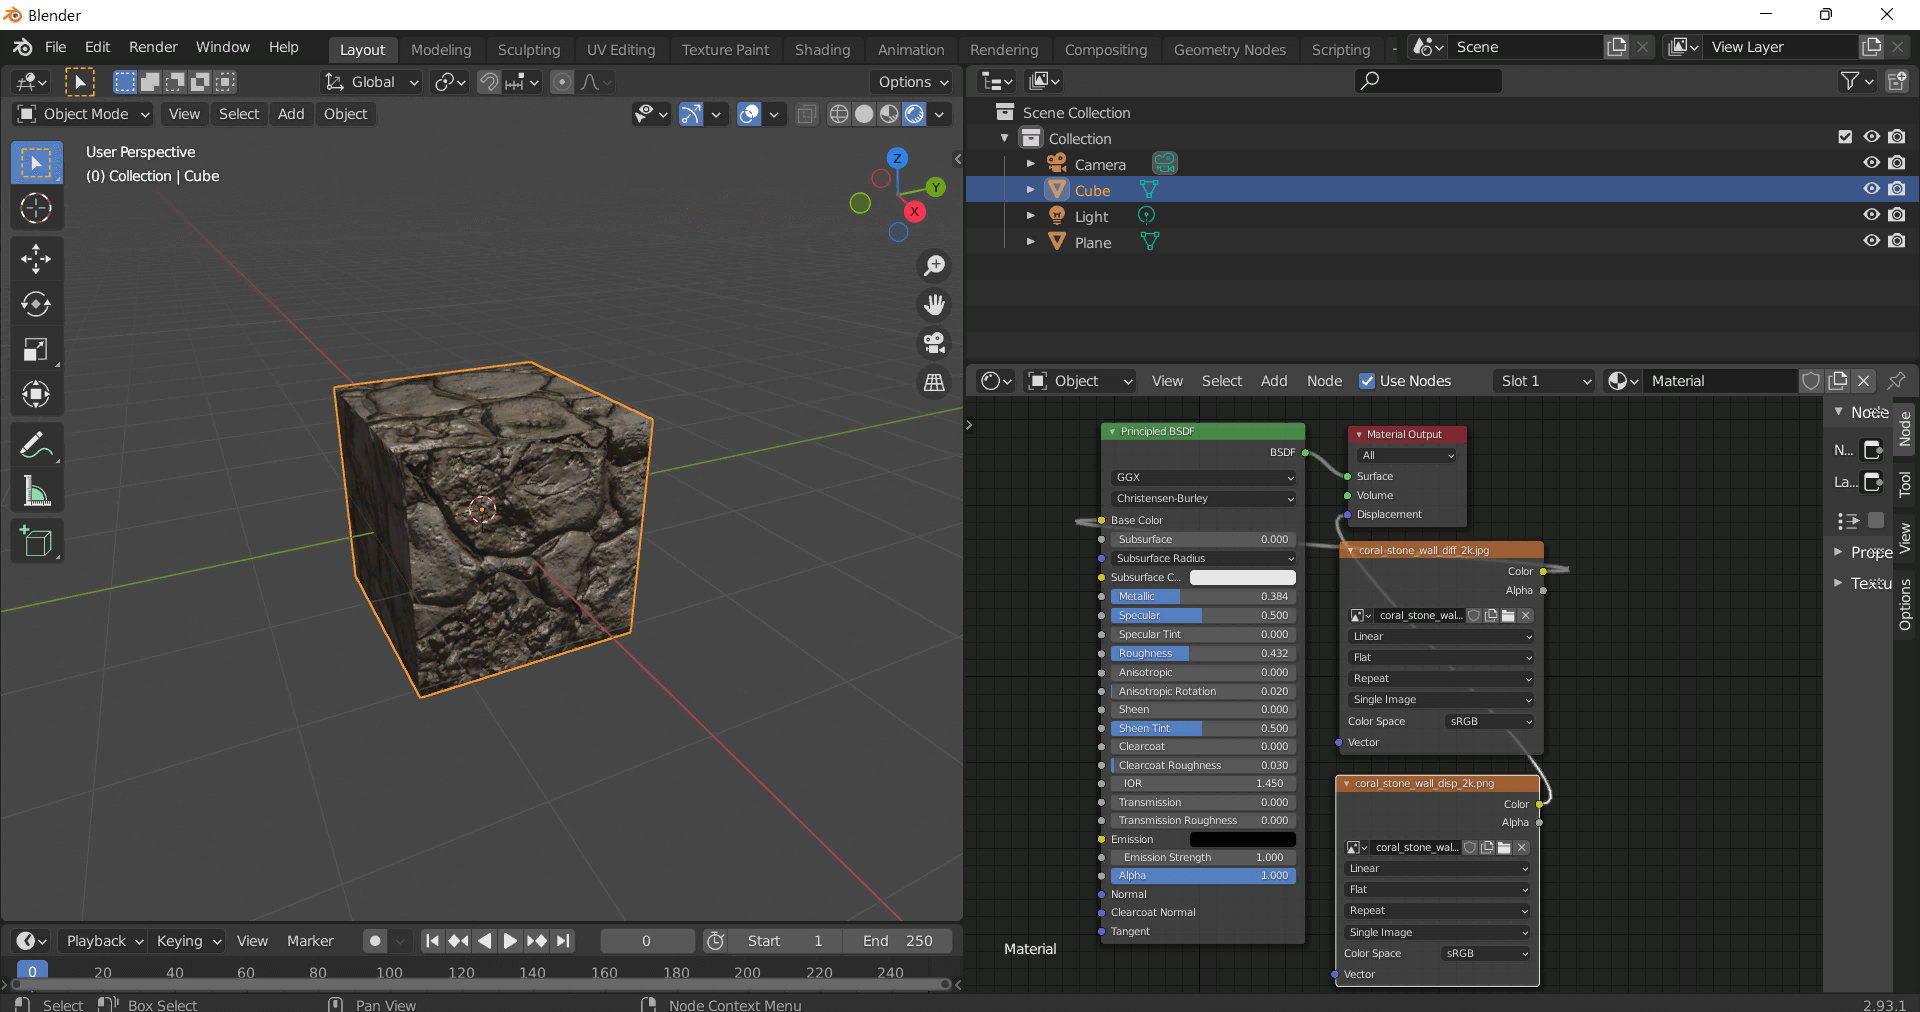
This guide shows how to connect a full PBR texture set to Principled BSDF in Blender (Cycles or Eevee). Works with any of our seamless textures free download, including PBR PNG materials for Blender / Unreal / Unity.
*_albedo.png — Base Color (sRGB)*_normal.png — Normal map (Non-Color)*_roughness.png — Roughness (Non-Color)*_metallic.png — Metallic (Non-Color)*_ao.png — Ambient Occlusion (Non-Color)*_height.png — Height / Displacement (Non-Color)*_ORM.png — Packed map (R=AO, G=Roughness, B=Metallic, Non-Color)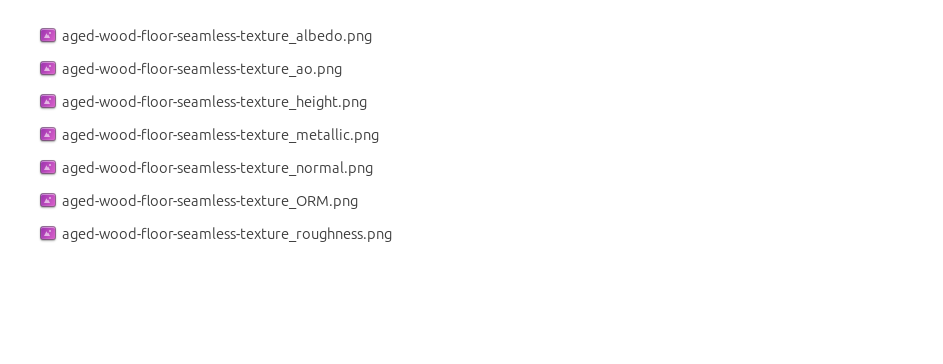
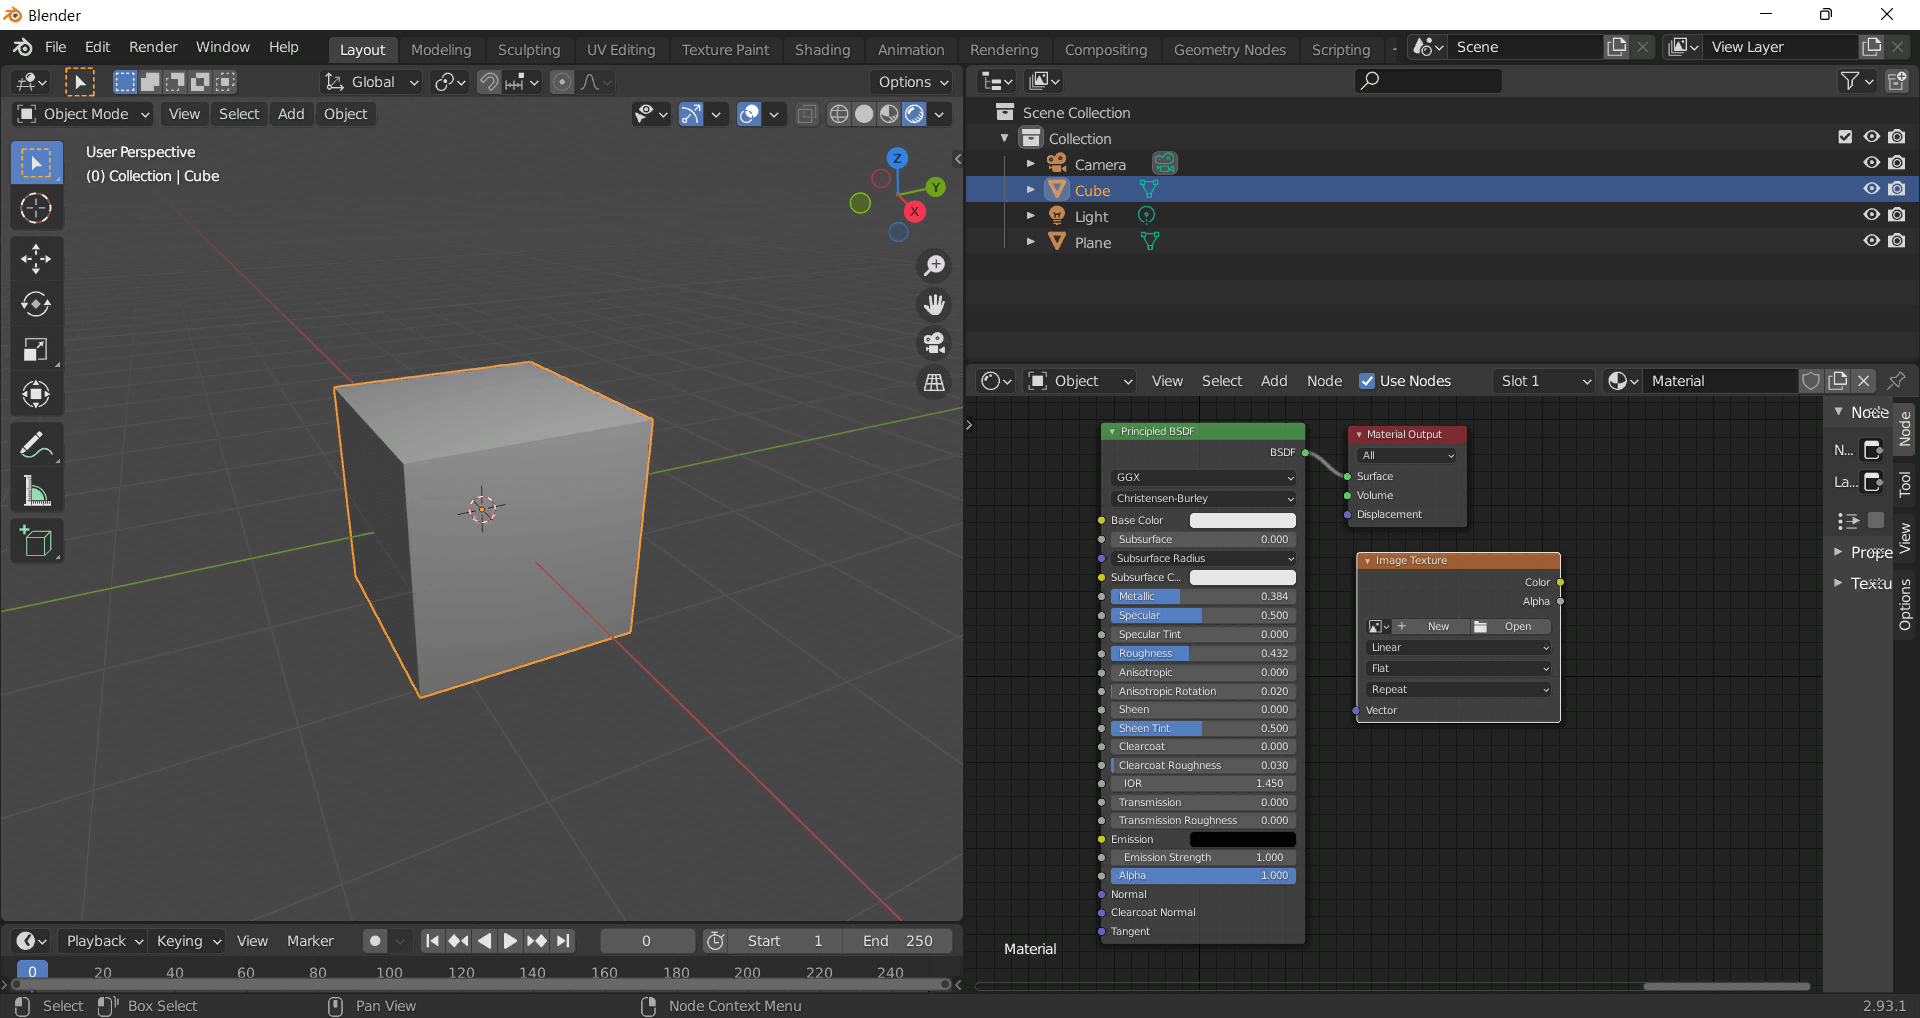
albedo → Base Colorroughness → Roughnessmetallic → Metallic (for wood this often stays near 0)normal → Normal Map node (Type: Tangent Space) → Normal of Principled.
If details look “inverted”, enable Invert Y on the Normal Map node.albedo, Input B = ao, Factor = 1.0.height → Height, set Midlevel = 0.5, Scale = 0.02–0.08 (tune to taste).height → Height.ORM texture (optional)Instead of separate AO/Roughness/Metallic maps you can use the single *_ORM.png:
Example: Download Wood Textures and instantly apply parquet or rustic planks inside Blender for architectural visualization.
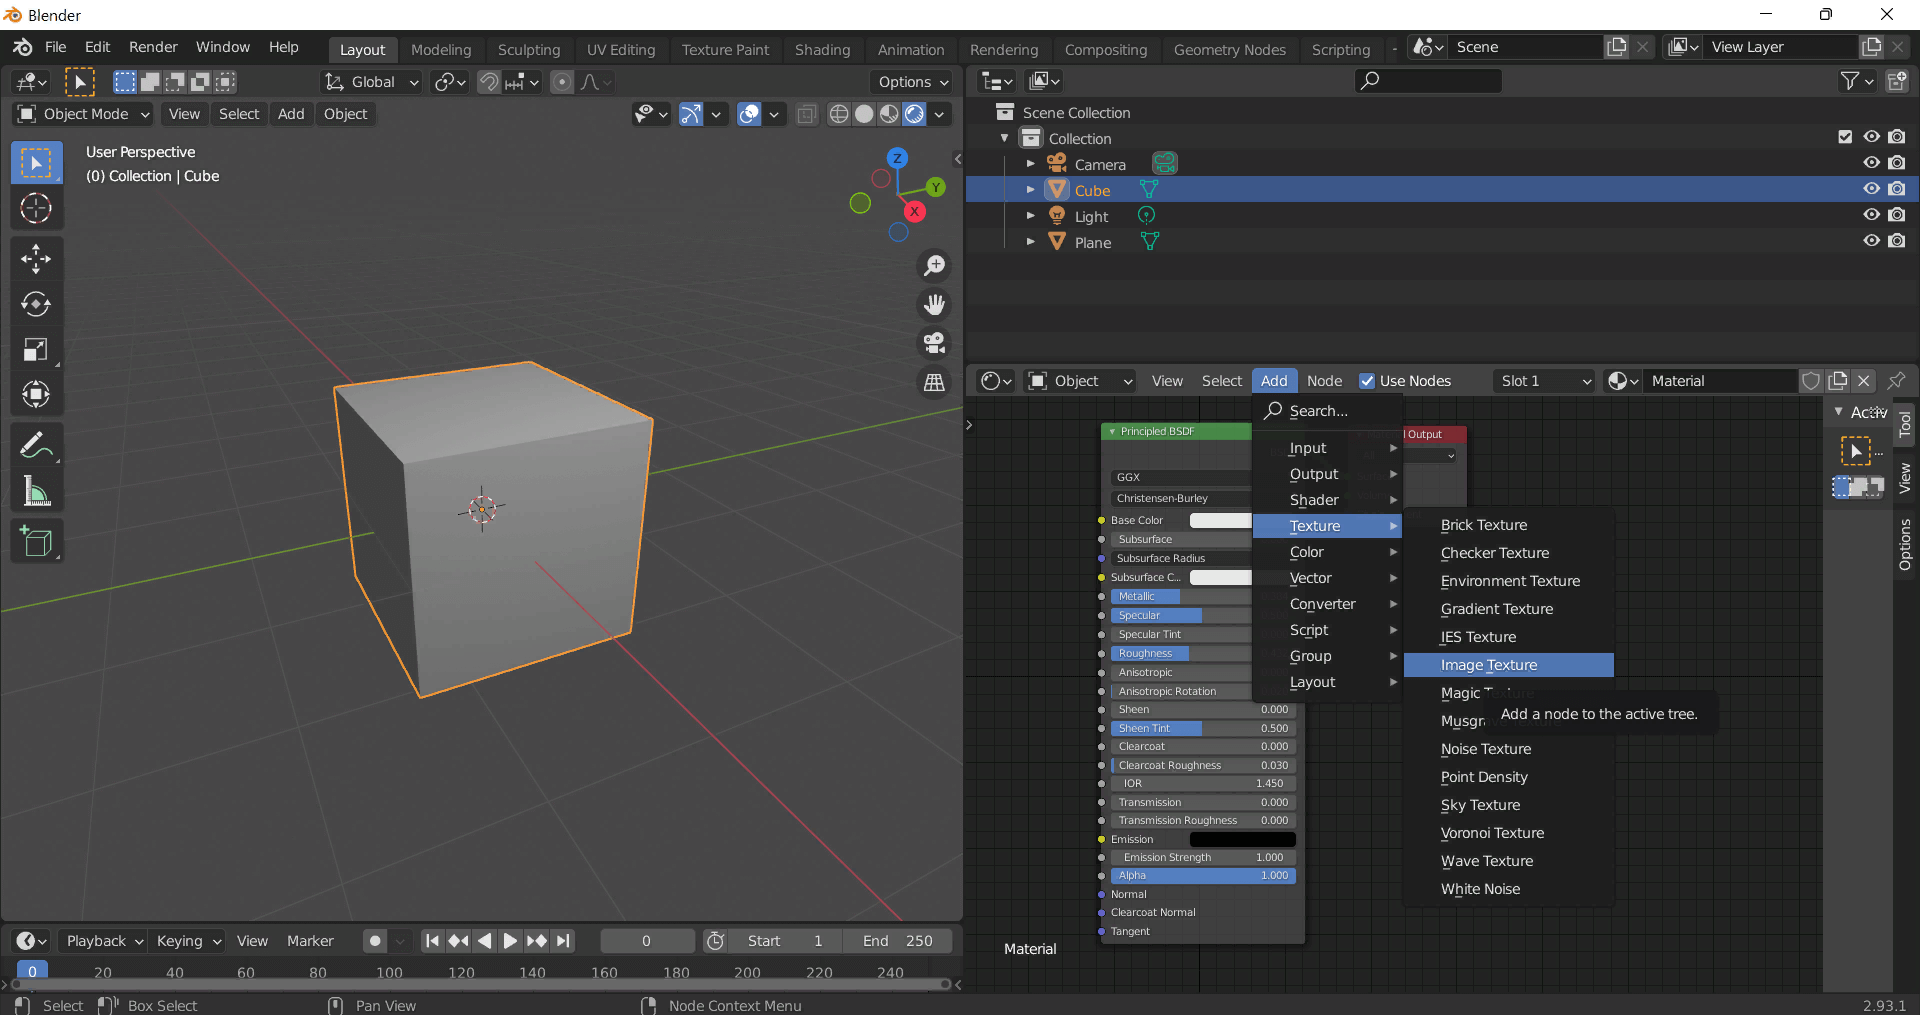
To add the downloaded texture, go to Add — Texture — Image Texture.

Build, preview, and export seamless PBR materials. Generate full map sets from a single image, inspect them in a real-time WebGL viewer, and re-package maps for Unreal, Unity, and Blender—directly in your browser.
AI text-to-texture: type a prompt and get a seamless, tileable base image ready for PBR workflows (great starting point for materials).
Create a full PBR set (Normal, Roughness, AO, Metallic, etc.) from a single image. Seamless and tiling-friendly.
Instant WebGL viewer: inspect materials on a sphere, plane, and cube. Check tiling and lighting in real time.
Re-packages maps per engine: Unreal (BaseColor + ORM), Unity (Mask/MetallicSmoothness), Blender (separate channels).
PNG ↔ JPG ↔ SVG: fast convert, SVG rasterize, embed/trace options, quality & background controls.