
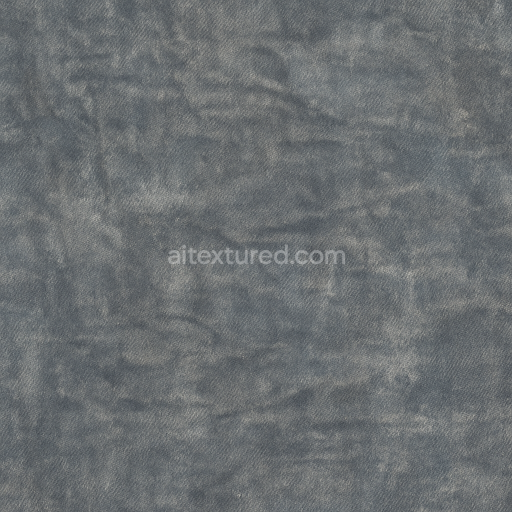
Scuffed Plastic Surface With Fingerprints And Water Stains Details
Seamless texture (tileable) · PNG, WEBP, PBR ZIP. License: AITextured Free Commercial License (FCL) v1.1. Free personal and commercial use. Raw resale, standalone redistribution, mirroring/scraping, competing asset packs, and AI/ML training are not allowed without written permission. Attribution is not required, but appreciated..

| ID | seamless-3d-texture-pbr-8k-smooth-rubber-surface-with-cracked-rubber-and-worn-fabric-blend |
|---|---|
| Category | Surfaces, smooth, rough |
| Formats | PNG, WEBP, PBR ZIP |
| Size | 1k (1024x1024px), 2k (2048x2048px), 4k (4096x4096px), 8k (8192x8192px) |
| Color | sRGB |
| Tileable | Yes |
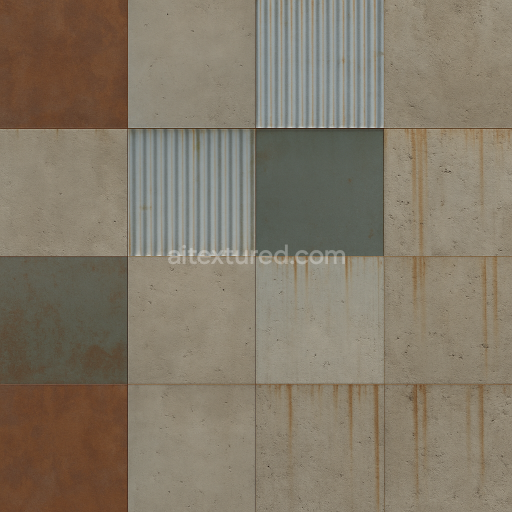
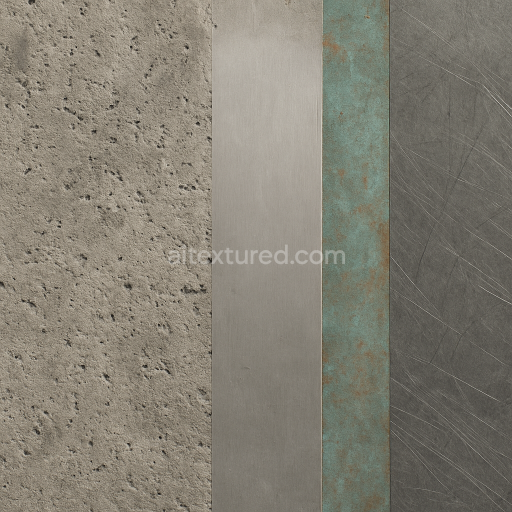
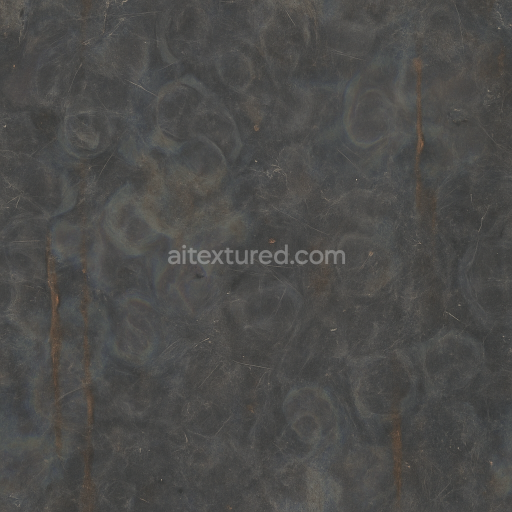
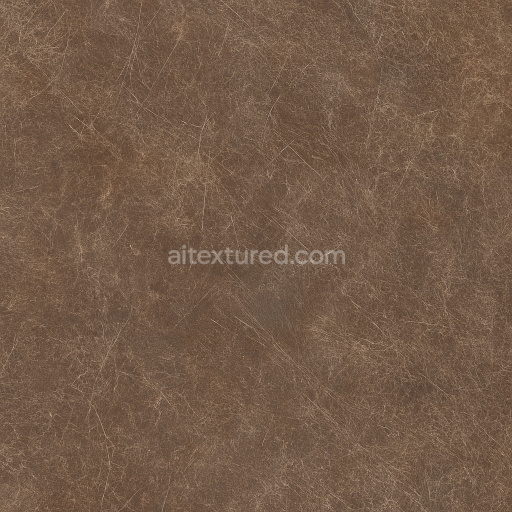
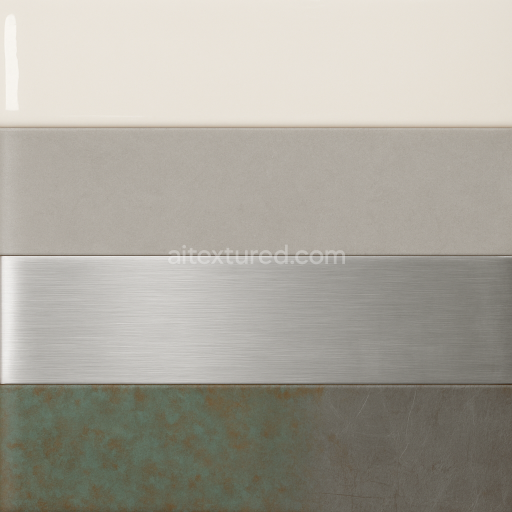
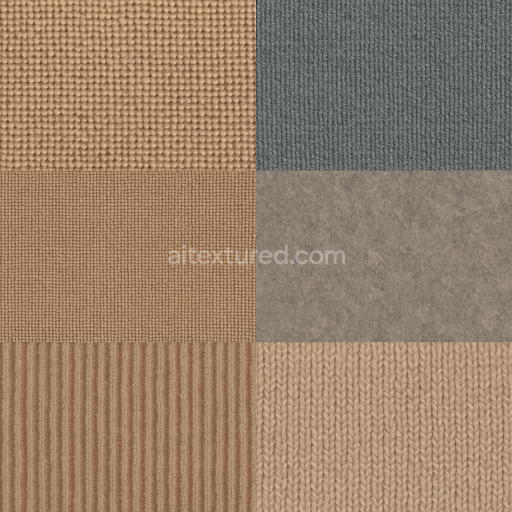
This seamless 3D texture features a sophisticated blend of smooth rubber and cracked rubber surfaces intricately combined with worn fabric elements including distressed denim and wrinkled textile details. The base material is primarily a polymer rubber substrate characterized by a finely grained structure that exhibits natural porosity and subtle weathering effects such as micro-cracks and surface abrasions. Embedded within this rubber matrix are woven fabric fibers creating a layered composition that mimics the tactile complexity of aged industrial materials. The fabric’s distressed appearance is enhanced by dusty smudged surface finishes and faded colorants which together convey a realistic interplay between soft textile and resilient rubber. Adhesives and binders subtly integrate the fabric fibers into the rubber base ensuring a cohesive surface that responds convincingly to lighting and environmental conditions.
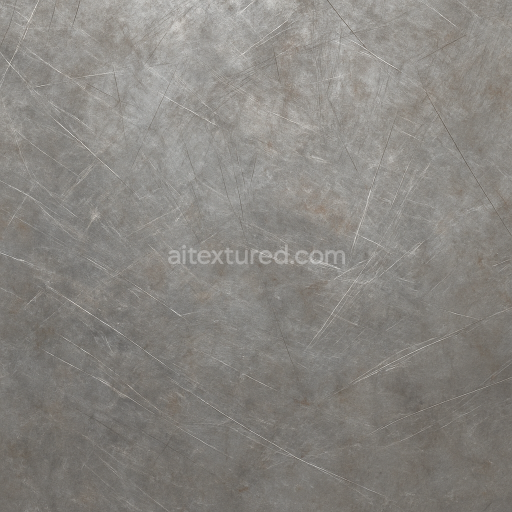
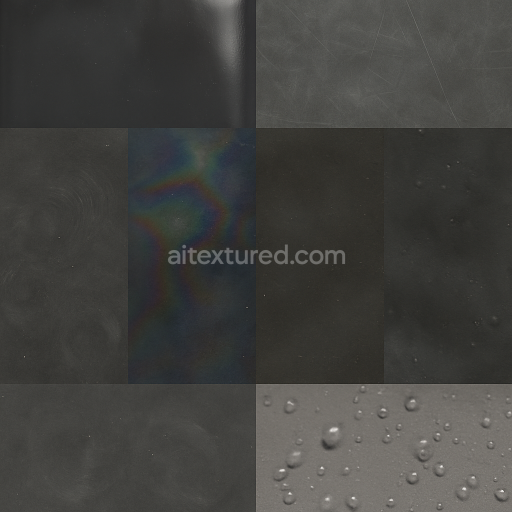
Rendered in an ultra-high 8K resolution this photorealistic PBR texture is designed for advanced material workflows and is fully compatible with Blender Unreal Engine and Unity. The BaseColor channel captures the nuanced color palette of deep blacks and muted grays from the smooth and cracked rubber contrasted against the faded blues and grays of the worn fabric. Detailed Normal maps emphasize the depth variations from fine wrinkles to cracked fractures while Roughness maps define the contrast between the rubber’s smooth slightly reflective finish and the matte weathered fabric areas. The Metallic channel remains largely neutral reflecting the polymeric nature of rubber and fabric whereas Ambient Occlusion enhances the shadowed crevices and fabric grain adding depth and realism. Height and Displacement maps provide subtle relief for cracked surfaces and fabric folds contributing to enhanced tactile feedback in close-up renders.
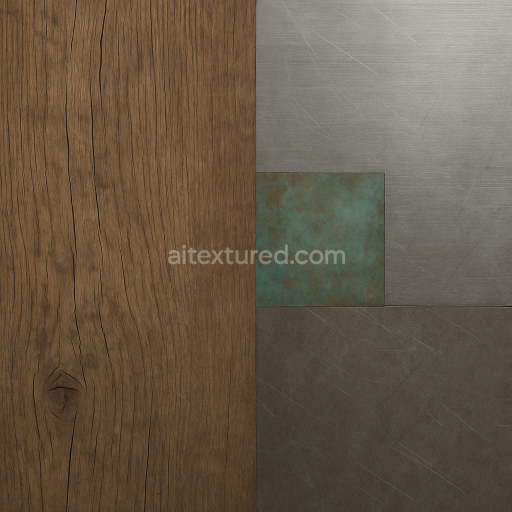
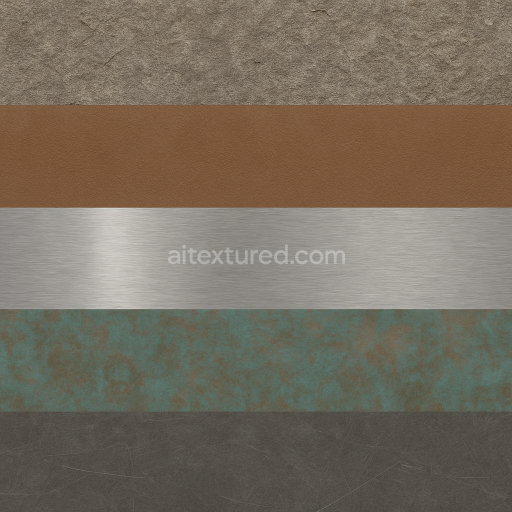
Ideal for texturing industrial products footwear and accessories that require a seamless integration of smooth and cracked rubber with worn fabric details this texture excels in applications demanding high fidelity and realism. When applying this material consider adjusting the UV scale to preserve the fine detail fidelity of the cracks and fabric weave. Additionally fine-tuning the roughness values can help achieve a balanced surface reflection that highlights both the slick rubber and the matte textile components. This seamless 3D texture is an excellent choice for designers aiming to create authentic weathered rubber and fabric blends with outstanding resolution and PBR accuracy.
Import the texture maps into Blender with sRGB color space for albedo/base color and Non-Color for normal, roughness, metallic, AO, height, and ORM maps. Connect normal maps through a Normal Map node, then adjust UV scale with a Mapping node so the material repeats naturally on your model.
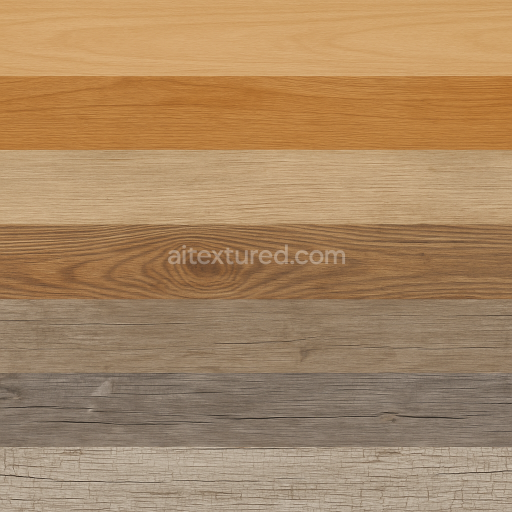
For the full step-by-step setup, see How to Use Seamless Textures in Blender. Browse related material examples in wood, concrete, and metal.
Yes. This texture is designed as a seamless tileable PBR material, so it can repeat across large surfaces without visible borders.
You can download PNG/WEBP versions and use 1K, 2K, 4K and 8K download options when available on the page.
Yes. The download options and engine-mapped ZIP workflow are designed for Blender, Unreal Engine, Unity Standard, URP and HDRP material pipelines.
Yes. The texture is available under the AITextured free commercial license. Review the license page for redistribution and AI-training restrictions.
Build, preview, and export seamless PBR materials. Generate full map sets from a single image, inspect them in a real-time WebGL viewer, and re-package maps for Unreal, Unity, and Blender—directly in your browser.
AI text-to-texture: type a prompt and get a seamless, tileable base image ready for PBR workflows (great starting point for materials).
Create a full PBR set (Normal, Roughness, AO, Metallic, etc.) from a single image. Seamless and tiling-friendly.
Instant WebGL viewer: inspect materials on a sphere, plane, and cube. Check tiling and lighting in real time.
Re-packages maps per engine: Unreal (BaseColor + ORM), Unity (Mask/MetallicSmoothness), Blender (separate channels).
PNG ↔ JPG ↔ SVG: fast convert, SVG rasterize, embed/trace options, quality & background controls.