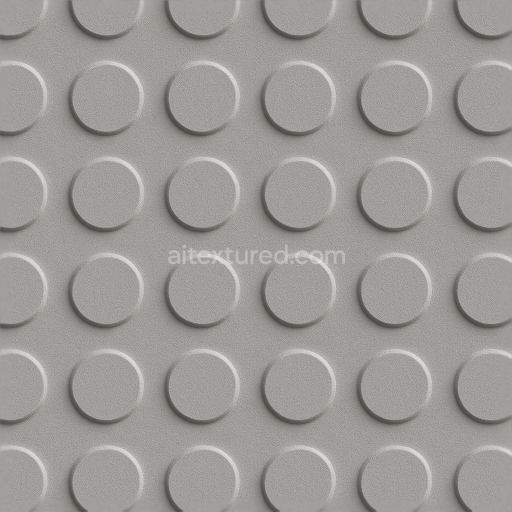
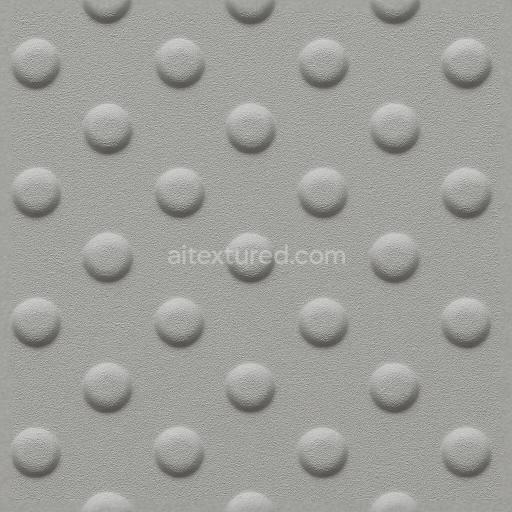
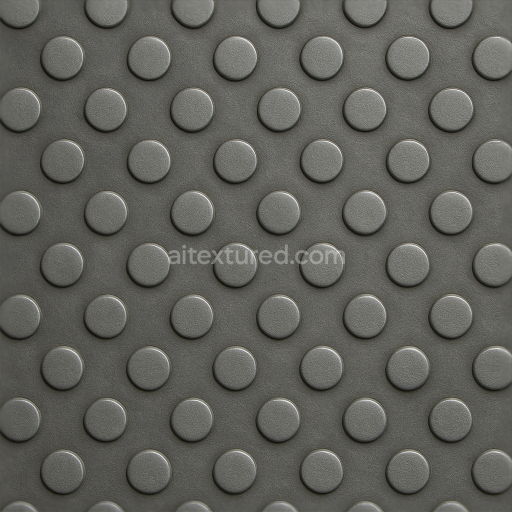
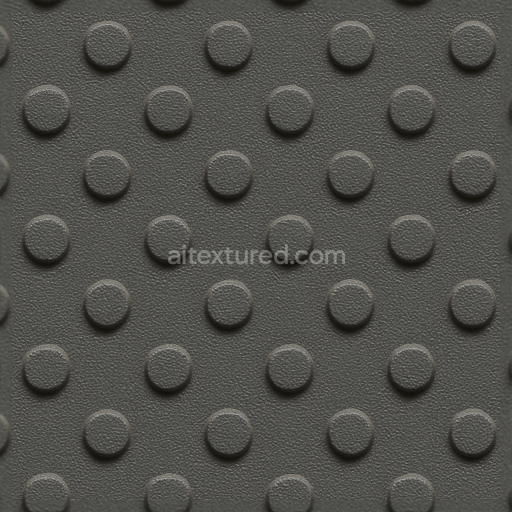
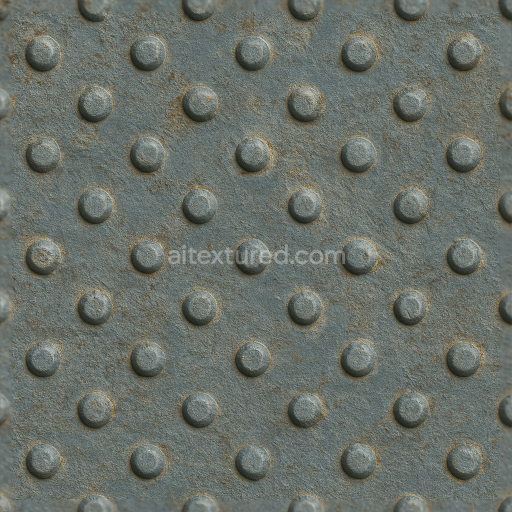
Tactile Plate Raised Circles On Matte Finish Injection Molded Composite Plate
Seamless texture (tileable) · PNG, WEBP, PBR ZIP. License: AITextured Free Commercial License (FCL) v1.1. Free personal and commercial use. Raw resale, standalone redistribution, mirroring/scraping, competing asset packs, and AI/ML training are not allowed without written permission. Attribution is not required, but appreciated..

| ID | seamless-3d-texture-pbr-8k-tactile-plate-embossed-circles-with-industrial-gray-finish |
|---|---|
| Category | Tactile Plate |
| Formats | PNG, WEBP, PBR ZIP |
| Size | 1k (1024x1024px), 2k (2048x2048px), 4k (4096x4096px), 8k (8192x8192px) |
| Color | sRGB |
| Tileable | Yes |
This seamless tactile plate features a meticulously crafted 3D texture in ultra-high 8K resolution designed to deliver exceptional detail and realism. Its base material is a durable industrial metal substrate engineered to withstand heavy wear and exposure in demanding urban environments. The surface showcases uniformly embossed circles created through precise mineral-based embossing techniques that enhance tactile feedback for safety applications. The industrial gray finish is achieved by layering metallic pigments and oxide treatments resulting in a visually authentic weathered metal look with visible corrosion spots and abrasion marks. This carefully controlled oxidation process not only adds to the plate’s realistic appearance but also contributes to its chemical resistant properties ensuring long-lasting durability under harsh environmental conditions.
The composition incorporates advanced binders and adhesives within the metal matrix to maintain structural integrity while allowing slight porosity for natural weathering effects. The embossed circles exhibit subtle grain orientation and micro-surface roughness which are accurately captured in the PBR workflow. In the BaseColor (Albedo) channel the gray metal pigments and corrosion patina provide varied tonal depth. The Normal and Height maps define the tactile embossed geometry with crisp edges and smooth transitions. Roughness maps balance polished and oxidized surfaces for realistic light scattering while the Metallic channel reflects the plate’s inherent metal content. Ambient Occlusion enhances shadowing beneath the raised circles emphasizing depth and enhancing the overall 3D effect.
Optimized for seamless tiling this texture is fully compatible and Unreal Blender and Unity ready making it ideal for industrial design visualization urban tactile paving simulations and platform edge safety surfaces in transportation hubs. For practical use it is recommended to adjust the UV scale to maintain the embossed circles’ proportional size relative to real-world applications and to fine-tune roughness values to achieve the desired balance between reflective wear marks and matte corrosion for the most authentic look. This robust tactile plate texture combines functional safety features with superior visual fidelity ensuring accessibility compliance and enhanced user experience in public environments.
Import the texture maps into Blender with sRGB color space for albedo/base color and Non-Color for normal, roughness, metallic, AO, height, and ORM maps. Connect normal maps through a Normal Map node, then adjust UV scale with a Mapping node so the material repeats naturally on your model.
For the full step-by-step setup, see How to Use Seamless Textures in Blender. Browse related material examples in wood, concrete, and metal.
Yes. This texture is designed as a seamless tileable PBR material, so it can repeat across large surfaces without visible borders.
You can download PNG/WEBP versions and use 1K, 2K, 4K and 8K download options when available on the page.
Yes. The download options and engine-mapped ZIP workflow are designed for Blender, Unreal Engine, Unity Standard, URP and HDRP material pipelines.
Yes. The texture is available under the AITextured free commercial license. Review the license page for redistribution and AI-training restrictions.


Build, preview, and export seamless PBR materials. Generate full map sets from a single image, inspect them in a real-time WebGL viewer, and re-package maps for Unreal, Unity, and Blender—directly in your browser.
AI text-to-texture: type a prompt and get a seamless, tileable base image ready for PBR workflows (great starting point for materials).
Create a full PBR set (Normal, Roughness, AO, Metallic, etc.) from a single image. Seamless and tiling-friendly.
Instant WebGL viewer: inspect materials on a sphere, plane, and cube. Check tiling and lighting in real time.
Re-packages maps per engine: Unreal (BaseColor + ORM), Unity (Mask/MetallicSmoothness), Blender (separate channels).
PNG ↔ JPG ↔ SVG: fast convert, SVG rasterize, embed/trace options, quality & background controls.