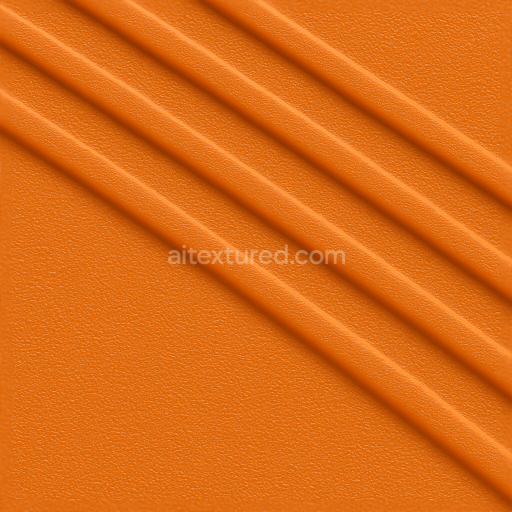
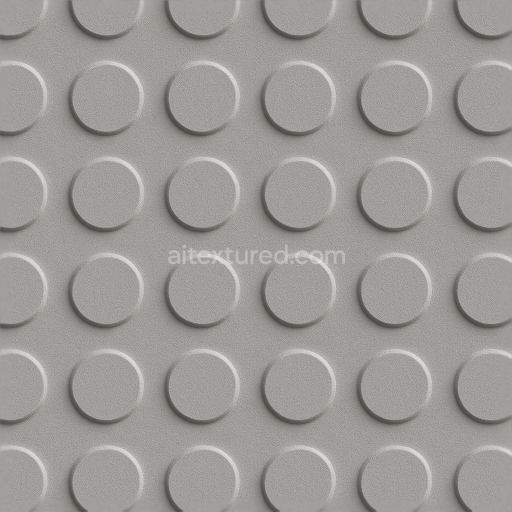
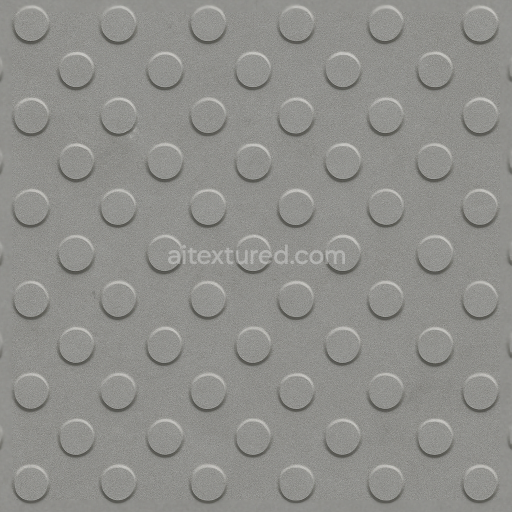
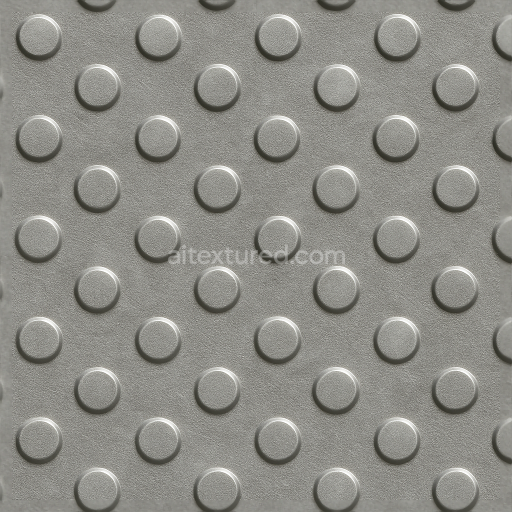
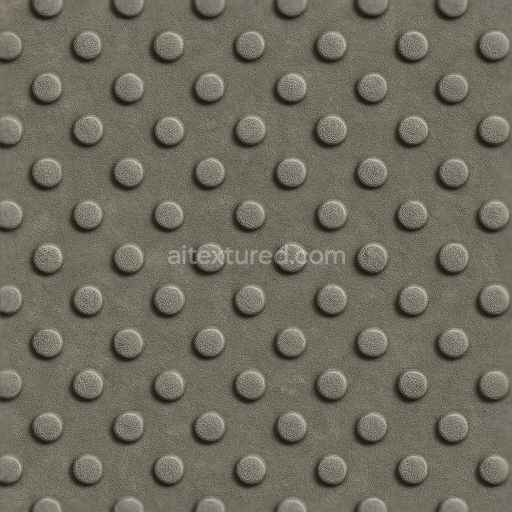
Tactile Plate With Rubberized Grip Featuring Raised Lines And Safety Orange Color
Seamless texture (tileable) · PNG, WEBP, PBR ZIP. License: AITextured Free Commercial License (FCL) v1.1. Free personal and commercial use. Raw resale, standalone redistribution, mirroring/scraping, competing asset packs, and AI/ML training are not allowed without written permission. Attribution is not required, but appreciated..

| ID | seamless-3d-texture-pbr-8k-tactile-plate-raised-bumps-on-faded-paint-powder-coated-metal-plate |
|---|---|
| Category | Tactile Plate |
| Formats | PNG, WEBP, PBR ZIP |
| Size | 1k (1024x1024px), 2k (2048x2048px), 4k (4096x4096px), 8k (8192x8192px) |
| Color | sRGB |
| Tileable | Yes |
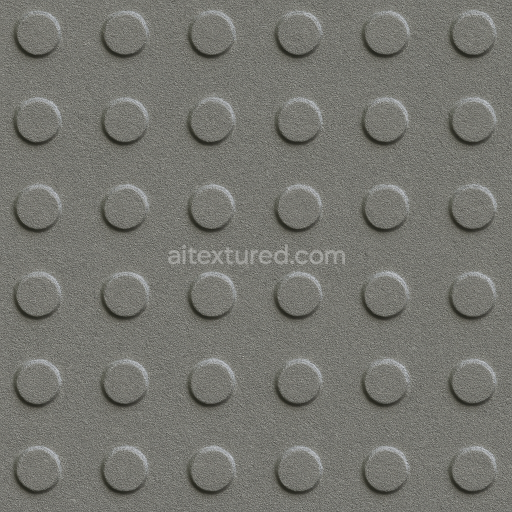
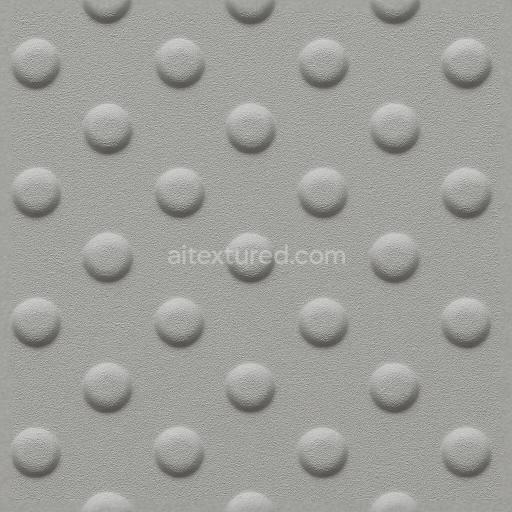
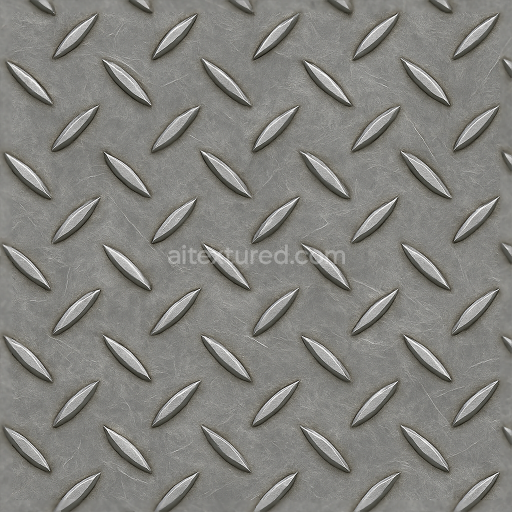
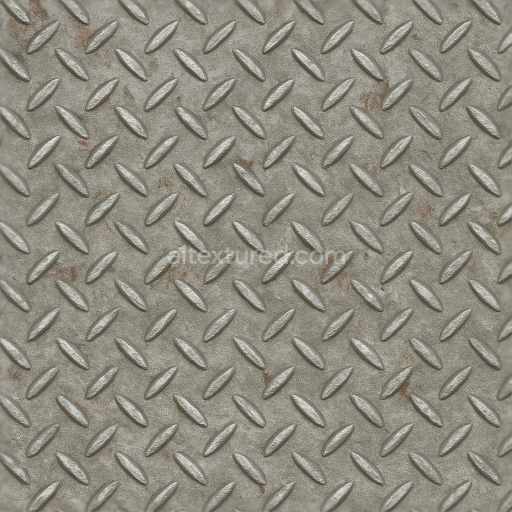
This seamless 3D texture PBR at 8K resolution depicts a tactile metal plate with raised bumps expertly crafted to showcase a powder coated surface exhibiting faded paint effects. The base substrate is a robust metal treated through a powder coating process that applies a durable polymer finish resistant to corrosion and wear. The faded paint layer introduces subtle variations in pigment intensity and oxidation simulating natural weathering and aging over time. This effect is captured in the BaseColor/Albedo channel where muted tones and chipped areas create a realistic worn appearance. The surface finish blends the smoothness of the powder coat with the roughness of exposed metal beneath reflected in the Roughness and Metallic maps to balance reflectivity and diffuse qualities accurately.
Raised bumps are modeled with precise height and displacement details enhancing tactile feedback and slip resistance—key features for safety in public outdoor environments such as sidewalks station platforms and industrial-style spaces. The Normal map defines the dimensionality of these bumps conveying their form and depth while the Height/Displacement channel provides additional geometric relief for advanced rendering engines. Ambient Occlusion contributes to the subtle shadowing around the bumps and faded paint edges reinforcing depth perception. This texture’s porosity is low consistent with powder-coated metal yet the visual noise from paint degradation adds complexity and realism. It is optimized for seamless tiling ensuring consistent coverage over large surfaces without visible repetition and is fully compatible with Blender Unreal Engine and Unity workflows.
When integrating this texture into your projects consider adjusting the UV scale to maintain the realistic proportion of the raised bumps relative to the environment. Tuning the Roughness map can help you achieve the desired balance between glossiness and matte finish depending on lighting conditions and artistic direction. This durable seamless 3D texture combines functional design with natural aging effects for effective anti-skid tactile paving providing both aesthetic value and practical safety benefits in heavy-duty applications.
Import the texture maps into Blender with sRGB color space for albedo/base color and Non-Color for normal, roughness, metallic, AO, height, and ORM maps. Connect normal maps through a Normal Map node, then adjust UV scale with a Mapping node so the material repeats naturally on your model.
For the full step-by-step setup, see How to Use Seamless Textures in Blender. Browse related material examples in wood, concrete, and metal.
Yes. This texture is designed as a seamless tileable PBR material, so it can repeat across large surfaces without visible borders.
You can download PNG/WEBP versions and use 1K, 2K, 4K and 8K download options when available on the page.
Yes. The download options and engine-mapped ZIP workflow are designed for Blender, Unreal Engine, Unity Standard, URP and HDRP material pipelines.
Yes. The texture is available under the AITextured free commercial license. Review the license page for redistribution and AI-training restrictions.
Build, preview, and export seamless PBR materials. Generate full map sets from a single image, inspect them in a real-time WebGL viewer, and re-package maps for Unreal, Unity, and Blender—directly in your browser.
AI text-to-texture: type a prompt and get a seamless, tileable base image ready for PBR workflows (great starting point for materials).
Create a full PBR set (Normal, Roughness, AO, Metallic, etc.) from a single image. Seamless and tiling-friendly.
Instant WebGL viewer: inspect materials on a sphere, plane, and cube. Check tiling and lighting in real time.
Re-packages maps per engine: Unreal (BaseColor + ORM), Unity (Mask/MetallicSmoothness), Blender (separate channels).
PNG ↔ JPG ↔ SVG: fast convert, SVG rasterize, embed/trace options, quality & background controls.