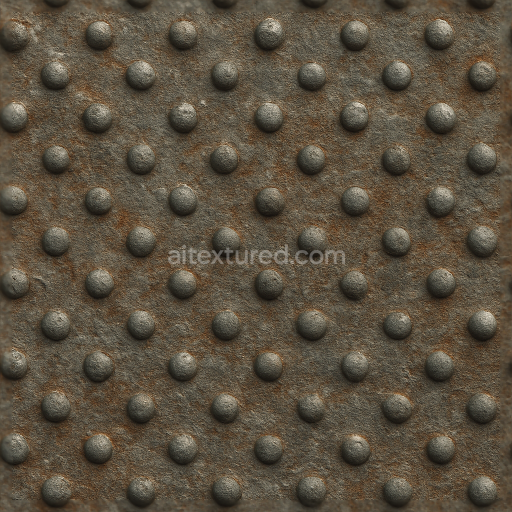
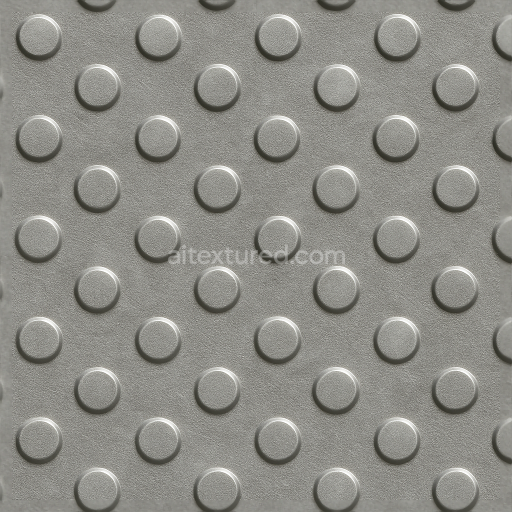
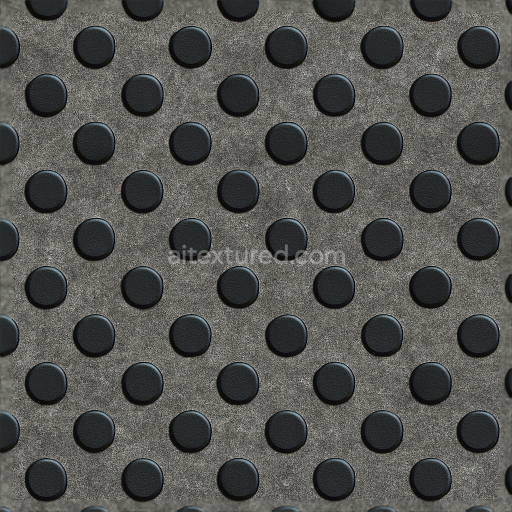
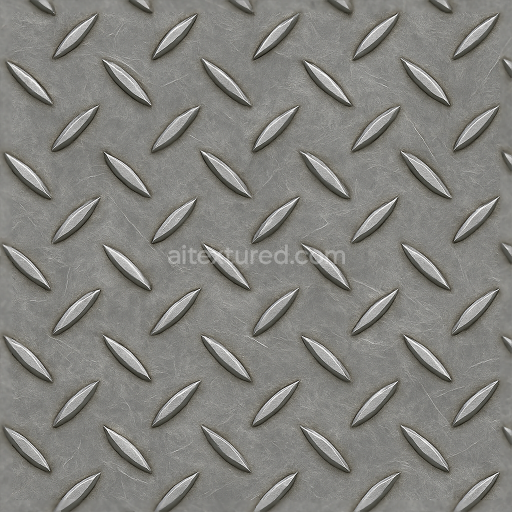
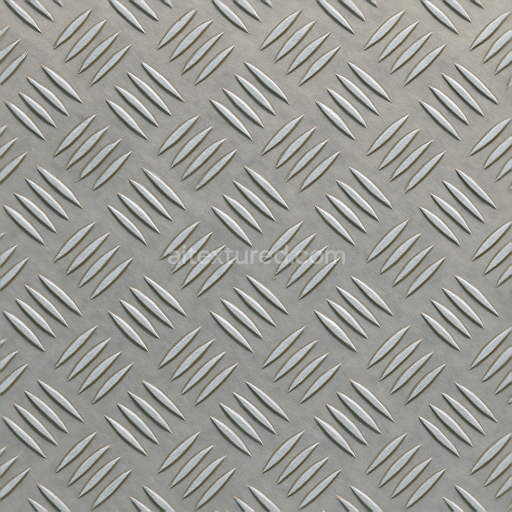
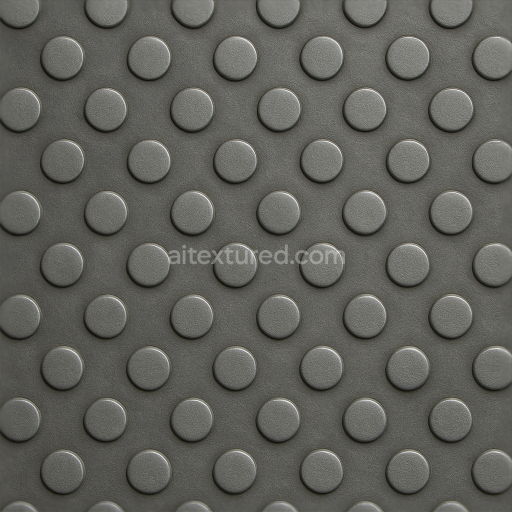
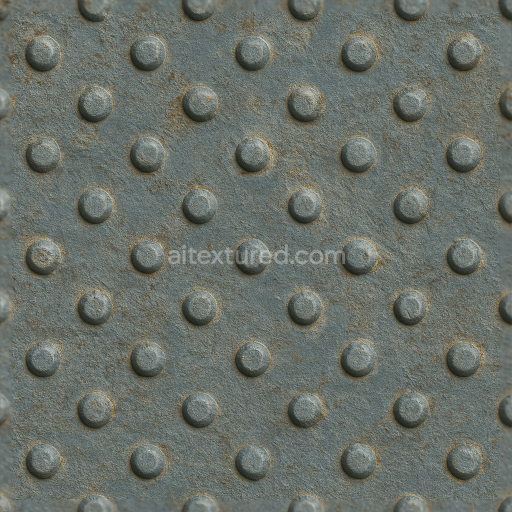
Tactile Plate With Embossed Dots On Oxidized Steel Surface
Seamless texture (tileable) · PNG, WEBP, PBR ZIP. License: AITextured Free Commercial License (FCL) v1.1. Free personal and commercial use. Raw resale, standalone redistribution, mirroring/scraping, competing asset packs, and AI/ML training are not allowed without written permission. Attribution is not required, but appreciated..

| ID | seamless-3d-texture-pbr-8k-tactile-plate-truncated-domes-on-powder-coated-safety-yellow-metal-plate |
|---|---|
| Category | Tactile Plate |
| Formats | PNG, WEBP, PBR ZIP |
| Size | 1k (1024x1024px), 2k (2048x2048px), 4k (4096x4096px), 8k (8192x8192px) |
| Color | sRGB |
| Tileable | Yes |
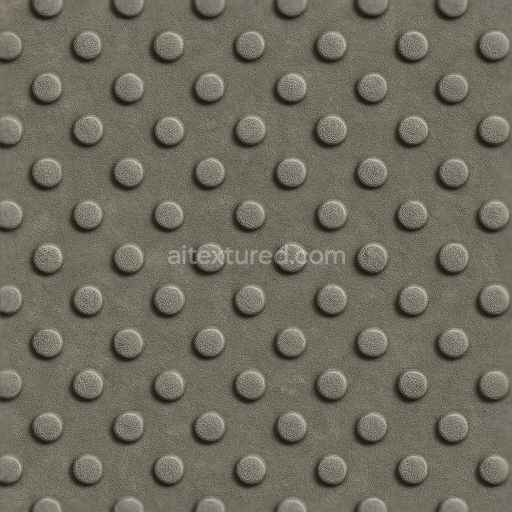
This seamless 3D texture PBR 8K tactile plate showcases a robust metal base substrate expertly powder coated in a vivid safety yellow pigment designed for maximum visibility and durability in demanding environments. The metal plate typically steel or aluminum features a finely engineered surface finish that combines a smooth powder coating with a slightly textured tactile pattern. This powder coating not only delivers exceptional wear resistance and corrosion protection but also maintains color stability and brightness under prolonged outdoor exposure ensuring reliable safety performance in urban and public spaces. The truncated domes are precision-formed directly into the metal substrate creating a heavy-duty industrial style paving solution that balances slip resistance with tactile feedback essential for guiding visually impaired pedestrians and enhancing safety compliance.*
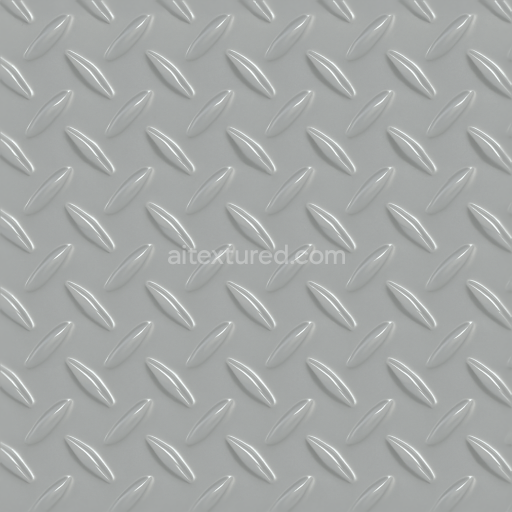
From a materials and PBR composition perspective the base color (Albedo) channel accurately represents the vibrant safety yellow powder coating enriched with subtle variations to simulate real-world wear and light interaction. The Normal map captures the detailed curvature and depth of the truncated domes with high fidelity enhancing the tactile surface's realism. Roughness values are finely tuned to mimic the powder-coated metal’s semi-matte finish balancing diffuse reflection and glare for authentic outdoor lighting conditions. Metallic channel emphasizes the metal plate’s inherent reflectivity while Ambient Occlusion highlights crevices between domes adding depth and shadowing. Height or Displacement maps provide precise elevation data for the truncated domes enabling advanced parallax effects or geometry displacement in rendering engines.*
Rendered at an ultra-high 8K resolution this seamless 3D texture is optimized for photorealistic applications and is fully Unreal Engine Blender and Unity ready ensuring seamless integration into both real-time and offline workflows. Its high detail level supports close-up inspection without pixelation making it ideal for architectural visualization urban planning simulations or safety design presentations. For practical usage adjusting the UV scale to match real-world tactile plate dimensions is recommended to maintain accuracy along with subtle roughness tuning to reflect surface wear or environmental conditions. This combination of materials finish and advanced PBR channels results in a visually striking functionally reliable and highly versatile safety yellow tactile plate texture suitable for a variety of industrial and public safety projects.
Import the texture maps into Blender with sRGB color space for albedo/base color and Non-Color for normal, roughness, metallic, AO, height, and ORM maps. Connect normal maps through a Normal Map node, then adjust UV scale with a Mapping node so the material repeats naturally on your model.
For the full step-by-step setup, see How to Use Seamless Textures in Blender. Browse related material examples in wood, concrete, and metal.
Yes. This texture is designed as a seamless tileable PBR material, so it can repeat across large surfaces without visible borders.
You can download PNG/WEBP versions and use 1K, 2K, 4K and 8K download options when available on the page.
Yes. The download options and engine-mapped ZIP workflow are designed for Blender, Unreal Engine, Unity Standard, URP and HDRP material pipelines.
Yes. The texture is available under the AITextured free commercial license. Review the license page for redistribution and AI-training restrictions.
Build, preview, and export seamless PBR materials. Generate full map sets from a single image, inspect them in a real-time WebGL viewer, and re-package maps for Unreal, Unity, and Blender—directly in your browser.
AI text-to-texture: type a prompt and get a seamless, tileable base image ready for PBR workflows (great starting point for materials).
Create a full PBR set (Normal, Roughness, AO, Metallic, etc.) from a single image. Seamless and tiling-friendly.
Instant WebGL viewer: inspect materials on a sphere, plane, and cube. Check tiling and lighting in real time.
Re-packages maps per engine: Unreal (BaseColor + ORM), Unity (Mask/MetallicSmoothness), Blender (separate channels).
PNG ↔ JPG ↔ SVG: fast convert, SVG rasterize, embed/trace options, quality & background controls.