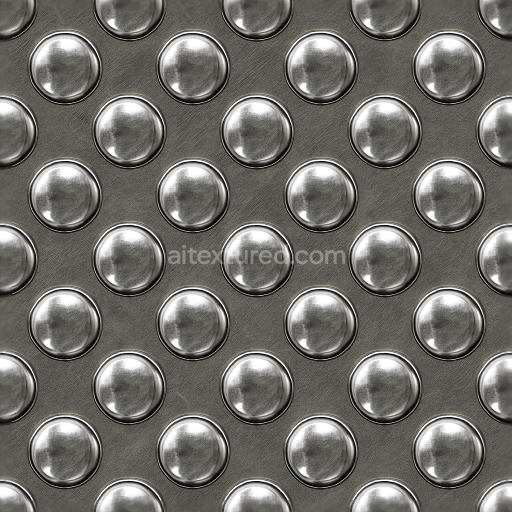
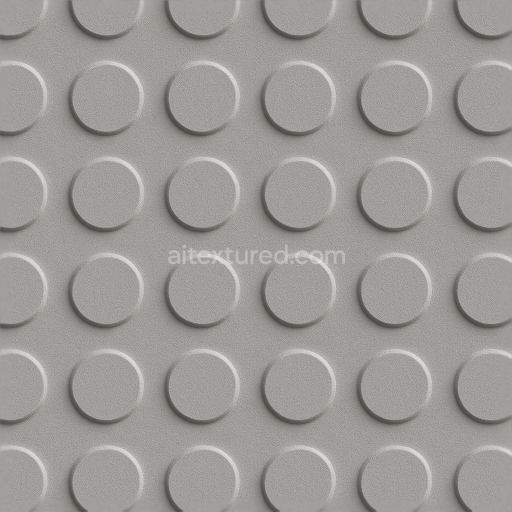
Tactile Plate Circular Bumps On Glossy Finish Stainless Steel
Seamless texture (tileable) · PNG, WEBP, PBR ZIP. License: AITextured Free Commercial License (FCL) v1.1. Free personal and commercial use. Raw resale, standalone redistribution, mirroring/scraping, competing asset packs, and AI/ML training are not allowed without written permission. Attribution is not required, but appreciated..

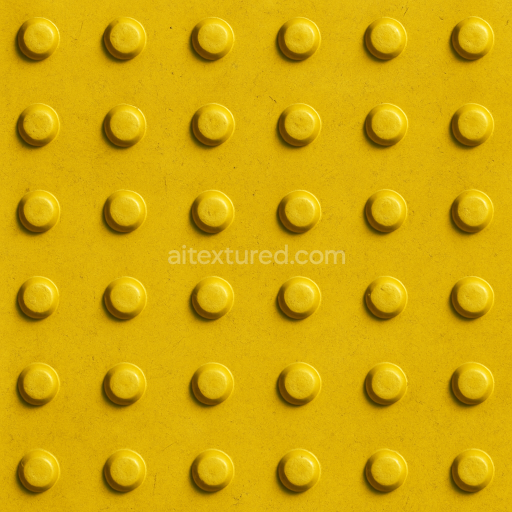
| ID | seamless-3d-texture-pbr-8k-tactile-plate-with-rounded-edges-and-powder-coated-signal-yellow-surface |
|---|---|
| Category | Tactile Plate |
| Formats | PNG, WEBP, PBR ZIP |
| Size | 1k (1024x1024px), 2k (2048x2048px), 4k (4096x4096px), 8k (8192x8192px) |
| Color | sRGB |
| Tileable | Yes |
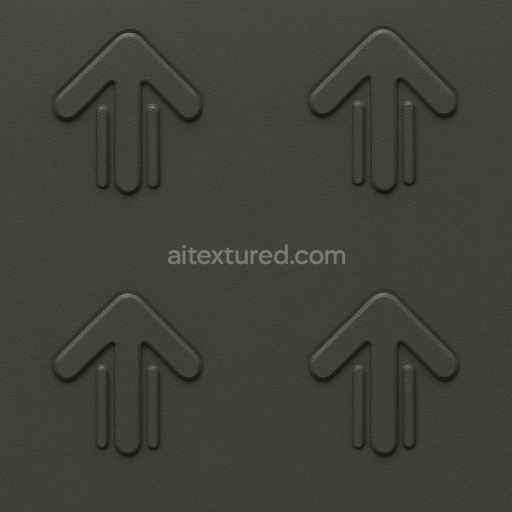
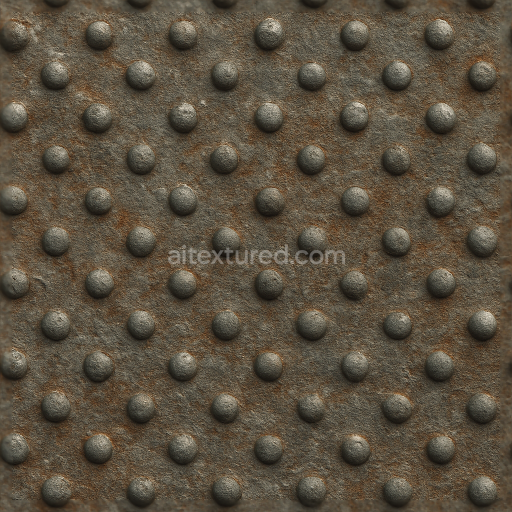
This seamless 3D texture tactile plate features a meticulously crafted powder coated surface in vivid signal yellow designed to maximize visibility and safety in public and urban environments. The base substrate is a high-density polymer composite chosen for its excellent impact resistance and durability against heavy foot traffic and weathering. Embedded within this substrate are fine mineral aggregates that enhance structural integrity while maintaining a uniform grain orientation to support consistent texture detail. The plate’s rounded edges are precision-formed to reduce injury risk contributing to accessibility compliance and a modern aesthetic. The powder coating uses advanced pigment dispersion techniques to produce a bright fade-resistant signal yellow finish that resists chipping and abrasion ensuring long-lasting color fidelity and enhanced anti-skid properties.
From a Physically Based Rendering (PBR) perspective this tactile plate’s materials are carefully translated across multiple texture channels to achieve photorealism at 8K resolution. The BaseColor (Albedo) channel captures the pure saturated signal yellow pigment without any baked-in lighting providing a clean and vibrant color foundation. The Normal map encodes the seamless 3D texture details including the subtle bumps and rounded edges that define the tactile surface’s grip-enhancing topography. Roughness maps highlight the powder coated finish’s soft-touch anti-skid qualities by varying surface microsurface scattering while the Metallic channel remains near zero due to the polymer base accurately representing non-metallic behavior. Ambient Occlusion enhances the perception of depth along edge crevices and textured recesses complementing the Height/Displacement map that provides accurate parallax and relief effects for dynamic lighting in Unreal Engine Blender and Unity environments.
Optimized for seamless tiling at ultra-high 8K resolution this tactile plate texture is Unreal Blender and Unity ready ensuring easy integration into architectural visualization urban planning simulations and transportation hub designs. For best practical results it is recommended to carefully tune the roughness channel to balance visual softness and slip resistance while adjusting the UV scale to match real-world plate dimensions for accurate spatial representation. Incorporating subtle parallax height mapping can further enhance the tactile realism in close-up views improving accessibility visual cues without compromising rendering performance. This combination of material science PBR accuracy and high-resolution detail guarantees a reliable visually striking solution tailored for demanding safety and accessibility applications.
Import the texture maps into Blender with sRGB color space for albedo/base color and Non-Color for normal, roughness, metallic, AO, height, and ORM maps. Connect normal maps through a Normal Map node, then adjust UV scale with a Mapping node so the material repeats naturally on your model.
For the full step-by-step setup, see How to Use Seamless Textures in Blender. Browse related material examples in wood, concrete, and metal.
Yes. This texture is designed as a seamless tileable PBR material, so it can repeat across large surfaces without visible borders.
You can download PNG/WEBP versions and use 1K, 2K, 4K and 8K download options when available on the page.
Yes. The download options and engine-mapped ZIP workflow are designed for Blender, Unreal Engine, Unity Standard, URP and HDRP material pipelines.
Yes. The texture is available under the AITextured free commercial license. Review the license page for redistribution and AI-training restrictions.

Build, preview, and export seamless PBR materials. Generate full map sets from a single image, inspect them in a real-time WebGL viewer, and re-package maps for Unreal, Unity, and Blender—directly in your browser.
AI text-to-texture: type a prompt and get a seamless, tileable base image ready for PBR workflows (great starting point for materials).
Create a full PBR set (Normal, Roughness, AO, Metallic, etc.) from a single image. Seamless and tiling-friendly.
Instant WebGL viewer: inspect materials on a sphere, plane, and cube. Check tiling and lighting in real time.
Re-packages maps per engine: Unreal (BaseColor + ORM), Unity (Mask/MetallicSmoothness), Blender (separate channels).
PNG ↔ JPG ↔ SVG: fast convert, SVG rasterize, embed/trace options, quality & background controls.