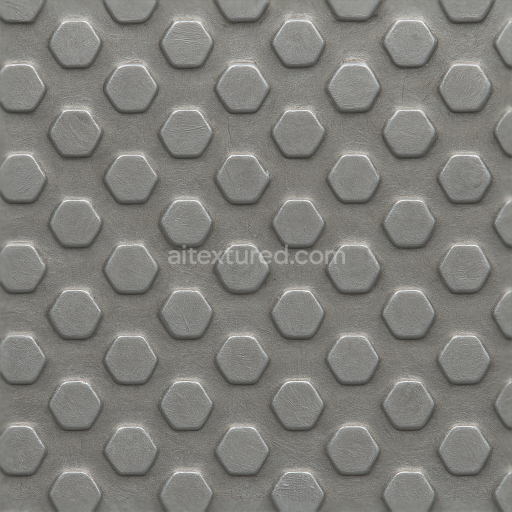
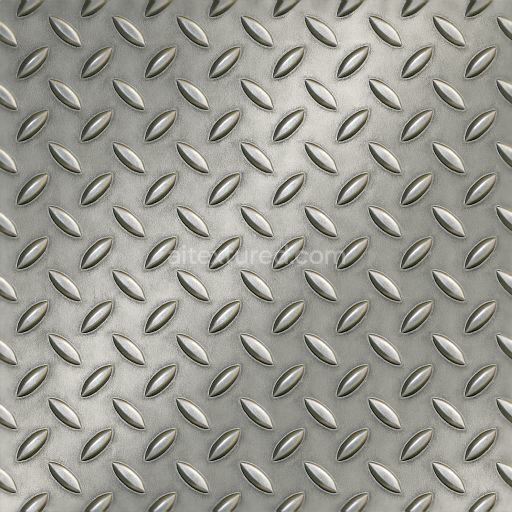
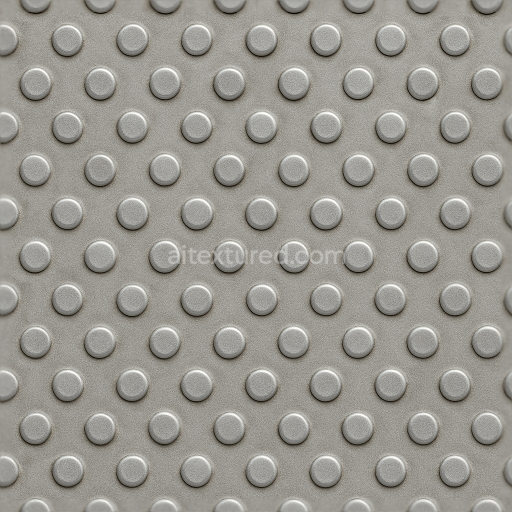
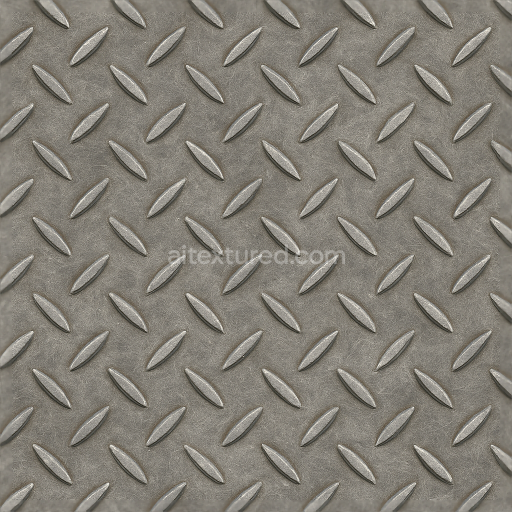
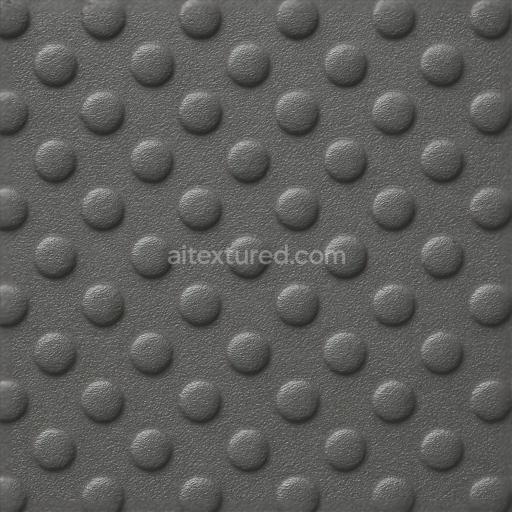
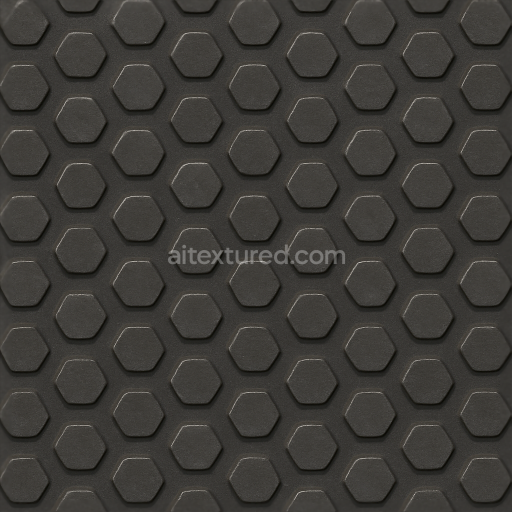
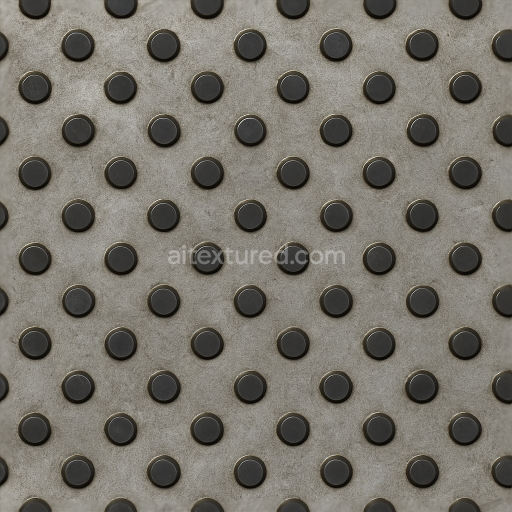
Tactile Plate Hexagonal Bumps On Stainless Steel Sheet
Seamless texture (tileable) · PNG, WEBP, PBR ZIP. License: AITextured Free Commercial License (FCL) v1.1. Free personal and commercial use. Raw resale, standalone redistribution, mirroring/scraping, competing asset packs, and AI/ML training are not allowed without written permission. Attribution is not required, but appreciated..

| ID | seamless-3d-texture-pbr-8k-tactile-plate-with-raised-bumps-on-weathered-metal-surface |
|---|---|
| Category | Tactile Plate |
| Formats | PNG, WEBP, PBR ZIP |
| Size | 1k (1024x1024px), 2k (2048x2048px), 4k (4096x4096px), 8k (8192x8192px) |
| Color | sRGB |
| Tileable | Yes |
This seamless 3D texture PBR 8K tactile plate features a weathered metal base substrate characterized by an industrial gray tone conveying a robust and gritty surface ideal for heavy-duty applications. The metal shows clear signs of oxidation and wear with subtle corrosion and contamination effects that enhance authenticity. The raised bumps are integrally formed from the same metal designed with a slightly rounded profile to provide effective slip resistance and tactile guidance. Surface finish combines aged brushed metal with patches of oxidized patina reflecting natural exposure to harsh environments. Fine micro-variations in grain orientation and porosity simulate accumulated dirt and moisture creating a nuanced interplay of roughness and reflectivity typical of weathered industrial flooring plates.
In terms of PBR channels the BaseColor/Albedo map captures the muted gray pigments mixed with oxide layers and subtle discoloration from environmental exposure. The Normal map defines the pronounced raised bumps along with micro-scratches and surface dents enhancing tactile realism. Roughness is carefully balanced to represent worn metal with areas of higher matte finish from abrasion alongside glossier spots where metal remains exposed. Metallic values highlight the steel substrate while Ambient Occlusion deepens crevices and edges around the bumps emphasizing depth. Height/Displacement maps accentuate the tactile plate’s relief enabling realistic parallax effects. The seamless nature of this texture allows for continuous tiling without visible borders making it ideal for large-scale commercial or public infrastructure 3D visualizations.
Rendered at photorealistic 8K resolution this texture is fully optimized and Unreal Blender and Unity ready ensuring exceptional detail and performance for industrial safety and anti-skid floor applications. For best results it is recommended to adjust the UV scale to match the real-world dimensions of the tactile plate and fine-tune the roughness channel to balance slip resistance visually. This tactile metal bump texture provides a reliable authentic material solution that enhances realism and safety in any industrial or architectural visualization project.
Import the texture maps into Blender with sRGB color space for albedo/base color and Non-Color for normal, roughness, metallic, AO, height, and ORM maps. Connect normal maps through a Normal Map node, then adjust UV scale with a Mapping node so the material repeats naturally on your model.
For the full step-by-step setup, see How to Use Seamless Textures in Blender. Browse related material examples in wood, concrete, and metal.
Yes. This texture is designed as a seamless tileable PBR material, so it can repeat across large surfaces without visible borders.
You can download PNG/WEBP versions and use 1K, 2K, 4K and 8K download options when available on the page.
Yes. The download options and engine-mapped ZIP workflow are designed for Blender, Unreal Engine, Unity Standard, URP and HDRP material pipelines.
Yes. The texture is available under the AITextured free commercial license. Review the license page for redistribution and AI-training restrictions.


Build, preview, and export seamless PBR materials. Generate full map sets from a single image, inspect them in a real-time WebGL viewer, and re-package maps for Unreal, Unity, and Blender—directly in your browser.
AI text-to-texture: type a prompt and get a seamless, tileable base image ready for PBR workflows (great starting point for materials).
Create a full PBR set (Normal, Roughness, AO, Metallic, etc.) from a single image. Seamless and tiling-friendly.
Instant WebGL viewer: inspect materials on a sphere, plane, and cube. Check tiling and lighting in real time.
Re-packages maps per engine: Unreal (BaseColor + ORM), Unity (Mask/MetallicSmoothness), Blender (separate channels).
PNG ↔ JPG ↔ SVG: fast convert, SVG rasterize, embed/trace options, quality & background controls.