
Irregular Stone Wall Cladding Texture | Free PBR
Seamless texture (tileable) · PNG, WEBP, PBR ZIP. License: AITextured Free Commercial License (FCL) v1.1. Free personal and commercial use. Raw resale, standalone redistribution, mirroring/scraping, competing asset packs, and AI/ML training are not allowed without written permission. Attribution is not required, but appreciated..

| ID | black-concave-wall-tiles-with-edge-and-surface-wear-free-pbr |
|---|---|
| Category | Tile |
| Formats | PNG, WEBP, PBR ZIP |
| Size | 1k (1024x1024px), 2k (2048x2048px), 4k (4096x4096px), 8k (8192x8192px) |
| Color | sRGB |
| Tileable | Yes |
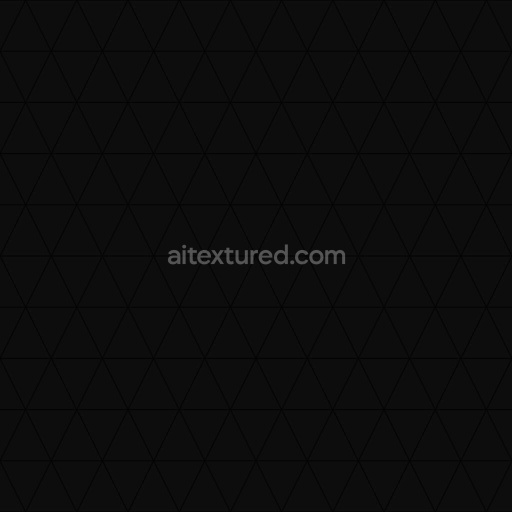
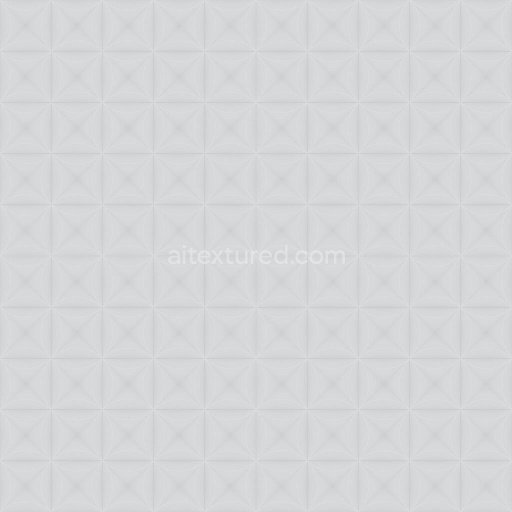
The Black Concave Wall Tiles with Edge and Surface Wear (Tiles 0126) showcase a sophisticated ceramic-based composition, designed to replicate aged wall surfaces with a distinct concave profile. These tiles consist primarily of a mineral ceramic substrate, enhanced with natural brownish aggregates visible through worn edges and surface abrasion. The binder system ensures structural integrity while allowing subtle porosity, which contributes to the weathered effect and realistic material breakdown. Pigments are carefully integrated into the base ceramic matrix to achieve a deep, matte black coloration, while the exposed inner layers reveal earth-toned iron oxide inclusions that bring warmth and authenticity to the texture.
The surface finish combines a slightly roughened texture with areas of polished abrasion along the edges, where wear has naturally eroded layers to expose the underlying materials. This duality is effectively captured in the PBR channels: the BaseColor/Albedo map presents the rich black surface contrasted by the brownish inner layers, while the Normal map emphasizes the concave geometry and chipped edges, enhancing depth perception. The Roughness map balances smooth polished spots with more granular worn patches, and the Ambient Occlusion channel deepens crevices and undercuts for added realism. The Metallic channel remains minimal, reflecting the ceramic non-metallic nature, and the Height/Displacement map accurately defines surface undulations and concavities, crucial for realistic lighting and shadowing effects.
This texture is optimized at up to 8K resolution, ensuring exceptional detail for close-up renders and high-fidelity environments. It is fully compatible with Blender, Unreal Engine, and Unity, making it a versatile choice for architectural visualization, game design, and cinematic projects. For best results, consider adjusting the UV scale to match the intended wall dimensions and fine-tuning the roughness values to achieve the desired balance between matte and polished surfaces. Additionally, leveraging the height/parallax maps can amplify the concave depth effect, contributing to a more immersive and tactile appearance in real-time and offline renderings.
Import the texture maps into Blender with sRGB color space for albedo/base color and Non-Color for normal, roughness, metallic, AO, height, and ORM maps. Connect normal maps through a Normal Map node, then adjust UV scale with a Mapping node so the material repeats naturally on your model.
For the full step-by-step setup, see How to Use Seamless Textures in Blender. Browse related material examples in wood, concrete, and metal.
Yes. This texture is designed as a seamless tileable PBR material, so it can repeat across large surfaces without visible borders.
You can download PNG/WEBP versions and use 1K, 2K, 4K and 8K download options when available on the page.
Yes. The download options and engine-mapped ZIP workflow are designed for Blender, Unreal Engine, Unity Standard, URP and HDRP material pipelines.
Yes. The texture is available under the AITextured free commercial license. Review the license page for redistribution and AI-training restrictions.


Build, preview, and export seamless PBR materials. Generate full map sets from a single image, inspect them in a real-time WebGL viewer, and re-package maps for Unreal, Unity, and Blender—directly in your browser.
AI text-to-texture: type a prompt and get a seamless, tileable base image ready for PBR workflows (great starting point for materials).
Create a full PBR set (Normal, Roughness, AO, Metallic, etc.) from a single image. Seamless and tiling-friendly.
Instant WebGL viewer: inspect materials on a sphere, plane, and cube. Check tiling and lighting in real time.
Re-packages maps per engine: Unreal (BaseColor + ORM), Unity (Mask/MetallicSmoothness), Blender (separate channels).
PNG ↔ JPG ↔ SVG: fast convert, SVG rasterize, embed/trace options, quality & background controls.