
Horizontally Stacked Terracotta Tiles | Free PBR
Seamless texture (tileable) · PNG, WEBP, PBR ZIP. License: AITextured Free Commercial License (FCL) v1.1. Free personal and commercial use. Raw resale, standalone redistribution, mirroring/scraping, competing asset packs, and AI/ML training are not allowed without written permission. Attribution is not required, but appreciated..

| ID | leaf-shape-wall-decor-wall-tiles-free-pbr |
|---|---|
| Category | Tile |
| Formats | PNG, WEBP, PBR ZIP |
| Size | 1k (1024x1024px), 2k (2048x2048px), 4k (4096x4096px), 8k (8192x8192px) |
| Color | sRGB |
| Tileable | Yes |
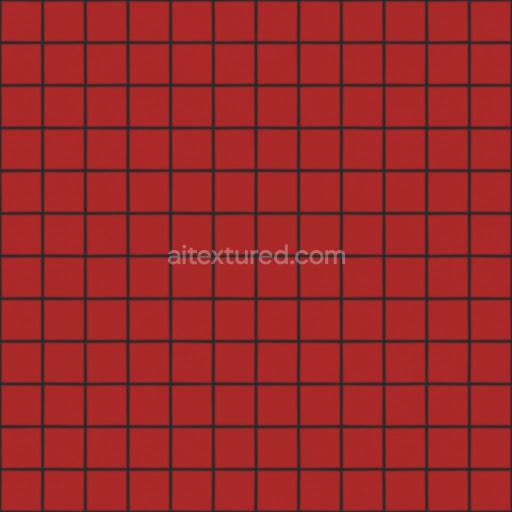
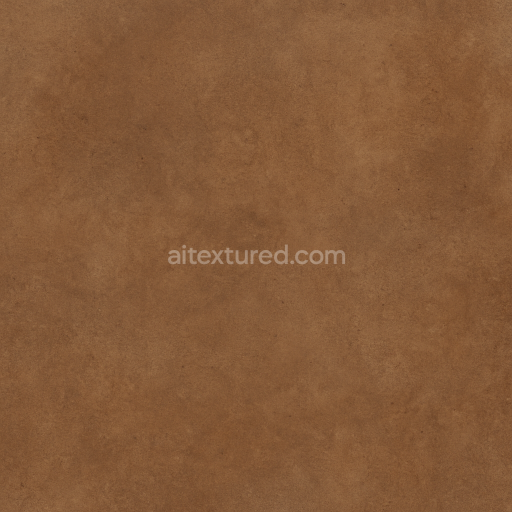
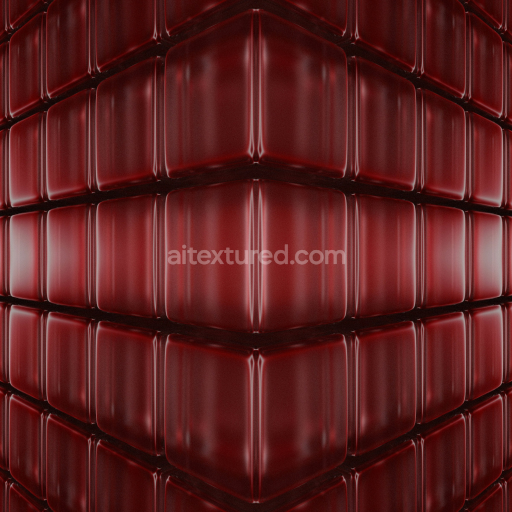
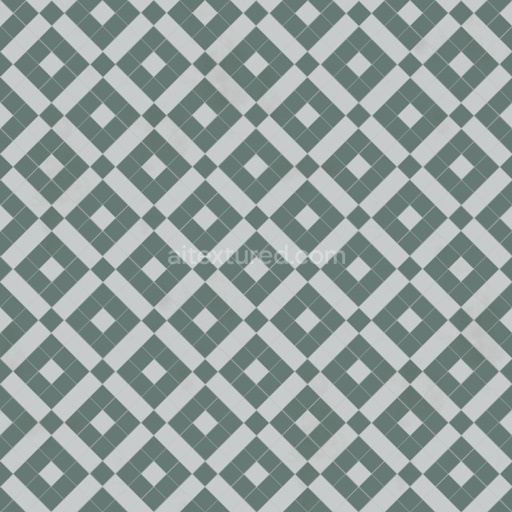
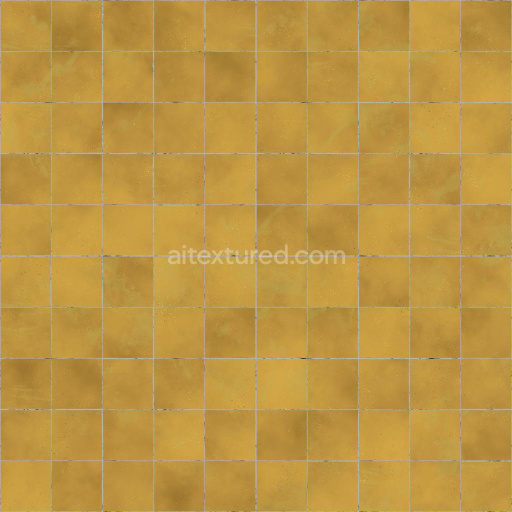
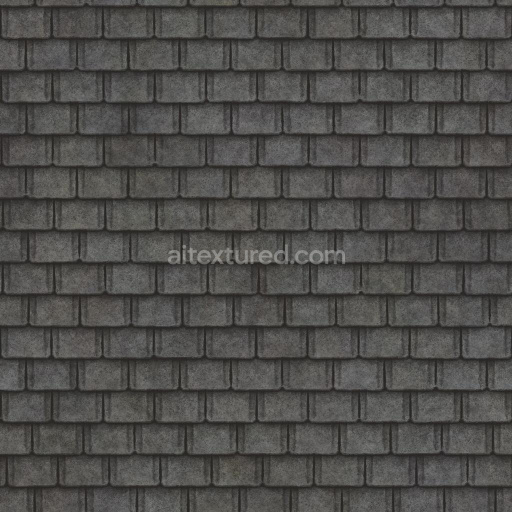
The Leaf Shape Wall Decor Wall Tiles (Tiles 0105) feature an elegant ivory base substrate that mimics a refined ceramic material, offering a smooth yet tactile surface ideal for interior wall applications. This tile is composed of a mineral-rich foundation combined with subtle organic fibers that enhance its structural integrity while maintaining a lightweight profile. The binders used provide a durable adhesive matrix that holds the leaf-shaped pattern with precision, ensuring stability and resistance to typical indoor environmental factors such as humidity and temperature fluctuations. The finish is subtly matte with a gentle brushed texture that accentuates the intricacy of the leaf motifs without overwhelming the overall visual balance.
The texturing fully incorporates the leaf-shaped pattern, densely filling the surface with naturalistic contours that create a dynamic, three-dimensional effect. This is clearly represented across the Physically Based Rendering (PBR) channels: the BaseColor (Albedo) channel delivers a soft ivory tone with slight variations to simulate natural pigmentation, while the Normal map captures the delicate veins and curvature of each leaf, enhancing depth and realism. The Roughness map defines the surface’s semi-matte finish, offering a low-gloss appearance that diffuses light naturally. The Metallic channel remains neutral, reflecting the non-metallic ceramic nature of the tile, and the Ambient Occlusion map adds subtle shadowing around the leaf edges to emphasize detail. Height and Displacement maps further enhance the sensation of layered leaves, perfect for creating realistic depth in 3D environments.
Designed for precision and high fidelity, these tiles come in an 8K resolution format, ensuring exceptional detail and clarity when applied in digital scenes. They are fully compatible and optimized for use in popular 3D platforms such as Blender, Unreal Engine, and Unity, making them a versatile choice for architects, interior designers, and digital artists seeking to elevate living spaces like sitting rooms or bedrooms. When working with this texture, a useful tip is to carefully adjust the UV scale to balance the leaf pattern size according to your wall dimensions, and to fine-tune the roughness parameter to achieve the desired light reflection—whether aiming for a soft, natural matte or slightly polished appearance for ambient lighting effects.
Import the texture maps into Blender with sRGB color space for albedo/base color and Non-Color for normal, roughness, metallic, AO, height, and ORM maps. Connect normal maps through a Normal Map node, then adjust UV scale with a Mapping node so the material repeats naturally on your model.
For the full step-by-step setup, see How to Use Seamless Textures in Blender. Browse related material examples in wood, concrete, and metal.
Yes. This texture is designed as a seamless tileable PBR material, so it can repeat across large surfaces without visible borders.
You can download PNG/WEBP versions and use 1K, 2K, 4K and 8K download options when available on the page.
Yes. The download options and engine-mapped ZIP workflow are designed for Blender, Unreal Engine, Unity Standard, URP and HDRP material pipelines.
Yes. The texture is available under the AITextured free commercial license. Review the license page for redistribution and AI-training restrictions.


Build, preview, and export seamless PBR materials. Generate full map sets from a single image, inspect them in a real-time WebGL viewer, and re-package maps for Unreal, Unity, and Blender—directly in your browser.
AI text-to-texture: type a prompt and get a seamless, tileable base image ready for PBR workflows (great starting point for materials).
Create a full PBR set (Normal, Roughness, AO, Metallic, etc.) from a single image. Seamless and tiling-friendly.
Instant WebGL viewer: inspect materials on a sphere, plane, and cube. Check tiling and lighting in real time.
Re-packages maps per engine: Unreal (BaseColor + ORM), Unity (Mask/MetallicSmoothness), Blender (separate channels).
PNG ↔ JPG ↔ SVG: fast convert, SVG rasterize, embed/trace options, quality & background controls.