
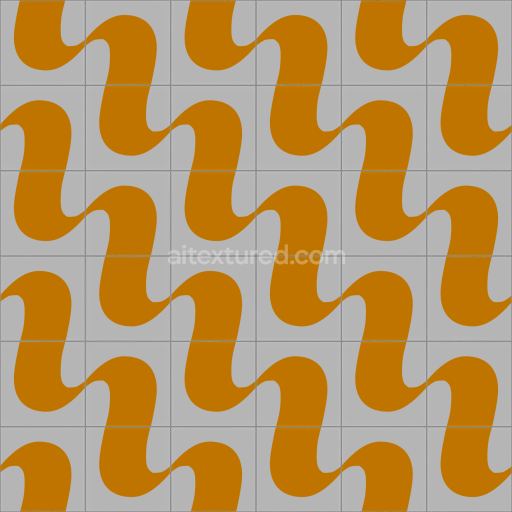
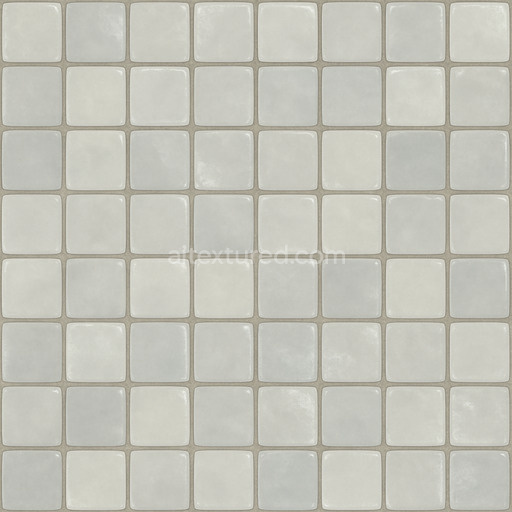
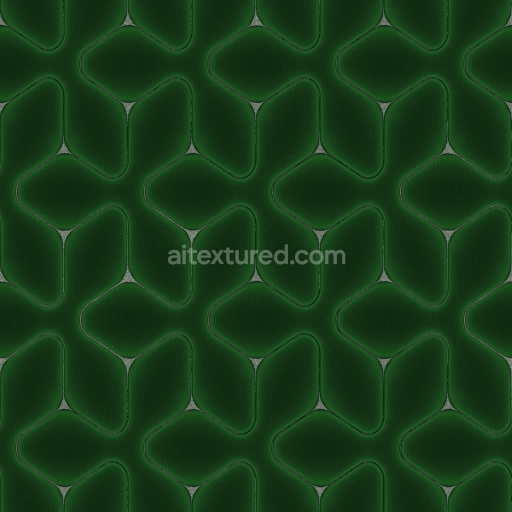
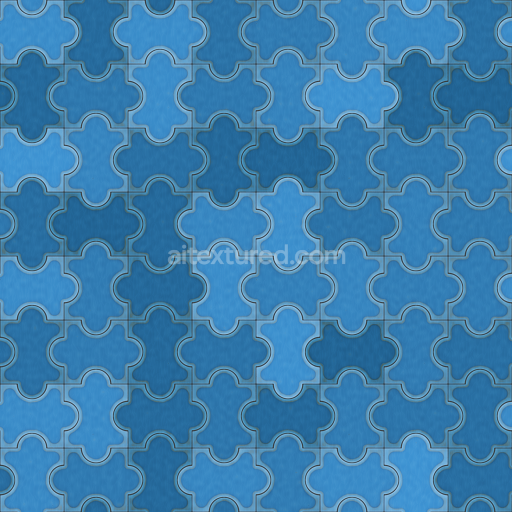
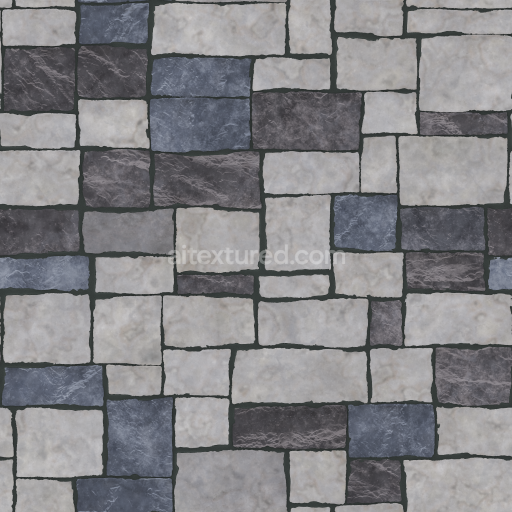
Seamless Stone Tiles Texture
Seamless texture (tileable) · PNG, WEBP, PBR ZIP. License: AITextured Free Commercial License (FCL) v1.1. Free personal and commercial use. Raw resale, standalone redistribution, mirroring/scraping, competing asset packs, and AI/ML training are not allowed without written permission. Attribution is not required, but appreciated..

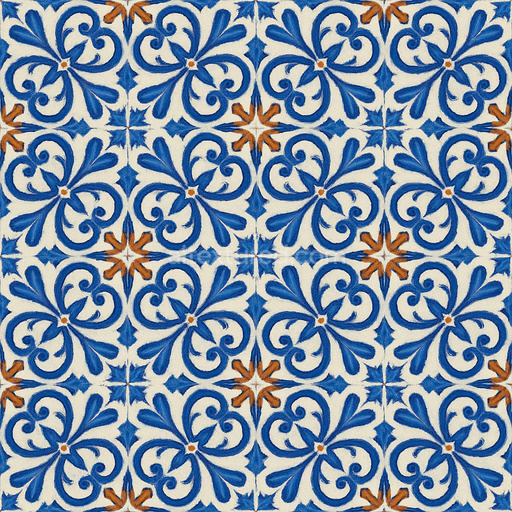
| ID | ornate-glazed-ceramic-tile-texture-seamless |
|---|---|
| Category | Ceramic-tile |
| Formats | PNG, WEBP, PBR ZIP |
| Size | 1k (1024x1024px), 2k (2048x2048px), 4k (4096x4096px), 8k (8192x8192px) |
| Color | sRGB |
| Tileable | Yes |
The ornate glazed ceramic tile texture seamless high resolution up to 8K is expertly crafted to replicate the complexity and beauty of traditional ceramic-tile surfaces. At its core this texture is based on a finely mineralized ceramic substrate primarily composed of silicate minerals fused under extreme heat to form a durable dense base. This ceramic foundation exhibits subtle natural porosity and grain orientation which contribute to the tile’s authentic tactile feel and structural consistency. The surface is coated with a smooth vitreous glaze—a glass-like layer achieved by carefully applying a fusion of silicate minerals and metal oxide pigments. This glaze not only enriches the tile’s intricate ornate patterns with vibrant and varied coloration but also provides a polished reflective finish that enhances durability and weather resistance. The interplay of fine mineral grains pigment distribution and the glaze’s glossy surface creates a balanced texture that is both visually rich and physically accurate embodying the essence of high-quality ceramic-tile textures designed for realistic 3D preview and rendering workflows.
In physically based rendering (PBR) workflows this tileable ornate glazed ceramic tile texture seamless high resolution up to 8K excels in delivering detailed visual fidelity across all essential material maps. The BaseColor or Albedo map captures nuanced pigment variations and subtle shading from the applied glaze and underlying ceramic body ensuring vibrant and true-to-life coloration. The Normal map encodes delicate surface undulations including fine micro-details and fired ceramic imperfections which add depth and realism to 3D models. The Roughness map reflects the glaze’s varying glossiness allowing precise control over light scattering and specular highlights to simulate anything from a soft matte finish to a high-gloss polished surface. The Metallic map remains minimal consistent with the non-metallic nature of ceramic materials. Ambient Occlusion enhances shadowing in the ornate recesses and crevices amplifying perception of depth while the Height or Displacement map faithfully reproduces the tile’s raised and recessed patterns adding tactile dimension that significantly boosts realism in architectural and environment renders.
Rendered at an impressive 8K resolution this texture ornate glazed ceramic tile texture seamless high resolution up to 8K is optimized for seamless integration into popular 3D software environments such as Blender Unreal Engine and Unity. This high resolution ensures exceptional clarity and detail suitable for both close-up interior surfaces and expansive exterior facades without visible tiling or repetition artifacts. To achieve the best results it is recommended to maintain a uniform UV layout to prevent distortion of the intricate ornamental patterns. Additionally fine-tuning the Roughness map can effectively modulate the glaze’s reflectivity enabling customization from subtle sheen to mirror-like gloss. Leveraging the Height or Displacement maps further enhances the three-dimensional feel bringing unparalleled depth and tactile quality to your ceramic-tile textures thus elevating the overall realism and visual impact in your 3D preview and final renders.
Import the texture maps into Blender with sRGB color space for albedo/base color and Non-Color for normal, roughness, metallic, AO, height, and ORM maps. Connect normal maps through a Normal Map node, then adjust UV scale with a Mapping node so the material repeats naturally on your model.
For the full step-by-step setup, see How to Use Seamless Textures in Blender. Browse related material examples in wood, concrete, and metal.
Yes. This texture is designed as a seamless tileable PBR material, so it can repeat across large surfaces without visible borders.
You can download PNG/WEBP versions and use 1K, 2K, 4K and 8K download options when available on the page.
Yes. The download options and engine-mapped ZIP workflow are designed for Blender, Unreal Engine, Unity Standard, URP and HDRP material pipelines.
Yes. The texture is available under the AITextured free commercial license. Review the license page for redistribution and AI-training restrictions.


Generate, preview, and export seamless PBR materials for Blender, Unity, and Unreal Engine—directly in your browser.
AI text-to-texture: type a prompt and get a seamless, tileable base image ready for PBR workflows (great starting point for materials).
Create a full PBR set (Normal, Roughness, AO, Metallic, etc.) from a single image. Seamless and tiling-friendly.
Instant WebGL viewer: inspect materials on a sphere, plane, and cube. Check tiling and lighting in real time.
Re-packages maps per engine: Unreal (BaseColor + ORM), Unity (Mask/MetallicSmoothness), Blender (separate channels).
PNG ↔ JPG ↔ SVG: fast convert, SVG rasterize, embed/trace options, quality & background controls.