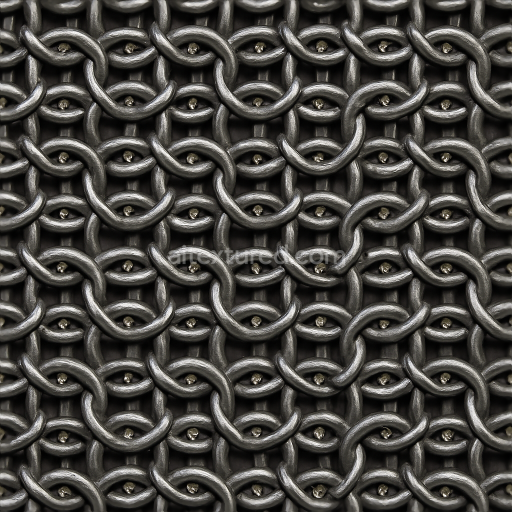
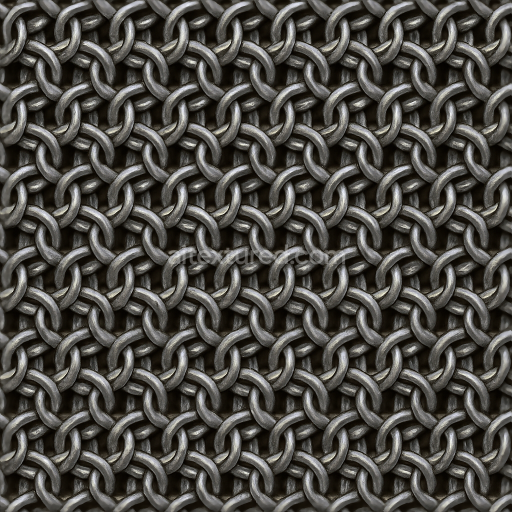
8K PBR Chainmail With European 4 in 1 Weave And Brushed Steel
Seamless texture (tileable) · PNG, WEBP, PBR ZIP. License: AITextured Free Commercial License (FCL) v1.1. Free personal and commercial use. Raw resale, standalone redistribution, mirroring/scraping, competing asset packs, and AI/ML training are not allowed without written permission. Attribution is not required, but appreciated..

| ID | seamless-3d-texture-8k-pbr-chainmail-with-butted-chainmail-style-and-matte-metal-finish |
|---|---|
| Category | Chainmail |
| Formats | PNG, WEBP, PBR ZIP |
| Size | 1k (1024x1024px), 2k (2048x2048px), 4k (4096x4096px), 8k (8192x8192px) |
| Color | sRGB |
| Tileable | Yes |
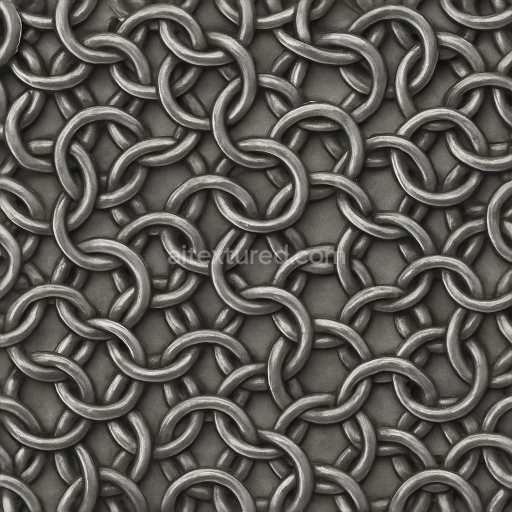
This seamless 3D texture showcases an intricate butted chainmail pattern rendered at an impressive 8K resolution designed specifically for physically based rendering (PBR) workflows. The surface emulates a metal fabric constructed from numerous interlinked rings each uniformly sized and aligned to create a consistent durable mesh. The base substrate is metallic featuring a matte finish that reduces reflectivity and highlights the subtle details of the ring construction. This low-reflective surface gives the chainmail a soft even appearance with minimal shine capturing the authentic look of worn or subdued metal armor rather than a polished or glossy surface. The texture’s composition reflects a tightly woven metal fabric with no visible porosity or weathering emphasizing a pristine butted chainmail style where each ring’s thickness and curvature are meticulously defined.
In terms of PBR channels the BaseColor map presents a muted gray metal tone enhanced with subtle oxide layers that simulate a natural patina adding depth without overpowering brightness. The Normal and Height maps provide fine-grained relief accentuating the ring overlaps and metal grain orientation to create realistic light interaction and shadowing. The Roughness channel is tuned to deliver a matte finish ensuring the surface diffuses light softly with a controlled low-gloss effect while the Metallic map confirms the surface’s fully metallic nature crucial for authentic metal reflections. Ambient Occlusion enhances the depth between rings reinforcing the perception of a dense flexible metal weave. This carefully balanced channel setup ensures the texture performs exceptionally in modern rendering engines such as Unreal Engine Blender and Unity making it ideal for realistic armor renders and game asset creation.
Crafted as a seamless tile this texture integrates effortlessly with UV maps allowing for flexible scaling without visible repetition or distortion. For optimal results it is recommended to adjust the UV scale to maintain ring proportions consistent with the intended armor size and to fine-tune roughness values depending on lighting conditions or stylistic preferences. The height map can be leveraged for parallax or displacement effects adding further realism by simulating the subtle relief of overlapping metal rings. This seamless 8K PBR butted chainmail texture with a matte finish is perfect for artists and designers seeking a realistic low-gloss metal surface that balances authenticity with stylistic subtlety across a variety of 3D applications.
Import the texture maps into Blender with sRGB color space for albedo/base color and Non-Color for normal, roughness, metallic, AO, height, and ORM maps. Connect normal maps through a Normal Map node, then adjust UV scale with a Mapping node so the material repeats naturally on your model.
For the full step-by-step setup, see How to Use Seamless Textures in Blender. Browse related material examples in wood, concrete, and metal.
Yes. This texture is designed as a seamless tileable PBR material, so it can repeat across large surfaces without visible borders.
You can download PNG/WEBP versions and use 1K, 2K, 4K and 8K download options when available on the page.
Yes. The download options and engine-mapped ZIP workflow are designed for Blender, Unreal Engine, Unity Standard, URP and HDRP material pipelines.
Yes. The texture is available under the AITextured free commercial license. Review the license page for redistribution and AI-training restrictions.
Build, preview, and export seamless PBR materials. Generate full map sets from a single image, inspect them in a real-time WebGL viewer, and re-package maps for Unreal, Unity, and Blender—directly in your browser.
AI text-to-texture: type a prompt and get a seamless, tileable base image ready for PBR workflows (great starting point for materials).
Create a full PBR set (Normal, Roughness, AO, Metallic, etc.) from a single image. Seamless and tiling-friendly.
Instant WebGL viewer: inspect materials on a sphere, plane, and cube. Check tiling and lighting in real time.
Re-packages maps per engine: Unreal (BaseColor + ORM), Unity (Mask/MetallicSmoothness), Blender (separate channels).
PNG ↔ JPG ↔ SVG: fast convert, SVG rasterize, embed/trace options, quality & background controls.