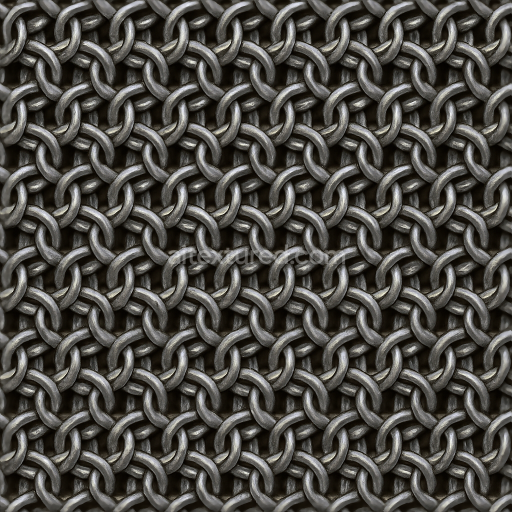
8K PBR Chainmail With Steel Rings And Tight Weave
Seamless texture (tileable) · PNG, WEBP, PBR ZIP. License: AITextured Free Commercial License (FCL) v1.1. Free personal and commercial use. Raw resale, standalone redistribution, mirroring/scraping, competing asset packs, and AI/ML training are not allowed without written permission. Attribution is not required, but appreciated..

| ID | seamless-3d-texture-8k-pbr-chainmail-with-blackened-steel-and-interlinked-loops |
|---|---|
| Category | Chainmail |
| Formats | PNG, WEBP, PBR ZIP |
| Size | 1k (1024x1024px), 2k (2048x2048px), 4k (4096x4096px), 8k (8192x8192px) |
| Color | sRGB |
| Tileable | Yes |
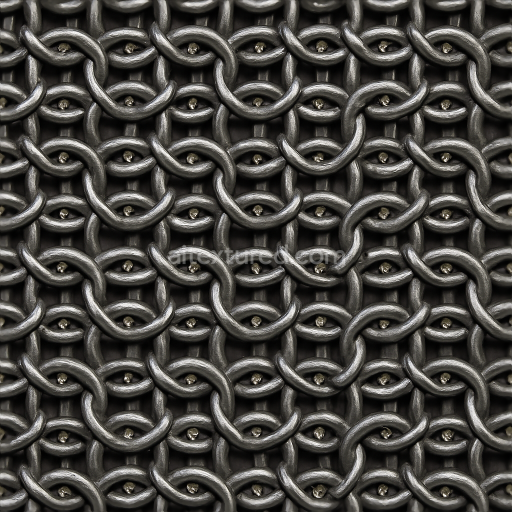
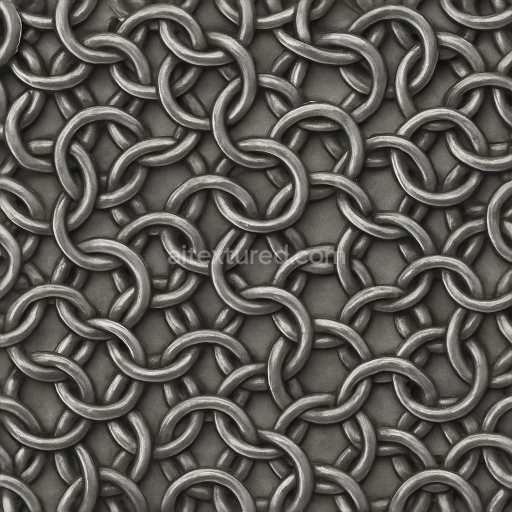
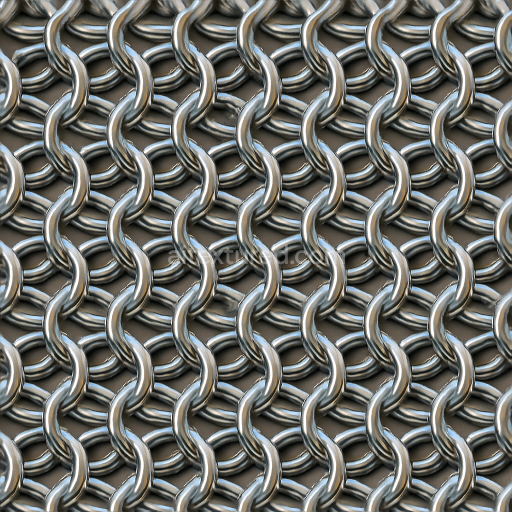
This seamless 3D texture presents an exceptionally detailed chainmail surface crafted from blackened steel rings expertly forming tightly interlinked loops. The base material is a robust metal alloy with a darkened oxide layer applied to simulate blackened steel giving the surface its characteristic deep gray to almost matte black tone. The texture captures subtle variations in the steel’s oxidation and wear with slightly worn edges on each ring to enhance realism and convey a sense of age and use. This worn effect is achieved through delicate surface imperfections and micro-scratches that break the uniformity creating a convincing weathered finish. The chainmail’s weave structure is complex with rings overlapping and interlocking in a traditional pattern that emphasizes strength and flexibility making it ideal for realistic gothic or medieval-themed 3D models and game assets requiring a durable metal surface with a dramatic aesthetic.
The PBR material channels fully exploit the physical properties of the blackened steel chainmail at an ultra-high 8K resolution ensuring crisp detail even in close-up renders. The BaseColor (Albedo) channel reflects the dark metal tone with subtle gradients caused by oxidation and grime accumulation in crevices while the Metallic map indicates a high metal content with consistent conductive properties across the rings. The Roughness channel balances smooth and rough areas—rings feature a soft metallic finish that softly captures and diffuses light while edge wear and scratches increase roughness for visual depth. The Normal and Height maps define the intricate weave and overlapping rings enhancing the perception of depth and volume perfect for use with parallax or displacement mapping. Ambient Occlusion accentuates the shadowing within the interlinked loops enhancing the 3D effect and realism of the chainmail surface.
Designed to be fully compatible and Unreal Blender and Unity ready this seamless 8K PBR chainmail texture allows for straightforward integration into your 3D projects. For optimal results it is recommended to carefully adjust the UV scale to maintain the integrity of the interlinked loop pattern without distortion. Additionally fine-tuning the roughness map can help simulate different levels of polish or wear depending on your scene requirements from freshly forged armor to battle-worn gear. This texture excels in visualizations where a strong yet flexible metal surface is essential such as gothic armor fantasy costumes or realistic game characters providing a dramatic and immersive metallic finish with unparalleled detail and authenticity.
Import the texture maps into Blender with sRGB color space for albedo/base color and Non-Color for normal, roughness, metallic, AO, height, and ORM maps. Connect normal maps through a Normal Map node, then adjust UV scale with a Mapping node so the material repeats naturally on your model.
For the full step-by-step setup, see How to Use Seamless Textures in Blender. Browse related material examples in wood, concrete, and metal.
Yes. This texture is designed as a seamless tileable PBR material, so it can repeat across large surfaces without visible borders.
You can download PNG/WEBP versions and use 1K, 2K, 4K and 8K download options when available on the page.
Yes. The download options and engine-mapped ZIP workflow are designed for Blender, Unreal Engine, Unity Standard, URP and HDRP material pipelines.
Yes. The texture is available under the AITextured free commercial license. Review the license page for redistribution and AI-training restrictions.
Build, preview, and export seamless PBR materials. Generate full map sets from a single image, inspect them in a real-time WebGL viewer, and re-package maps for Unreal, Unity, and Blender—directly in your browser.
AI text-to-texture: type a prompt and get a seamless, tileable base image ready for PBR workflows (great starting point for materials).
Create a full PBR set (Normal, Roughness, AO, Metallic, etc.) from a single image. Seamless and tiling-friendly.
Instant WebGL viewer: inspect materials on a sphere, plane, and cube. Check tiling and lighting in real time.
Re-packages maps per engine: Unreal (BaseColor + ORM), Unity (Mask/MetallicSmoothness), Blender (separate channels).
PNG ↔ JPG ↔ SVG: fast convert, SVG rasterize, embed/trace options, quality & background controls.