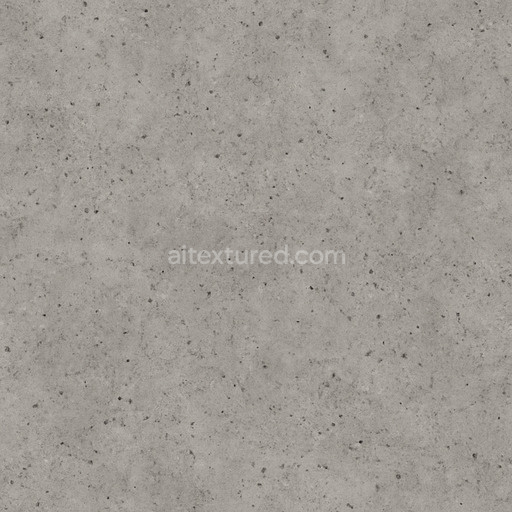
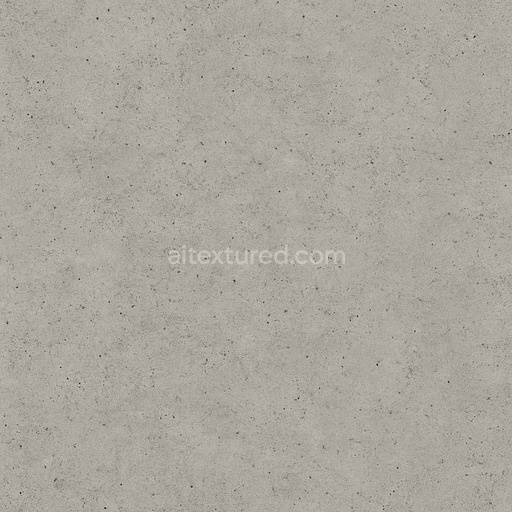
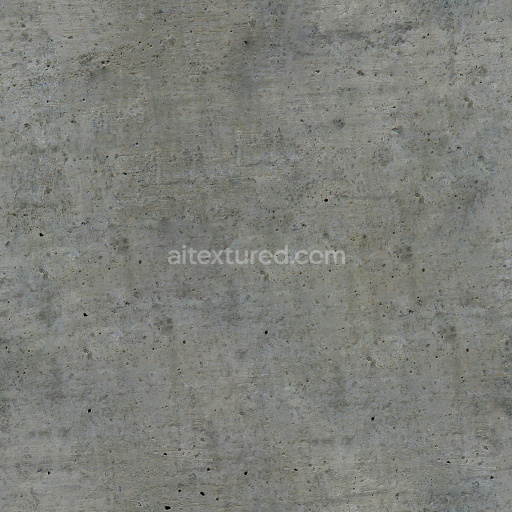
Concrete Moss
Seamless texture (tileable) · PNG, WEBP, PBR ZIP. License: AITextured Free Commercial License (FCL) v1.1. Free personal and commercial use. Raw resale, standalone redistribution, mirroring/scraping, competing asset packs, and AI/ML training are not allowed without written permission. Attribution is not required, but appreciated..

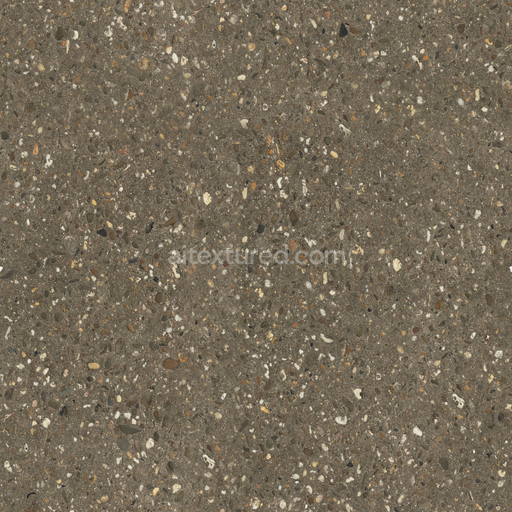
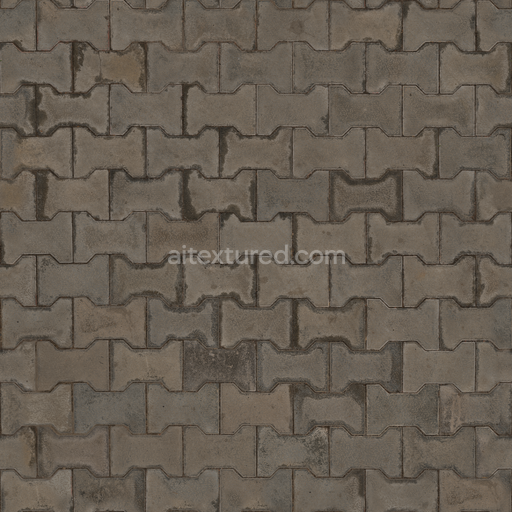
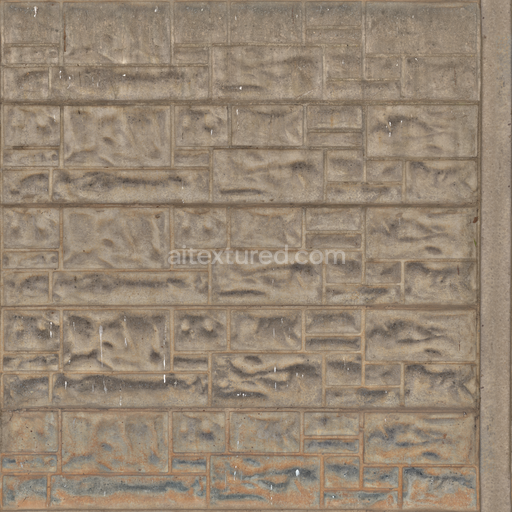
| ID | broken-tiles-texture-with-puddles-free-pbr |
|---|---|
| Category | Concrete |
| Formats | PNG, WEBP, PBR ZIP |
| Size | 1k (1024x1024px), 2k (2048x2048px), 4k (4096x4096px), 8k (8192x8192px) |
| Color | sRGB |
| Tileable | Yes |
This high-quality seamless PBR texture features broken ceramic tiles interspersed with shallow puddles, creating a visually rich surface perfect for realistic architectural or game environments. The base material consists of weathered ceramic fragments, exhibiting subtle porosity and mineral grain structure typical of fired clay with a slightly rough, matte finish. The adhesive binder between the tiles, resembling aged cement or mortar, shows fine aggregate particles and minor cracking from exposure, emphasizing natural wear and tear. The puddles add a dynamic wetness layer, reflecting environmental lighting with a smooth surface finish that contrasts the roughness of the broken tiles.
In the PBR channels, the BaseColor/Albedo map captures the muted earth tones of the ceramic shards and the darker, damp mortar, enriched by subtle pigment variations and oxide staining from prolonged weathering. The Normal map conveys the intricate surface relief, from tile edges and fractured surfaces to the shallow water pooling within crevices. The Roughness channel balances the matte ceramic with the glossy puddle areas, allowing realistic light scattering and reflection. Metallic values remain low, consistent with non-metallic ceramic and cementitious materials. Ambient Occlusion enhances depth perception around tile breaks and mortar joints, while the Height/Displacement map provides accurate surface elevation changes for enhanced parallax effects.
Rendered at up to 8K resolution, this texture is optimized for seamless tiling and is fully compatible with popular 3D engines such as Blender, Unreal Engine, and Unity. For best results, adjust the UV scale to maintain a natural tile size relative to the scene, and fine-tune roughness to highlight the contrast between dry, rough ceramic surfaces and the wet, reflective puddles. This texture is ideal for creating realistic floor or wall surfaces in urban decay scenes, outdoor environments, or any setting requiring detailed broken tile materials with natural water effects.
Import the texture maps into Blender with sRGB color space for albedo/base color and Non-Color for normal, roughness, metallic, AO, height, and ORM maps. Connect normal maps through a Normal Map node, then adjust UV scale with a Mapping node so the material repeats naturally on your model.
For the full step-by-step setup, see How to Use Seamless Textures in Blender. Browse related material examples in wood, concrete, and metal.
Yes. This texture is designed as a seamless tileable PBR material, so it can repeat across large surfaces without visible borders.
You can download PNG/WEBP versions and use 1K, 2K, 4K and 8K download options when available on the page.
Yes. The download options and engine-mapped ZIP workflow are designed for Blender, Unreal Engine, Unity Standard, URP and HDRP material pipelines.
Yes. The texture is available under the AITextured free commercial license. Review the license page for redistribution and AI-training restrictions.
Build, preview, and export seamless PBR materials. Generate full map sets from a single image, inspect them in a real-time WebGL viewer, and re-package maps for Unreal, Unity, and Blender—directly in your browser.
AI text-to-texture: type a prompt and get a seamless, tileable base image ready for PBR workflows (great starting point for materials).
Create a full PBR set (Normal, Roughness, AO, Metallic, etc.) from a single image. Seamless and tiling-friendly.
Instant WebGL viewer: inspect materials on a sphere, plane, and cube. Check tiling and lighting in real time.
Re-packages maps per engine: Unreal (BaseColor + ORM), Unity (Mask/MetallicSmoothness), Blender (separate channels).
PNG ↔ JPG ↔ SVG: fast convert, SVG rasterize, embed/trace options, quality & background controls.