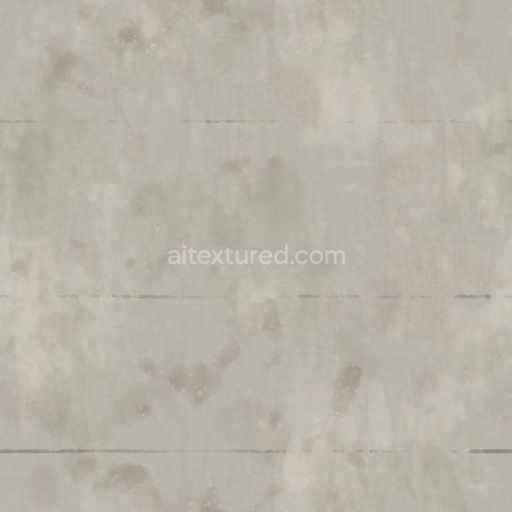
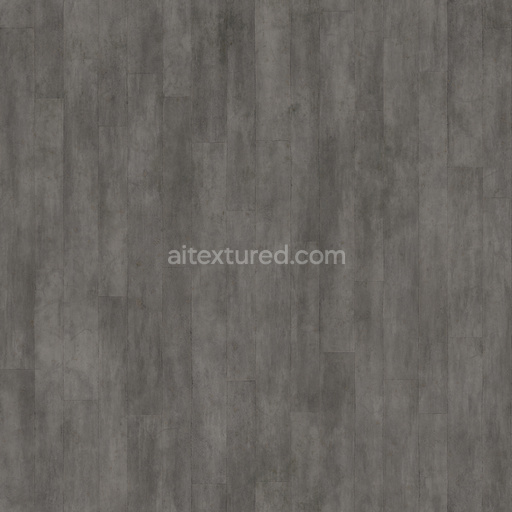
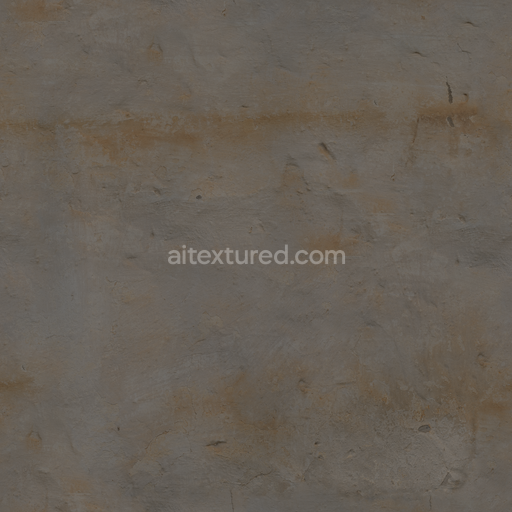
Concrete Plaster Wall Texture | Free PBR
Seamless texture (tileable) · PNG, WEBP, PBR ZIP. License: AITextured Free Commercial License (FCL) v1.1. Free personal and commercial use. Raw resale, standalone redistribution, mirroring/scraping, competing asset packs, and AI/ML training are not allowed without written permission. Attribution is not required, but appreciated..

| ID | moroccan-style-floor-tiles-free-pbr |
|---|---|
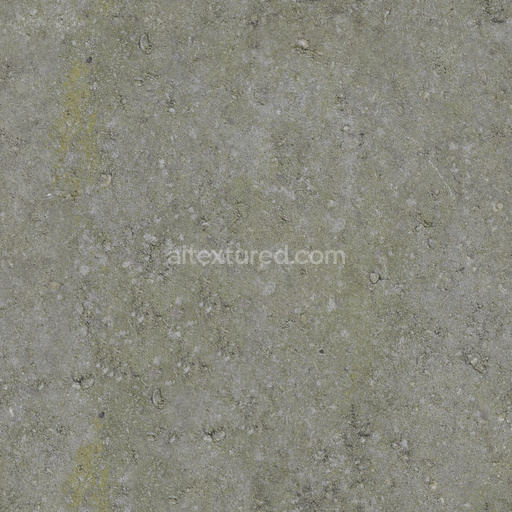
| Category | Concrete |
| Formats | PNG, WEBP, PBR ZIP |
| Size | 1k (1024x1024px), 2k (2048x2048px), 4k (4096x4096px), 8k (8192x8192px) |
| Color | sRGB |
| Tileable | Yes |
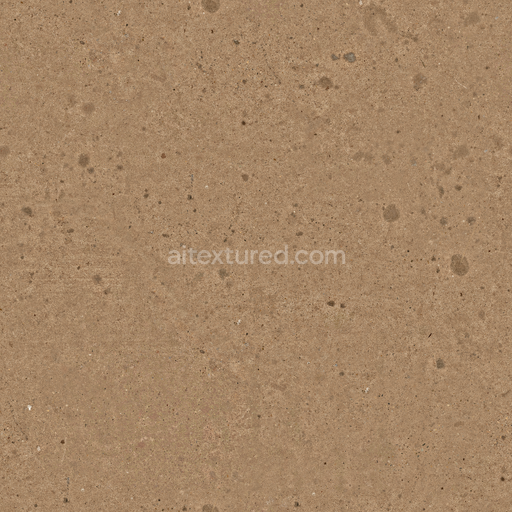
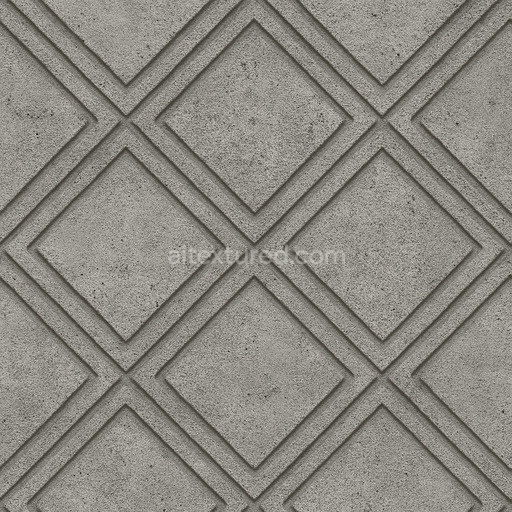
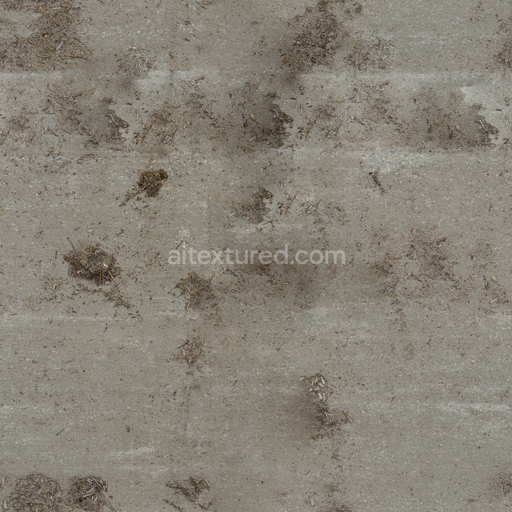
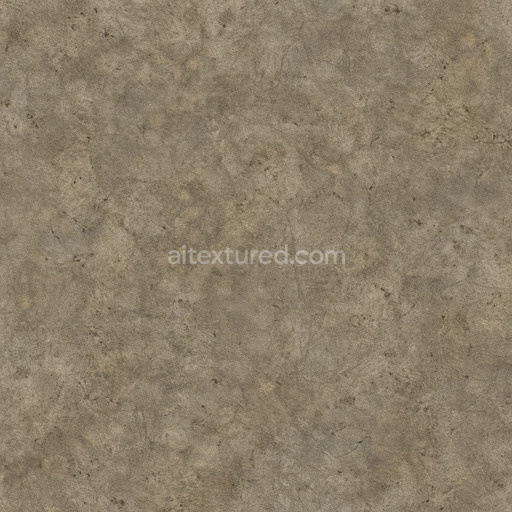
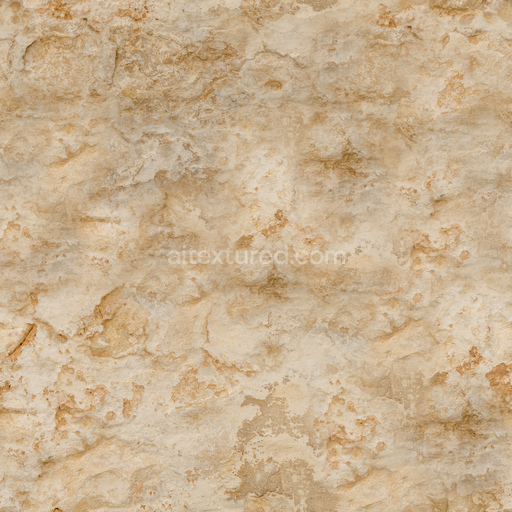
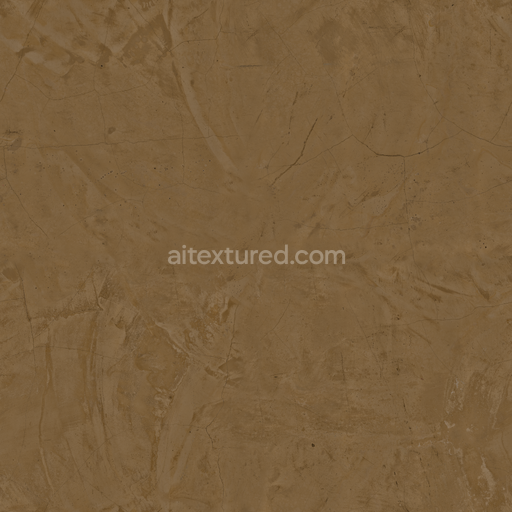
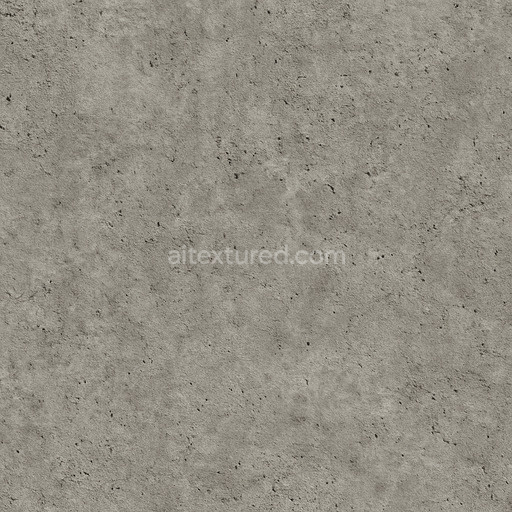
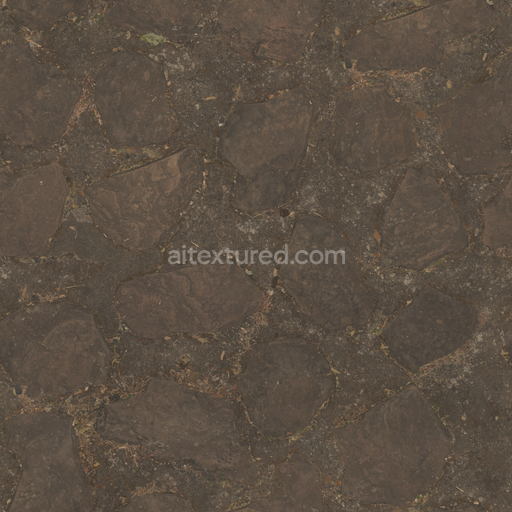
The Moroccan Style Floor Tiles (Tiles 0111) showcase a timeless design inspired by traditional flower-shaped patterns commonly found throughout Morocco. These tiles are crafted primarily from high-quality ceramic, offering a durable and mineral-rich base substrate that ensures long-lasting performance in both indoor and outdoor settings. The composition includes finely ground clays blended with natural mineral additives to enhance strength and resistance to wear. A carefully formulated binder holds the ceramic particles together, while subtle aggregates within the mix provide a balanced texture that influences porosity and weathering properties. The surface finish is semi-matte with a slight sheen, achieved through a controlled glazing process that seals the tile and preserves the vibrant colorants, including iron oxide pigments and natural dyes, which create the distinctive warm shades typical of Moroccan floors.
In terms of physically based rendering (PBR) channels, this texture set excels with an 8K resolution map that captures intricate details and subtle variations in color and surface irregularities. The BaseColor (Albedo) channel represents the rich, multihued floral design with accurate pigment distribution. The Normal map simulates the delicate relief of the tile’s surface, highlighting the slight embossing and grout lines for realistic depth. Roughness values reflect the semi-gloss glaze, providing a balance between matte and polished areas that respond authentically to light sources. The Metallic channel remains near zero, consistent with ceramic’s non-metallic nature, while Ambient Occlusion enhances the perception of crevices and grout shadows. Height or Displacement maps add further realism by defining the tile edges and raised floral motifs, ideal for close-up renders.
These Moroccan floor tiles are optimized for seamless integration in Blender, Unreal Engine, and Unity, making them an excellent choice for architectural visualizations or immersive environments requiring authentic North African style flooring. For practical usage, adjusting the UV scale to match real-world tile dimensions is crucial to maintain pattern fidelity without distortion. Additionally, fine-tuning the roughness parameter can help achieve the desired level of reflectivity, whether aiming for a well-worn matte finish or a more polished, newly installed look. This texture’s versatility and high resolution ensure it performs exceptionally across various projects, enhancing any space with a culturally rich and visually engaging flooring solution.
Import the texture maps into Blender with sRGB color space for albedo/base color and Non-Color for normal, roughness, metallic, AO, height, and ORM maps. Connect normal maps through a Normal Map node, then adjust UV scale with a Mapping node so the material repeats naturally on your model.
For the full step-by-step setup, see How to Use Seamless Textures in Blender. Browse related material examples in wood, concrete, and metal.
Yes. This texture is designed as a seamless tileable PBR material, so it can repeat across large surfaces without visible borders.
You can download PNG/WEBP versions and use 1K, 2K, 4K and 8K download options when available on the page.
Yes. The download options and engine-mapped ZIP workflow are designed for Blender, Unreal Engine, Unity Standard, URP and HDRP material pipelines.
Yes. The texture is available under the AITextured free commercial license. Review the license page for redistribution and AI-training restrictions.
Build, preview, and export seamless PBR materials. Generate full map sets from a single image, inspect them in a real-time WebGL viewer, and re-package maps for Unreal, Unity, and Blender—directly in your browser.
AI text-to-texture: type a prompt and get a seamless, tileable base image ready for PBR workflows (great starting point for materials).
Create a full PBR set (Normal, Roughness, AO, Metallic, etc.) from a single image. Seamless and tiling-friendly.
Instant WebGL viewer: inspect materials on a sphere, plane, and cube. Check tiling and lighting in real time.
Re-packages maps per engine: Unreal (BaseColor + ORM), Unity (Mask/MetallicSmoothness), Blender (separate channels).
PNG ↔ JPG ↔ SVG: fast convert, SVG rasterize, embed/trace options, quality & background controls.