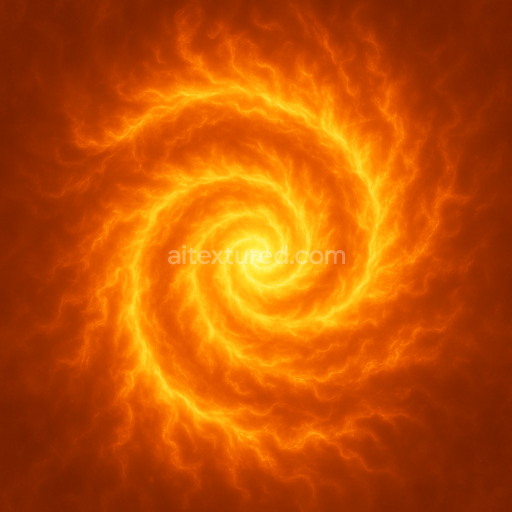
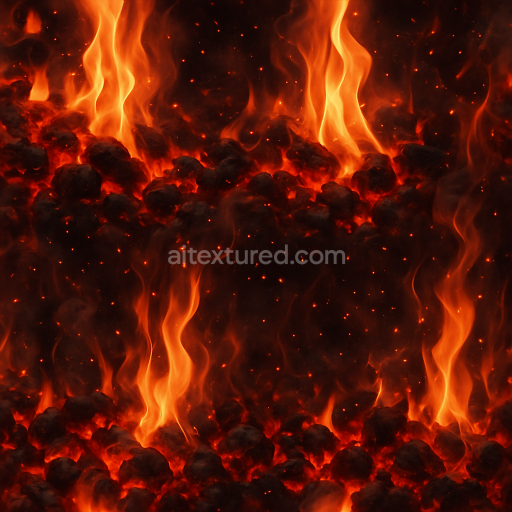
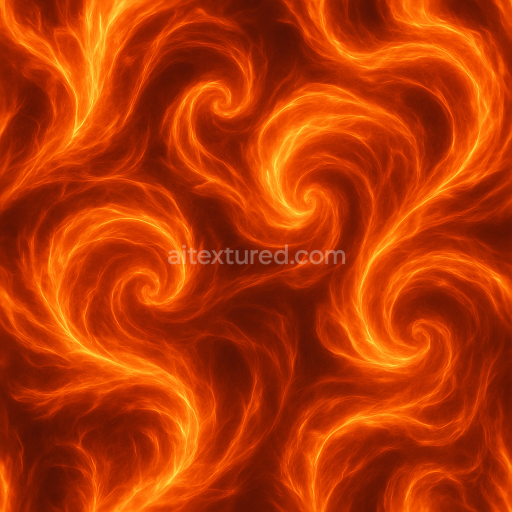
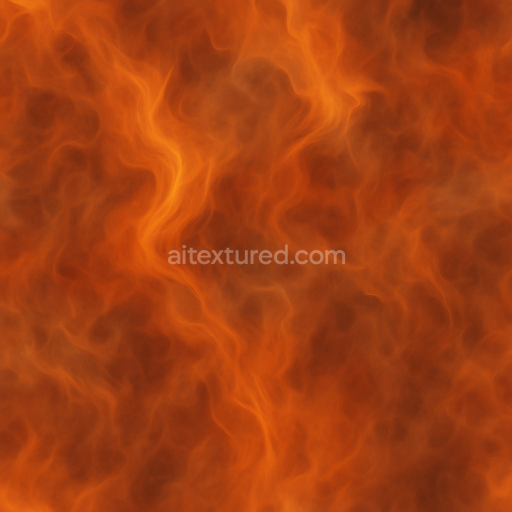
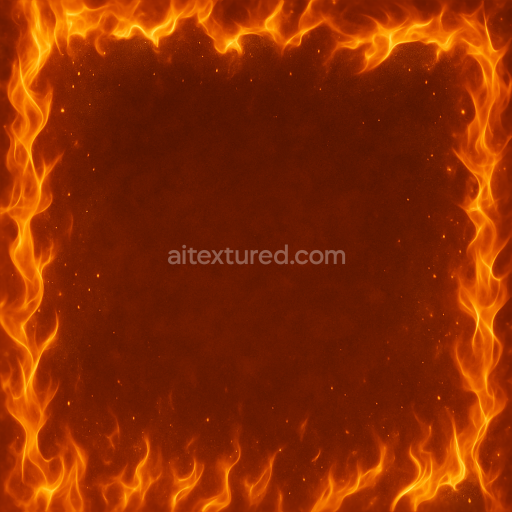
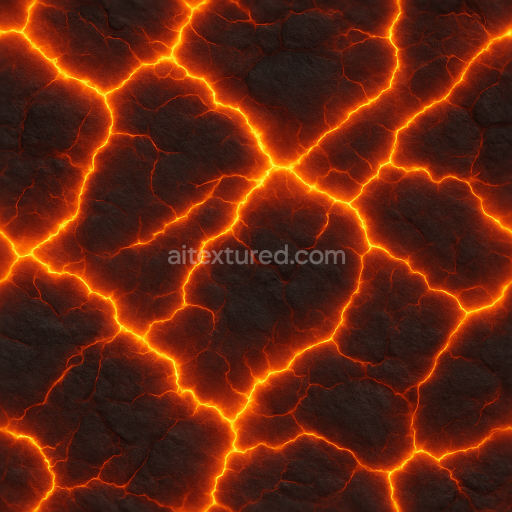
Fire Spiral Fractal With Fire Flare And Fire Burst Glow
Seamless texture (tileable) · PNG, WEBP, PBR ZIP. License: AITextured Free Commercial License (FCL) v1.1. Free personal and commercial use. Raw resale, standalone redistribution, mirroring/scraping, competing asset packs, and AI/ML training are not allowed without written permission. Attribution is not required, but appreciated..

| ID | seamless-3d-texture-of-charcoal-embers-with-fire-sparks-pbr-8k |
|---|---|
| Category | Fire |
| Formats | PNG, WEBP, PBR ZIP |
| Size | 1k (1024x1024px), 2k (2048x2048px), 4k (4096x4096px), 8k (8192x8192px) |
| Color | sRGB |
| Tileable | Yes |
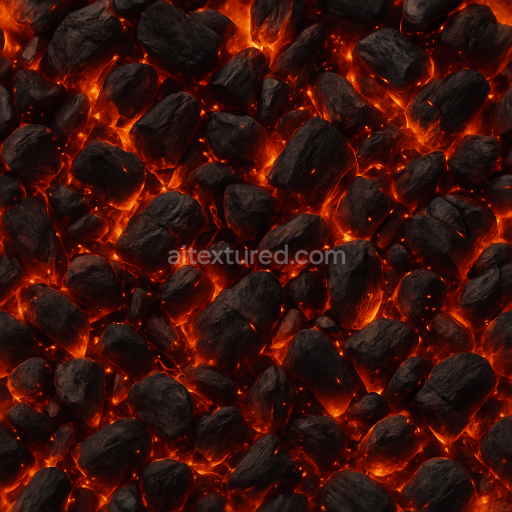
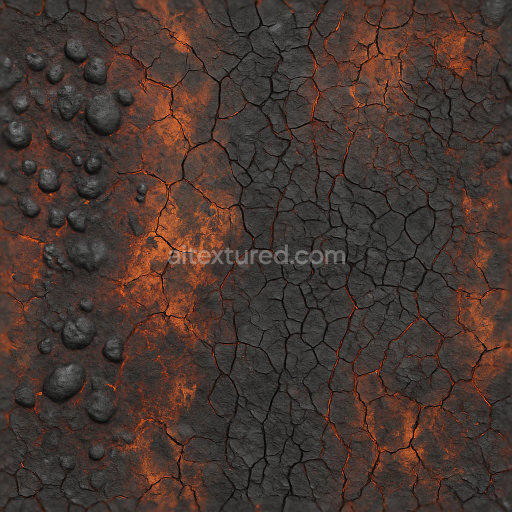
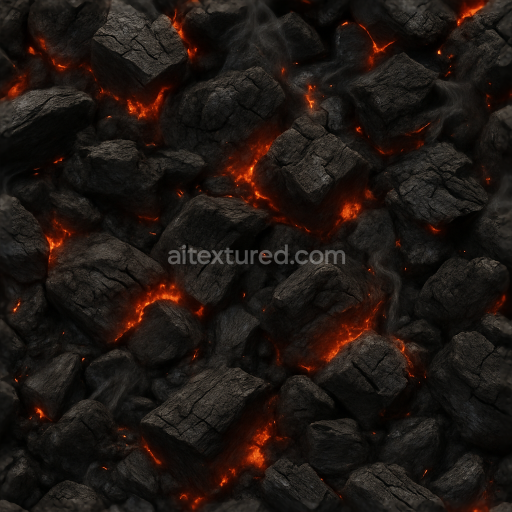
This seamless 3D texture showcases a photorealistic surface of charcoal embers with scattered fire sparks and glowing burning effects rendered in stunning 8K resolution using physically based rendering (PBR) techniques. The base material replicates organic charcoal composed of dense carbonized wood particles fused with natural mineral ash binders which provide a porous yet solid substrate. Subtle variations in grain orientation and texture roughness mimic the weathered cracked surface of cooling embers while small glowing sparks and ember fissures add dynamic realism. The surface finish appears matte and slightly ashy with soft charred black and deep gray pigments enhanced by faint reddish-orange ember glows replicating natural combustion residue and heat discoloration.
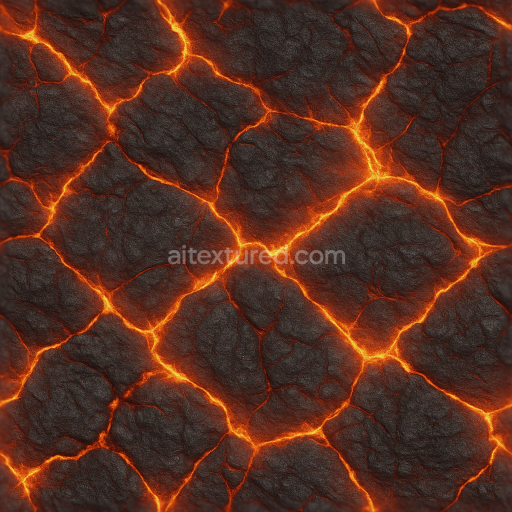
In the PBR workflow the BaseColor (Albedo) channel delivers nuanced charcoal tones interspersed with warm ember highlights while the Normal map emphasizes the micro-cracks and coarse grain orientation that create the uneven brittle texture. The Roughness map balances matte and subtly glossy areas reflecting the contrast between ashy charcoal and molten ember spots. Metallic content is minimal consistent with organic charcoal’s non-metallic nature and the Ambient Occlusion channel deepens shadowed crevices to enhance depth perception. Height and Displacement maps capture the surface’s topography emphasizing charred ridges and fine embers’ raised details perfect for realistic parallax or tessellation effects.
Designed for seamless tiling this 3D texture is ideal for use in digital environments such as campfires barbecues or fiery backgrounds that demand authentic charcoal embers with natural micro-variations. It is fully optimized and unreal blender ready compatible with Unreal Engine and Unity supporting high-fidelity visual projects requiring ultra-realistic fire and ember materials. For best results adjusting the UV scale to maintain natural ember size and fine-tuning roughness can enhance the realism of light interaction on the surface while using height maps for subtle parallax adds immersive depth to close-up views. This texture offers a versatile and highly detailed solution for artists seeking true-to-life ember and charcoal effects in 3D scenes.
Import the texture maps into Blender with sRGB color space for albedo/base color and Non-Color for normal, roughness, metallic, AO, height, and ORM maps. Connect normal maps through a Normal Map node, then adjust UV scale with a Mapping node so the material repeats naturally on your model.
For the full step-by-step setup, see How to Use Seamless Textures in Blender. Browse related material examples in wood, concrete, and metal.
Yes. This texture is designed as a seamless tileable PBR material, so it can repeat across large surfaces without visible borders.
You can download PNG/WEBP versions and use 1K, 2K, 4K and 8K download options when available on the page.
Yes. The download options and engine-mapped ZIP workflow are designed for Blender, Unreal Engine, Unity Standard, URP and HDRP material pipelines.
Yes. The texture is available under the AITextured free commercial license. Review the license page for redistribution and AI-training restrictions.

Generate, preview, and export seamless PBR materials for Blender, Unity, and Unreal Engine—directly in your browser.
AI text-to-texture: type a prompt and get a seamless, tileable base image ready for PBR workflows (great starting point for materials).
Create a full PBR set (Normal, Roughness, AO, Metallic, etc.) from a single image. Seamless and tiling-friendly.
Instant WebGL viewer: inspect materials on a sphere, plane, and cube. Check tiling and lighting in real time.
Re-packages maps per engine: Unreal (BaseColor + ORM), Unity (Mask/MetallicSmoothness), Blender (separate channels).
PNG ↔ JPG ↔ SVG: fast convert, SVG rasterize, embed/trace options, quality & background controls.