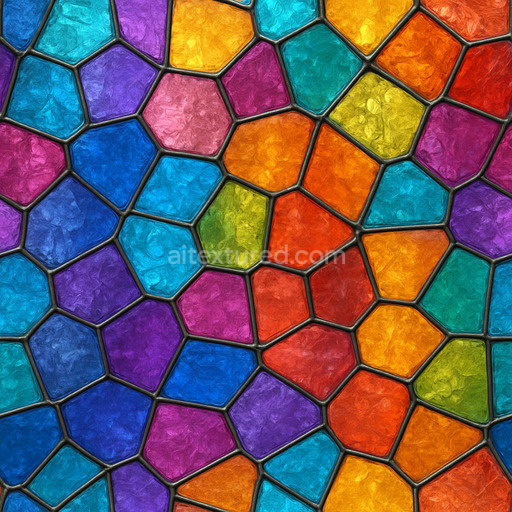
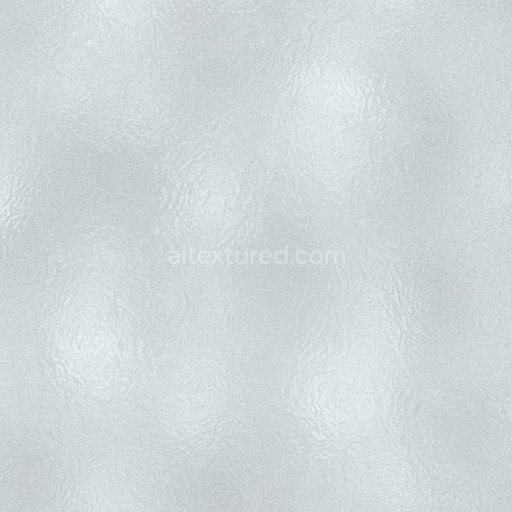
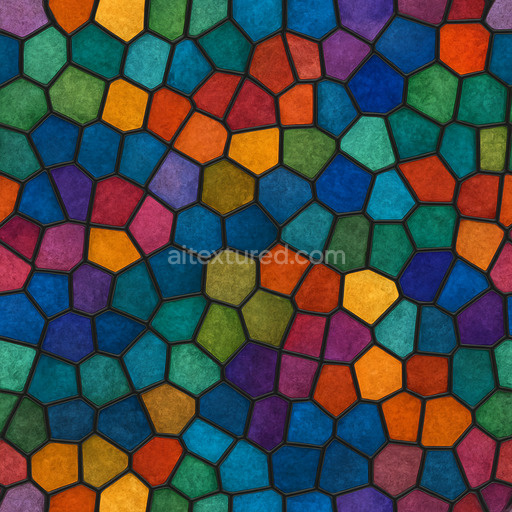
Shiny Stained Glass Seamless Texture
Seamless texture (tileable) · PNG, WEBP, PBR ZIP. License: AITextured Free Commercial License (FCL) v1.1. Free personal and commercial use. Raw resale, standalone redistribution, mirroring/scraping, competing asset packs, and AI/ML training are not allowed without written permission. Attribution is not required, but appreciated..

| ID | wire-reinforced-safety-glass |
|---|---|
| Category | Glass |
| Formats | PNG, WEBP, PBR ZIP |
| Size | 1k (1024x1024px), 2k (2048x2048px), 4k (4096x4096px), 8k (8192x8192px) |
| Color | sRGB |
| Tileable | Yes |
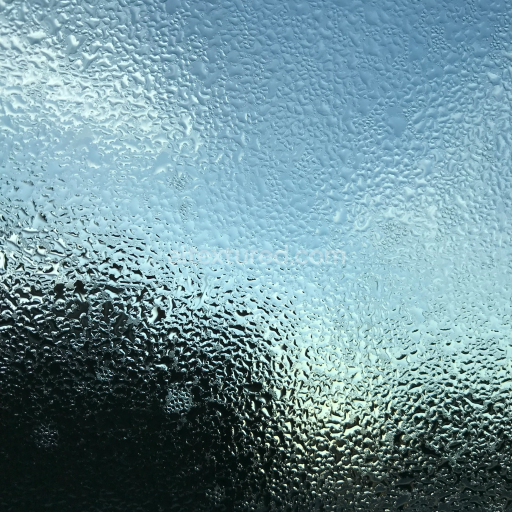
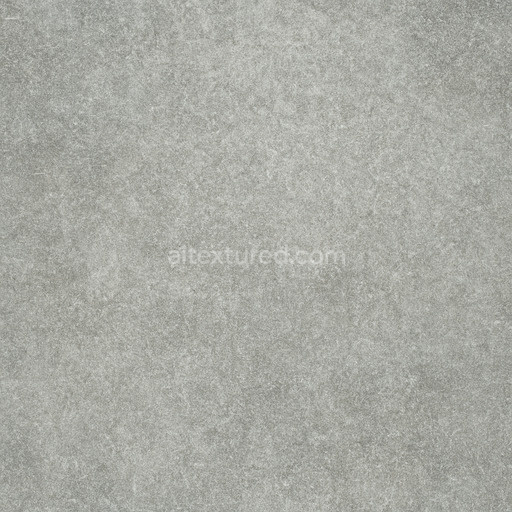
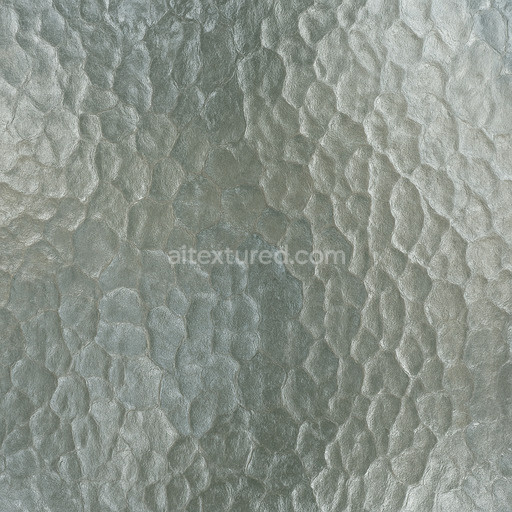
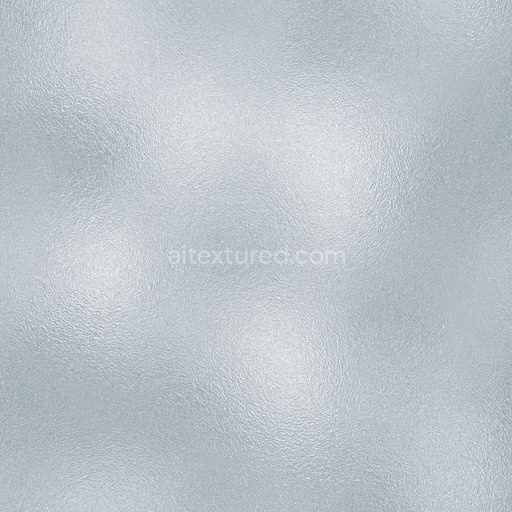
The wire reinforced safety glass texture is expertly crafted to replicate the intricate material composition of safety glass embedded with a fine wire mesh reinforcement. The base substrate consists of clear tempered glass known for its exceptional hardness durability and excellent optical transparency. This glass substrate is combined with a corrosion-resistant metal alloy wire grid typically stainless steel or galvanized metal which is embedded within the glass layers to provide enhanced structural integrity and impact resistance. Visually the embedded wire mesh appears through subtle surface undulations and delicate fine mesh patterns beneath the polished glass surface capturing the nuanced interplay between transparency and reinforcement. The texture maintains minimal color variation preserving the natural clarity of the glass with subdued silver-gray tones introduced by the metallic wire while the overall surface finish remains smooth and polished with subtle variations that enhance realism without compromising the sense of a pristine hard glass surface.
This sophisticated material composition is conveyed through comprehensive PBR channels to ensure high fidelity and realistic rendering. The BaseColor/Albedo map highlights the transparent glass with its subtle tonal shifts between the clear substrate and the muted metallic wire mesh. Normal maps emphasize the fine wire mesh relief and the slight surface undulations caused by the embedded grid. Roughness maps are calibrated to simulate the polished surface of tempered glass allowing for adjustable glossiness that can mimic either freshly cleaned safety glass or surfaces with minimal weathering. Metallic maps precisely define the conductive metal wire differentiating it from the non-metallic glass substrate. Ambient Occlusion enhances depth perception around wire intersections creating realistic shadows that emphasize the mesh’s dimensionality. Height/Displacement maps add tangible relief to the embedded wire structure providing subtle depth that enhances tactile realism without sacrificing rendering performance.
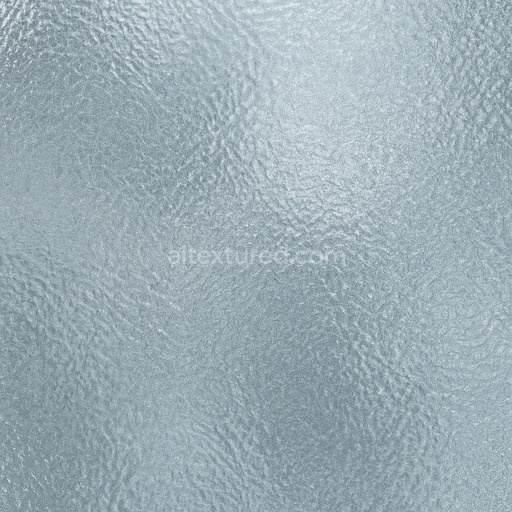
Rendered at an impressive 8K resolution this seamless wire reinforced safety glass texture delivers exceptional detail and clarity making it ideal for integration into modern 3D workflows. It is fully compatible with Blender Unreal Engine and Unity ensuring consistent and predictable results in both real-time and cinematic environments. The tileable design supports large UV islands without visible seams or distortion preserving visual cohesion even at extensive scales. For optimal results adjusting the roughness channel allows users to fine-tune surface reflectivity to simulate a range of glass finishes from ultra-polished to slightly weathered. Additionally leveraging the height/displacement map can enhance the sense of depth and relief in the wire mesh adding realism in architectural visualizations automotive safety glass or industrial barrier projects. This texture wire reinforced safety glass is a versatile and accurate asset that balances clarity durability and visual complexity with technical precision.
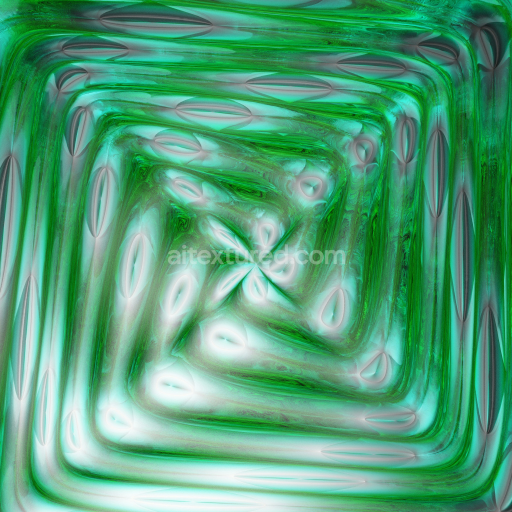
The tileable wire reinforced safety glass texture offers realistic glass textures with accurate reflections and refractions enhancing the 3D preview experience through its detailed PBR material composition.
Import the texture maps into Blender with sRGB color space for albedo/base color and Non-Color for normal, roughness, metallic, AO, height, and ORM maps. Connect normal maps through a Normal Map node, then adjust UV scale with a Mapping node so the material repeats naturally on your model.
For the full step-by-step setup, see How to Use Seamless Textures in Blender. Browse related material examples in wood, concrete, and metal.
Yes. This texture is designed as a seamless tileable PBR material, so it can repeat across large surfaces without visible borders.
You can download PNG/WEBP versions and use 1K, 2K, 4K and 8K download options when available on the page.
Yes. The download options and engine-mapped ZIP workflow are designed for Blender, Unreal Engine, Unity Standard, URP and HDRP material pipelines.
Yes. The texture is available under the AITextured free commercial license. Review the license page for redistribution and AI-training restrictions.
Build, preview, and export seamless PBR materials. Generate full map sets from a single image, inspect them in a real-time WebGL viewer, and re-package maps for Unreal, Unity, and Blender—directly in your browser.
AI text-to-texture: type a prompt and get a seamless, tileable base image ready for PBR workflows (great starting point for materials).
Create a full PBR set (Normal, Roughness, AO, Metallic, etc.) from a single image. Seamless and tiling-friendly.
Instant WebGL viewer: inspect materials on a sphere, plane, and cube. Check tiling and lighting in real time.
Re-packages maps per engine: Unreal (BaseColor + ORM), Unity (Mask/MetallicSmoothness), Blender (separate channels).
PNG ↔ JPG ↔ SVG: fast convert, SVG rasterize, embed/trace options, quality & background controls.