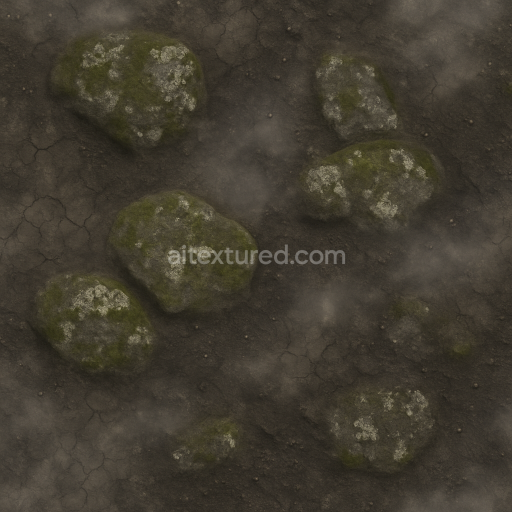
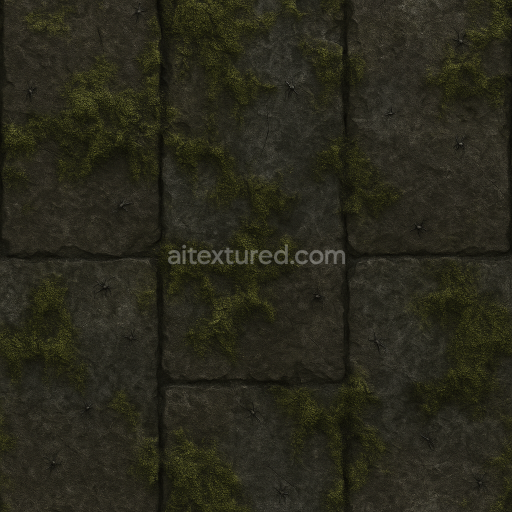
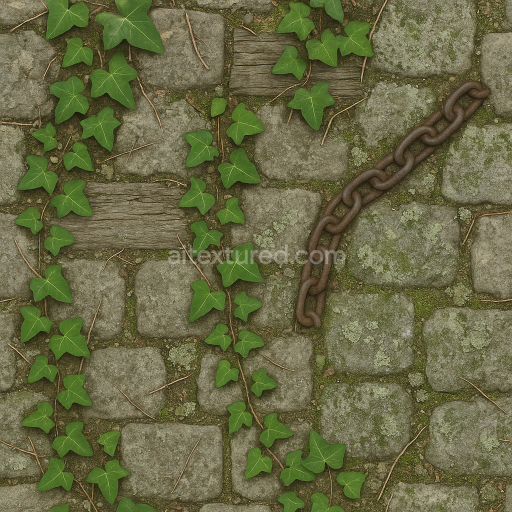
Foggy Ground With Dry Cracked Earth And Mossy Stone
Seamless texture (tileable) · PNG, WEBP, PBR ZIP. License: AITextured Free Commercial License (FCL) v1.1. Free personal and commercial use. Raw resale, standalone redistribution, mirroring/scraping, competing asset packs, and AI/ML training are not allowed without written permission. Attribution is not required, but appreciated..

| ID | seamless-3d-texture-pbr-8k-burnt-fabric-with-charred-wood-and-ash-residue-for-horror |
|---|---|
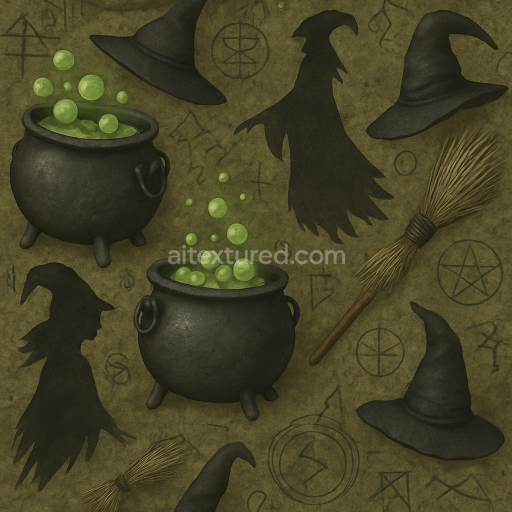
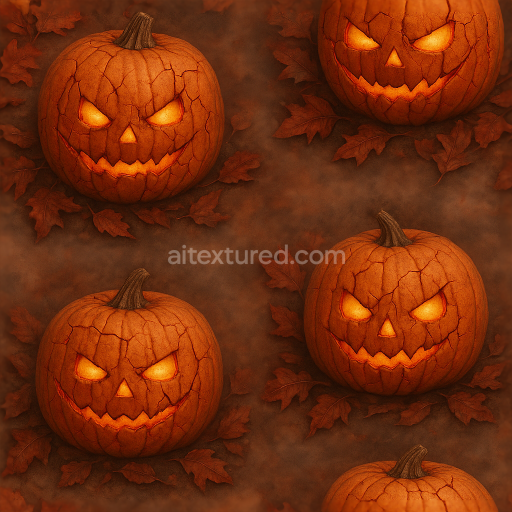
| Category | Halloween |
| Formats | PNG, WEBP, PBR ZIP |
| Size | 1k (1024x1024px), 2k (2048x2048px), 4k (4096x4096px), 8k (8192x8192px) |
| Color | sRGB |
| Tileable | Yes |
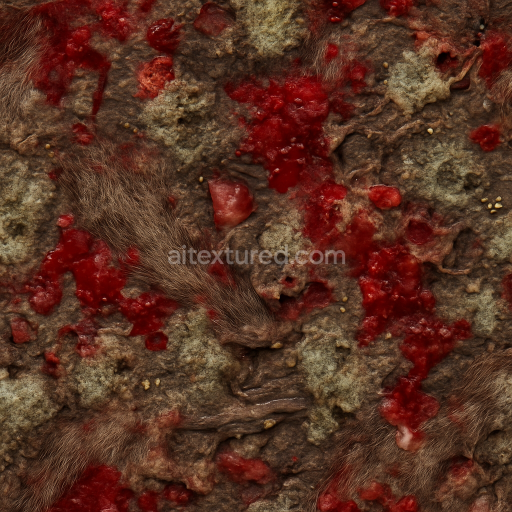
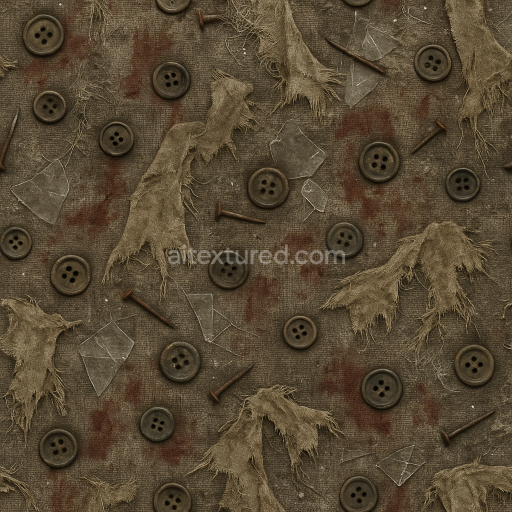
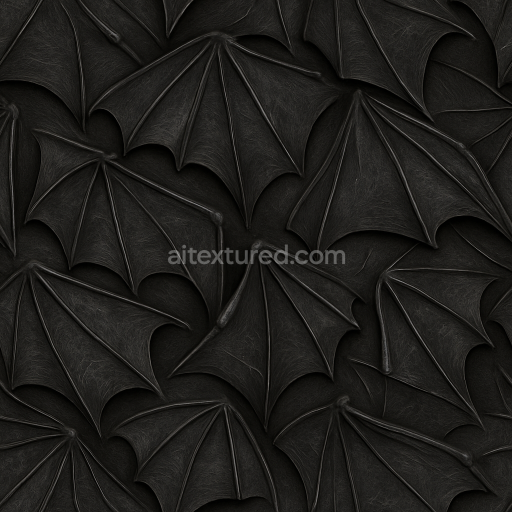
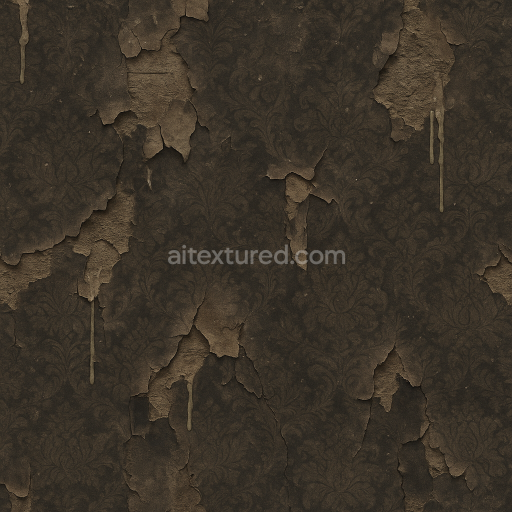
This seamless 3D texture features an intricate composition of burnt fabric intertwined with charred wood and delicate ash residue crafted to deliver a photorealistic appearance in stunning PBR 8K resolution. The base materials include organic fibrous fabric visibly degraded by intense heat alongside mineral-rich wooden substrates reduced to blackened cracked fragments through combustion. These elements are bound by fine particulate ash which settles into crevices and surface irregularities enhancing the weathered and porous nature of the materials. The fabric displays a distressed weave pattern partially disintegrated and fused with the oxidized wood fibers creating a complex surface finish that combines rough brittle textures with subtle brittle gloss from residual burn marks and soot deposits. Pigments are muted dominated by deep char blacks smoky grays and faded browns reflecting natural oxidation and carbonization processes.
Within the PBR channels the BaseColor or Albedo map captures the nuanced color shifts between burnt fabric fibers and the charred wood grain emphasizing ash deposits with lighter highlights. The Normal map accurately conveys the cracked uneven surface topology of both fabric and wood including raised burn scars and sunken ash pockets which adds depth under dynamic lighting. Roughness values vary strategically across the surface with smoother almost polished areas on glossy burnt resin spots contrasting against coarse matte ash-covered zones. The Metallic map remains minimal as these organic materials lack metallic content while Ambient Occlusion enhances the shadowing around fabric tears and wood fissures reinforcing realism. Height or Displacement maps provide subtle relief allowing for realistic parallax effects that bring out the texture’s ruggedness and enhance immersion in 3D environments.
Rendered and optimized for seamless tiling this texture is fully Unreal Blender and Unity ready ensuring easy integration into horror haunted house and Halloween-themed scenes where high-resolution detail is critical. The neutral lighting used during capture preserves all surface details without harsh shadows making the texture highly adaptable to various lighting conditions and shader setups. Practical usage tip: when applying this texture adjusting the UV scale to moderate values helps maintain visible detail without excessive repetition while fine-tuning roughness can simulate varying degrees of soot accumulation or burnt resin gloss depending on scene requirements.
Import the texture maps into Blender with sRGB color space for albedo/base color and Non-Color for normal, roughness, metallic, AO, height, and ORM maps. Connect normal maps through a Normal Map node, then adjust UV scale with a Mapping node so the material repeats naturally on your model.
For the full step-by-step setup, see How to Use Seamless Textures in Blender. Browse related material examples in wood, concrete, and metal.
Yes. This texture is designed as a seamless tileable PBR material, so it can repeat across large surfaces without visible borders.
You can download PNG/WEBP versions and use 1K, 2K, 4K and 8K download options when available on the page.
Yes. The download options and engine-mapped ZIP workflow are designed for Blender, Unreal Engine, Unity Standard, URP and HDRP material pipelines.
Yes. The texture is available under the AITextured free commercial license. Review the license page for redistribution and AI-training restrictions.

Build, preview, and export seamless PBR materials. Generate full map sets from a single image, inspect them in a real-time WebGL viewer, and re-package maps for Unreal, Unity, and Blender—directly in your browser.
AI text-to-texture: type a prompt and get a seamless, tileable base image ready for PBR workflows (great starting point for materials).
Create a full PBR set (Normal, Roughness, AO, Metallic, etc.) from a single image. Seamless and tiling-friendly.
Instant WebGL viewer: inspect materials on a sphere, plane, and cube. Check tiling and lighting in real time.
Re-packages maps per engine: Unreal (BaseColor + ORM), Unity (Mask/MetallicSmoothness), Blender (separate channels).
PNG ↔ JPG ↔ SVG: fast convert, SVG rasterize, embed/trace options, quality & background controls.