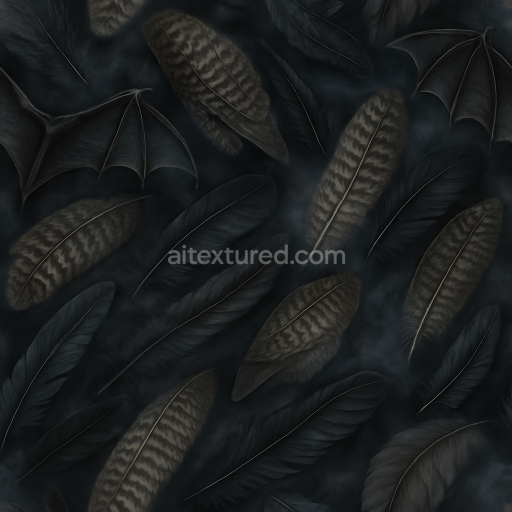
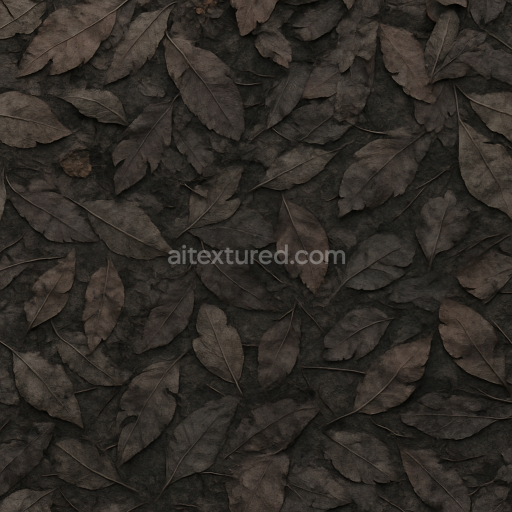
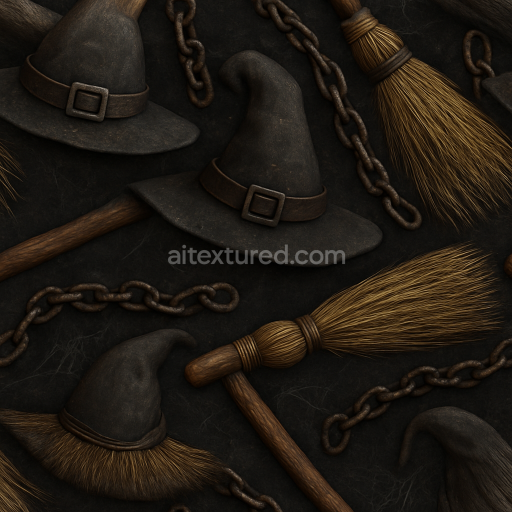
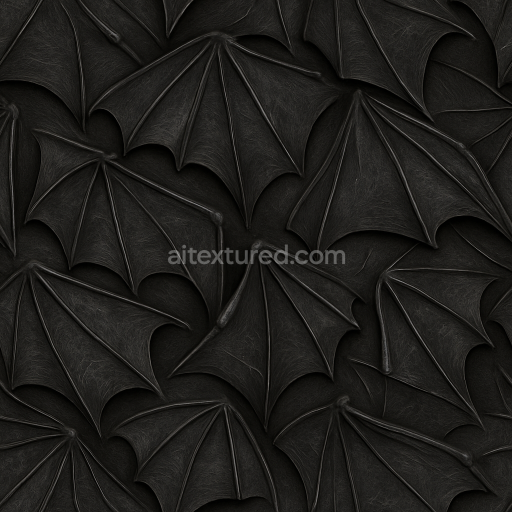
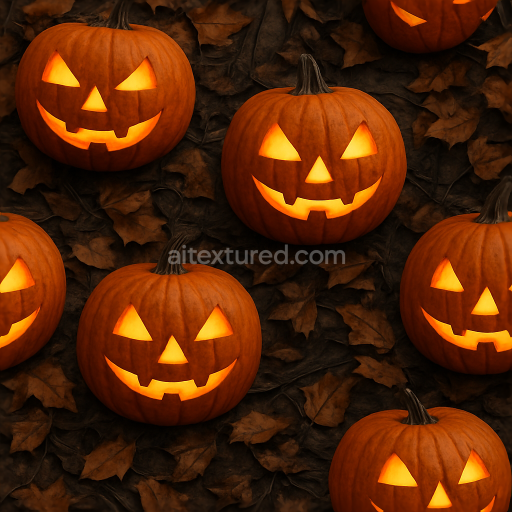
Bats Wings With Owl Feathers And Raven Feathers In Dark Fog
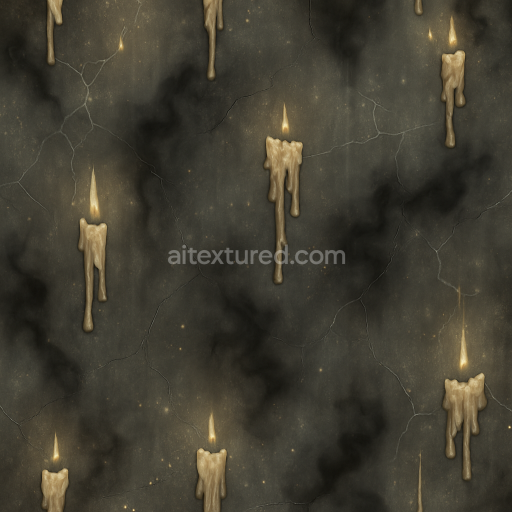
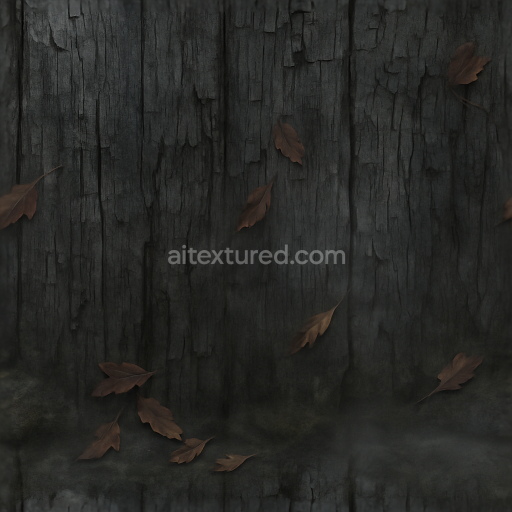
Seamless texture (tileable) · PNG, WEBP, PBR ZIP. License: AITextured Free Commercial License (FCL) v1.1. Free personal and commercial use. Raw resale, standalone redistribution, mirroring/scraping, competing asset packs, and AI/ML training are not allowed without written permission. Attribution is not required, but appreciated..

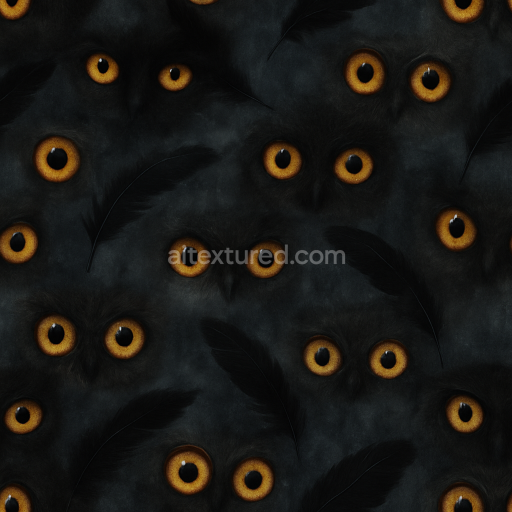
| ID | seamless-3d-texture-pbr-8k-creepy-eyes-with-glowing-eyes-and-spooky-shadows-effect |
|---|---|
| Category | Halloween |
| Formats | PNG, WEBP, PBR ZIP |
| Size | 1k (1024x1024px), 2k (2048x2048px), 4k (4096x4096px), 8k (8192x8192px) |
| Color | sRGB |
| Tileable | Yes |
This seamless 3D texture showcases a photorealistic composition of creepy eyes with vivid glowing eyes and spooky shadows rendered at an impressive 8K resolution to ensure exceptional detail and clarity. The base material simulates an organic slightly porous substrate reminiscent of aged weathered skin or ceramic-like surfaces with subtle variations in roughness and microstructure enhancing its eerie realism. Pigments and oxide layers create deep dark backgrounds contrasted by bright luminescent eye colorants which are key to achieving the glowing effect. The texture’s binders and adhesives are interpreted through the PBR channels as a balanced roughness map that maintains a semi-matte finish avoiding excessive gloss while preserving the intensity of the glowing eyes. The ambient occlusion and height maps add depth to the shadows providing a natural ghostly aura around the eyes and enhancing the menacing atmosphere.
In the PBR workflow the BaseColor/Albedo channel captures the rich color palette of dark hues and bright glowing pigments while the Normal map defines the subtle surface irregularities and the intricate shape of the eyes and surrounding skin. The Roughness channel is finely tuned to simulate the interplay between the semi-rough organic substrate and the smooth glowing eye surfaces. The Metallic channel remains minimal reflecting the non-metallic nature of the material ensuring realism in various lighting conditions. Ambient Occlusion contributes to the depth of the spooky shadows emphasizing crevices and contours while the Height/Displacement channel enhances the 3D effect giving a tangible sense of depth to the eyes and their surrounding sockets. This texture is designed with neutral lighting conditions in mind preserving the brightness and clarity of the glowing eyes across different rendering engines.
Optimized for seamless tiling this 3D texture enables multiple placements in complex scenes without visible seams making it ideal for Halloween-themed creatures haunted environments or stylized horror and fantasy projects. Its high-resolution 8K quality ensures compatibility and superior performance in engines like Unreal Engine Blender and Unity allowing artists to maintain high levels of detail even in close-up renders. For practical use adjusting the UV scale to slightly larger values can help emphasize the glowing eyes’ eerie presence while fine-tuning the roughness channel can balance the glow intensity and shadow softness to suit specific lighting setups or artistic directions.
Import the texture maps into Blender with sRGB color space for albedo/base color and Non-Color for normal, roughness, metallic, AO, height, and ORM maps. Connect normal maps through a Normal Map node, then adjust UV scale with a Mapping node so the material repeats naturally on your model.
For the full step-by-step setup, see How to Use Seamless Textures in Blender. Browse related material examples in wood, concrete, and metal.
Yes. This texture is designed as a seamless tileable PBR material, so it can repeat across large surfaces without visible borders.
You can download PNG/WEBP versions and use 1K, 2K, 4K and 8K download options when available on the page.
Yes. The download options and engine-mapped ZIP workflow are designed for Blender, Unreal Engine, Unity Standard, URP and HDRP material pipelines.
Yes. The texture is available under the AITextured free commercial license. Review the license page for redistribution and AI-training restrictions.
Build, preview, and export seamless PBR materials. Generate full map sets from a single image, inspect them in a real-time WebGL viewer, and re-package maps for Unreal, Unity, and Blender—directly in your browser.
AI text-to-texture: type a prompt and get a seamless, tileable base image ready for PBR workflows (great starting point for materials).
Create a full PBR set (Normal, Roughness, AO, Metallic, etc.) from a single image. Seamless and tiling-friendly.
Instant WebGL viewer: inspect materials on a sphere, plane, and cube. Check tiling and lighting in real time.
Re-packages maps per engine: Unreal (BaseColor + ORM), Unity (Mask/MetallicSmoothness), Blender (separate channels).
PNG ↔ JPG ↔ SVG: fast convert, SVG rasterize, embed/trace options, quality & background controls.