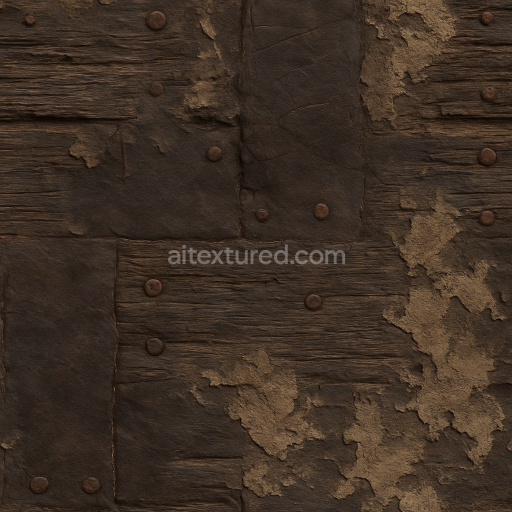
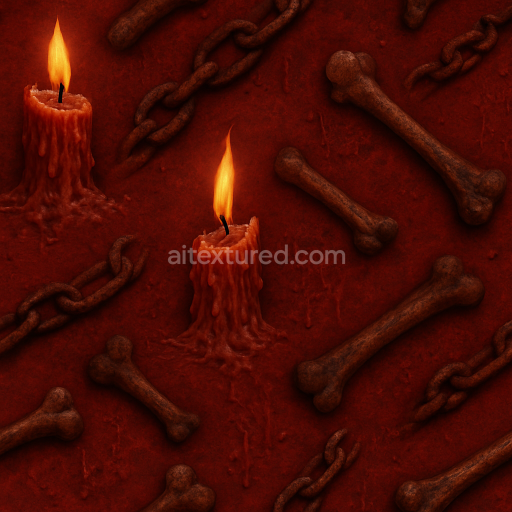
Rotting Wood With Rusty Nails And Old Leather Accents
Seamless texture (tileable) · PNG, WEBP, PBR ZIP. License: AITextured Free Commercial License (FCL) v1.1. Free personal and commercial use. Raw resale, standalone redistribution, mirroring/scraping, competing asset packs, and AI/ML training are not allowed without written permission. Attribution is not required, but appreciated..

| ID | seamless-3d-texture-pbr-8k-haunted-house-siding-with-cracked-windows-and-peeling-paint |
|---|---|
| Category | Halloween |
| Formats | PNG, WEBP, PBR ZIP |
| Size | 1k (1024x1024px), 2k (2048x2048px), 4k (4096x4096px), 8k (8192x8192px) |
| Color | sRGB |
| Tileable | Yes |
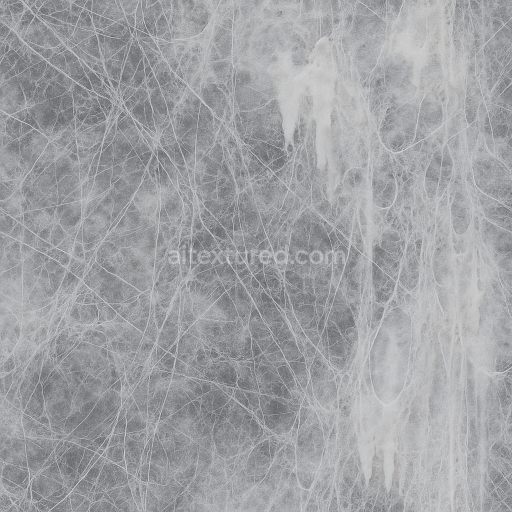
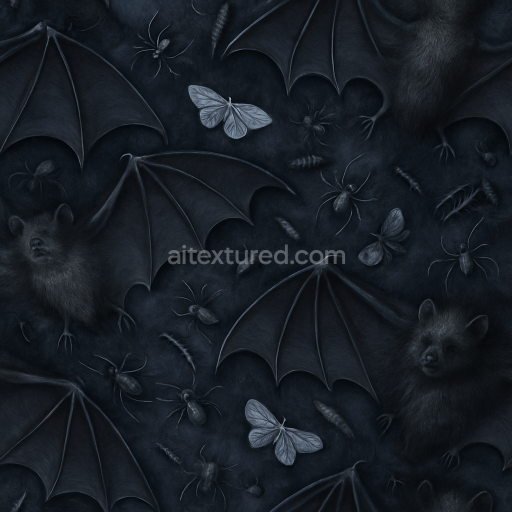
This seamless 3D texture presents a photorealistic depiction of haunted house siding characterized by aged wood panels with cracked windows and peeling paint rendered in stunning 8K resolution. The base material is weathered wood exhibiting natural grain orientation disrupted by years of decay and exposure to harsh elements. The paint layer shows extensive peeling and flaking revealing the rough porous wood substrate beneath. The cracked glass windows introduce fractured translucent surfaces that reflect realistic light transmission and refraction. Organic binders and pigments from the original paint have degraded unevenly creating varied color tones and subtle discolorations that enhance the texture’s authenticity. Dusty cobwebs and broken glass fragments add additional surface complexity contributing to the eerie abandoned atmosphere ideal for haunted or spooky environments.
In terms of PBR channel composition the BaseColor (Albedo) map captures the faded muted hues of the peeling paint and weathered wood showcasing subtle color shifts between ochres grays and browns. The Normal map meticulously encodes the wood grain cracked glass edges and peeling paint layers giving a convincing three-dimensional surface detail. Roughness values vary across the texture with matte dry wood contrasts against slightly glossier shards of glass while the Metallic channel remains minimal or zero consistent with non-metallic organic materials. Ambient Occlusion enhances depth perception around cracks peeling edges and window frames. The Height (Displacement) map provides fine topographical relief emphasizing chipped paint wood splinters and window fractures to enable realistic parallax effects or tessellation in supported engines.
Designed for seamless tiling this texture allows extensive surface coverage without visible repetition making it perfect for large haunted house models or atmospheric Halloween scenes. It is fully optimized and ready for use in Blender Unreal Engine and Unity supporting physically based rendering workflows to achieve lifelike results. For practical application adjusting the UV scale to a moderate frequency ensures detail is preserved without overwhelming the scene while fine-tuning roughness can help balance the matte wood finish with the subtle sheen of broken glass for enhanced realism.
Import the texture maps into Blender with sRGB color space for albedo/base color and Non-Color for normal, roughness, metallic, AO, height, and ORM maps. Connect normal maps through a Normal Map node, then adjust UV scale with a Mapping node so the material repeats naturally on your model.
For the full step-by-step setup, see How to Use Seamless Textures in Blender. Browse related material examples in wood, concrete, and metal.
Yes. This texture is designed as a seamless tileable PBR material, so it can repeat across large surfaces without visible borders.
You can download PNG/WEBP versions and use 1K, 2K, 4K and 8K download options when available on the page.
Yes. The download options and engine-mapped ZIP workflow are designed for Blender, Unreal Engine, Unity Standard, URP and HDRP material pipelines.
Yes. The texture is available under the AITextured free commercial license. Review the license page for redistribution and AI-training restrictions.

Build, preview, and export seamless PBR materials. Generate full map sets from a single image, inspect them in a real-time WebGL viewer, and re-package maps for Unreal, Unity, and Blender—directly in your browser.
AI text-to-texture: type a prompt and get a seamless, tileable base image ready for PBR workflows (great starting point for materials).
Create a full PBR set (Normal, Roughness, AO, Metallic, etc.) from a single image. Seamless and tiling-friendly.
Instant WebGL viewer: inspect materials on a sphere, plane, and cube. Check tiling and lighting in real time.
Re-packages maps per engine: Unreal (BaseColor + ORM), Unity (Mask/MetallicSmoothness), Blender (separate channels).
PNG ↔ JPG ↔ SVG: fast convert, SVG rasterize, embed/trace options, quality & background controls.