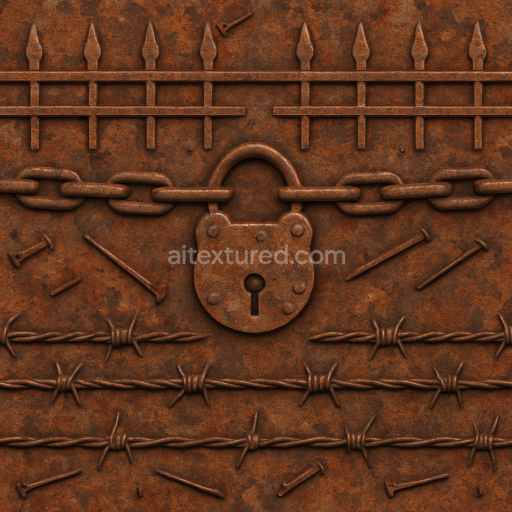
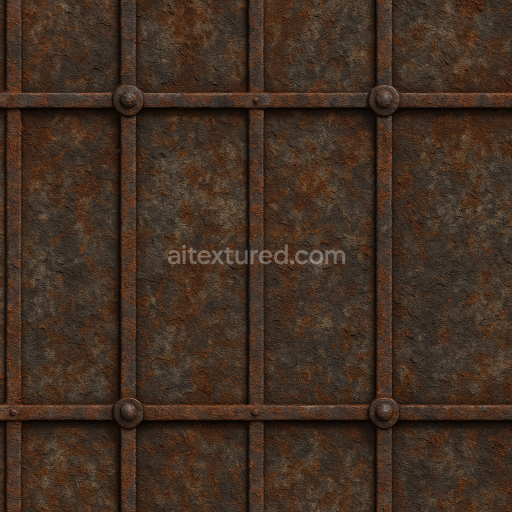
Rusty Iron With Oxidized Metal For Haunted Iron Fences
Seamless texture (tileable) · PNG, WEBP, PBR ZIP. License: AITextured Free Commercial License (FCL) v1.1. Free personal and commercial use. Raw resale, standalone redistribution, mirroring/scraping, competing asset packs, and AI/ML training are not allowed without written permission. Attribution is not required, but appreciated..

| ID | seamless-3d-texture-pbr-8k-haunted-house-siding-with-crumbling-plaster-and-moldy-walls |
|---|---|
| Category | Halloween |
| Formats | PNG, WEBP, PBR ZIP |
| Size | 1k (1024x1024px), 2k (2048x2048px), 4k (4096x4096px), 8k (8192x8192px) |
| Color | sRGB |
| Tileable | Yes |
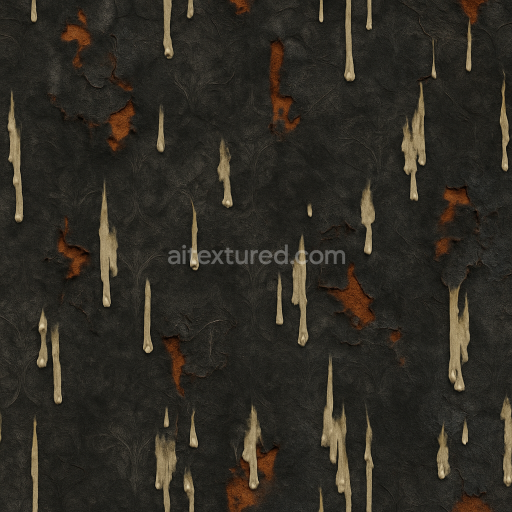
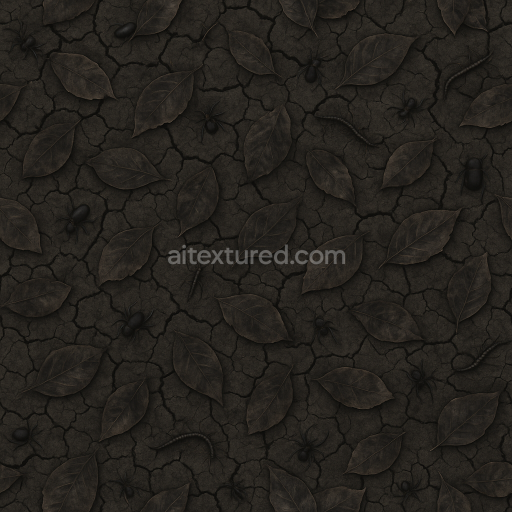
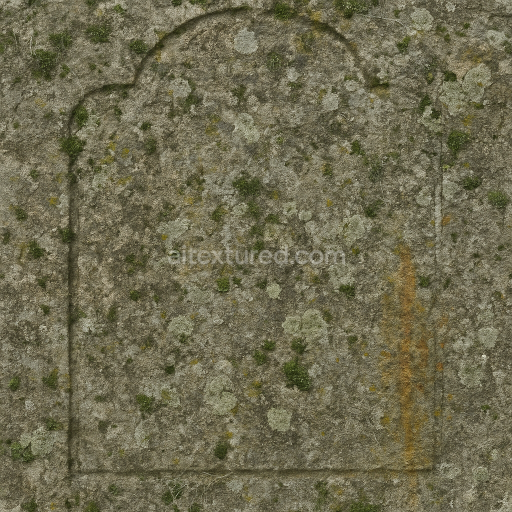
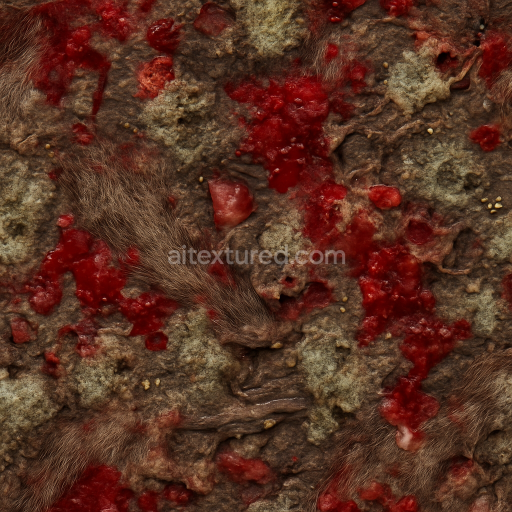
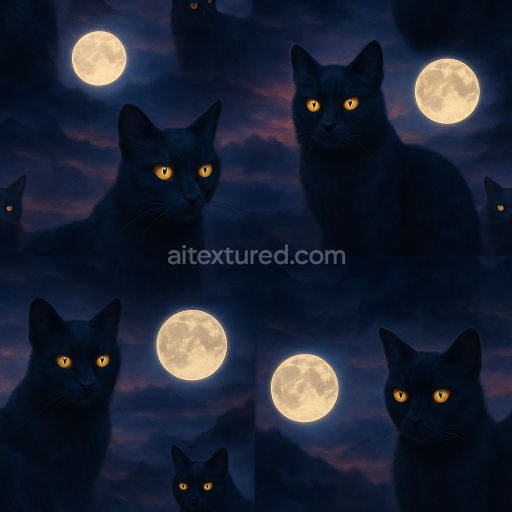
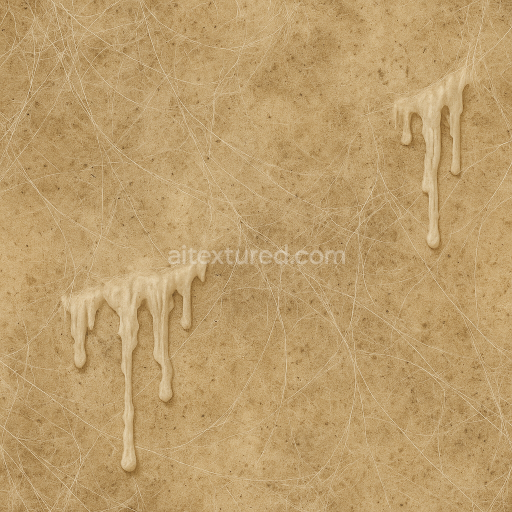
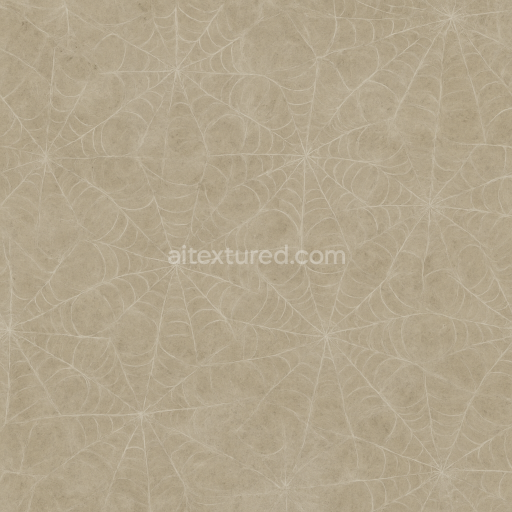
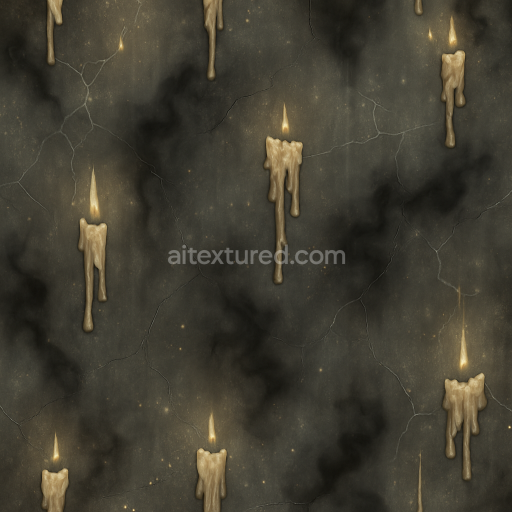
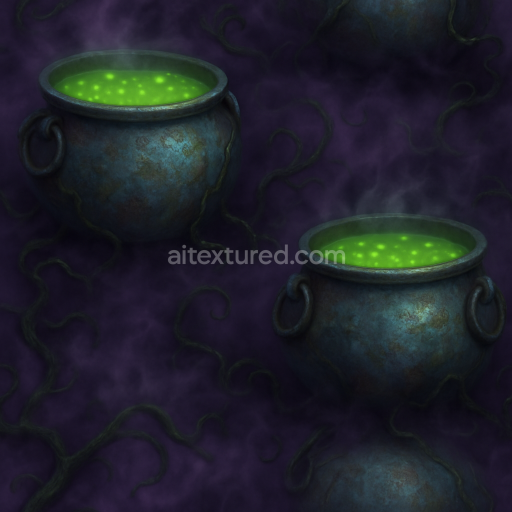
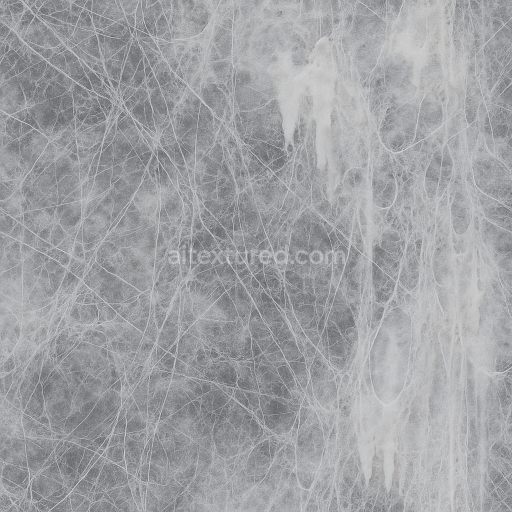
This seamless 3D texture represents the siding of a haunted house characterized by crumbling plaster and moldy walls meticulously crafted to capture the essence of aged and weathered building materials. The base substrate appears as an organic mineral composite typical of old plaster with a mix of fine aggregates and fibrous binders that have degraded over time leading to porous fragile surfaces. The plaster’s surface finish is rough and uneven showing signs of subtle decay with areas of discoloration from mold growth and accumulated dust. These details are vividly portrayed in the texture’s PBR channels where the BaseColor/Albedo highlights the muted earthy tones of faded paint and mold stains while the Normal map emphasizes the cracked plaster edges and layered granularity. The Roughness channel varies to reflect the dusty matte surfaces contrasting with slightly smoother patches where plaster remains more intact and the Ambient Occlusion enhances depth around crevices and peeling layers creating a realistic interplay of light and shadow.
Rendered in stunning 8K resolution this texture ensures exceptional detail suitable for high-fidelity visual projects. Its non-metallic nature is accurately represented with a low Metallic value appropriate for organic plaster and wood siding materials while the Height/Displacement map captures the pronounced relief of crumbling edges and surface imperfections adding dimensionality when applied with parallax or tessellation techniques. The moldy walls show subtle color variations and organic patterns that enrich the material’s authenticity blending seamlessly with the dusty weathered façade. The neutral evenly balanced lighting baked into the texture makes it highly adaptable across diverse digital environments whether used in Blender Unreal Engine or Unity enabling artists to integrate the haunted house siding effortlessly into game assets architectural visualizations or Halloween-themed scenes.
Designed for large-scale application the seamless tiling capability allows this texture to cover entire building facades or interior walls without visible repetition preserving immersion in haunted environments. For optimal results adjusting UV scale to moderate levels is recommended to maintain the intricate plaster cracks and mold patterns without distortion. Additionally fine-tuning the Roughness map can help control how light interacts with the dusty surfaces enhancing the eerie spooky atmosphere typical of abandoned or haunted structures. This detailed PBR-ready texture offers a practical and visually compelling solution for artists seeking realistic haunted house siding with pronounced decay and mold effects in ultra-high resolution.
Import the texture maps into Blender with sRGB color space for albedo/base color and Non-Color for normal, roughness, metallic, AO, height, and ORM maps. Connect normal maps through a Normal Map node, then adjust UV scale with a Mapping node so the material repeats naturally on your model.
For the full step-by-step setup, see How to Use Seamless Textures in Blender. Browse related material examples in wood, concrete, and metal.
Yes. This texture is designed as a seamless tileable PBR material, so it can repeat across large surfaces without visible borders.
You can download PNG/WEBP versions and use 1K, 2K, 4K and 8K download options when available on the page.
Yes. The download options and engine-mapped ZIP workflow are designed for Blender, Unreal Engine, Unity Standard, URP and HDRP material pipelines.
Yes. The texture is available under the AITextured free commercial license. Review the license page for redistribution and AI-training restrictions.
Build, preview, and export seamless PBR materials. Generate full map sets from a single image, inspect them in a real-time WebGL viewer, and re-package maps for Unreal, Unity, and Blender—directly in your browser.
AI text-to-texture: type a prompt and get a seamless, tileable base image ready for PBR workflows (great starting point for materials).
Create a full PBR set (Normal, Roughness, AO, Metallic, etc.) from a single image. Seamless and tiling-friendly.
Instant WebGL viewer: inspect materials on a sphere, plane, and cube. Check tiling and lighting in real time.
Re-packages maps per engine: Unreal (BaseColor + ORM), Unity (Mask/MetallicSmoothness), Blender (separate channels).
PNG ↔ JPG ↔ SVG: fast convert, SVG rasterize, embed/trace options, quality & background controls.