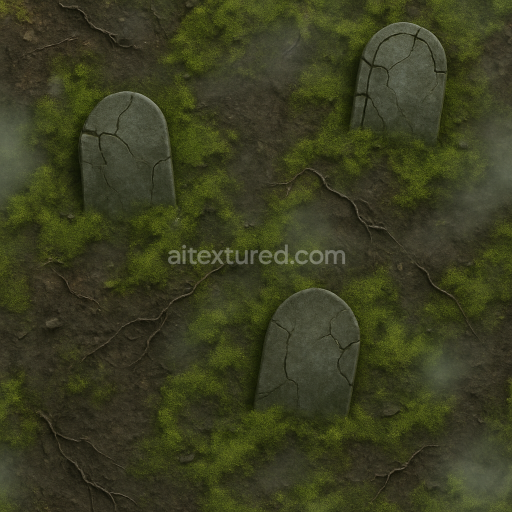
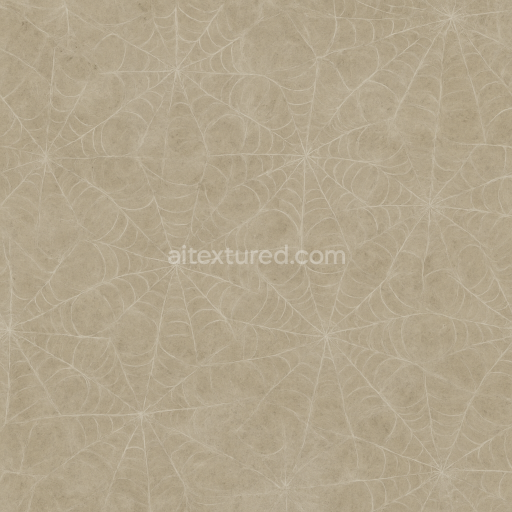
Graveyard Soil With Moss Green And Foggy Mist Accents
Seamless texture (tileable) · PNG, WEBP, PBR ZIP. License: AITextured Free Commercial License (FCL) v1.1. Free personal and commercial use. Raw resale, standalone redistribution, mirroring/scraping, competing asset packs, and AI/ML training are not allowed without written permission. Attribution is not required, but appreciated..

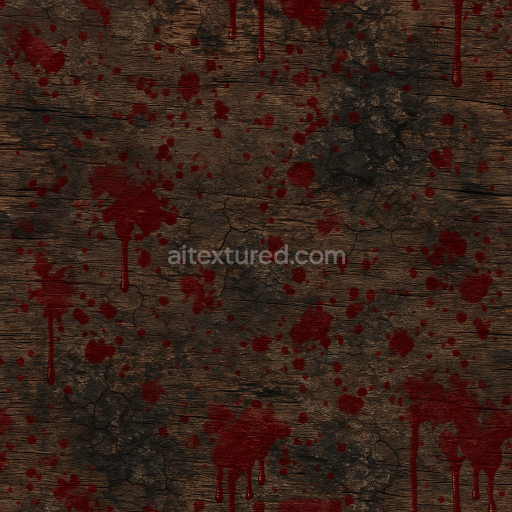
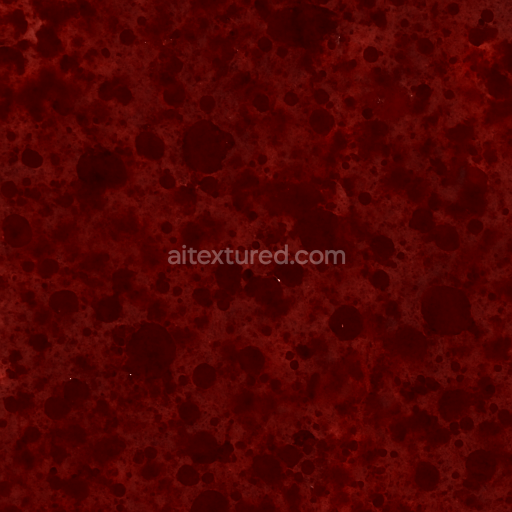
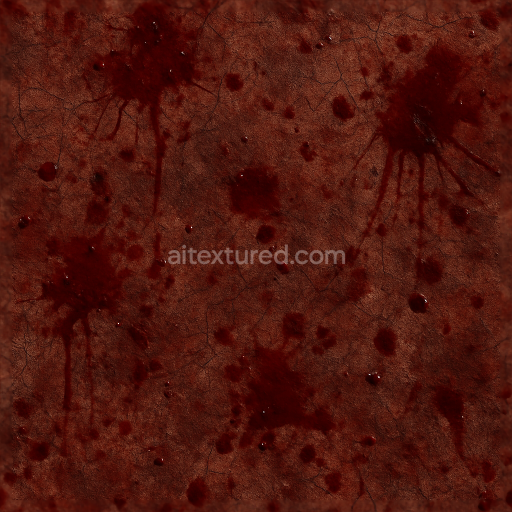
| ID | seamless-3d-texture-pbr-8k-rat-fur-with-dusty-particles-and-wet-blood-splatter-accents |
|---|---|
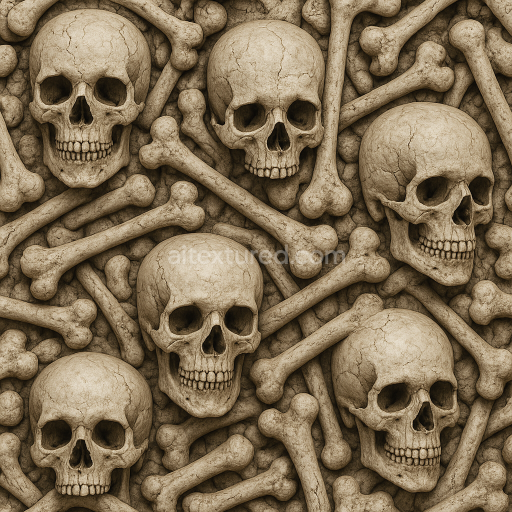
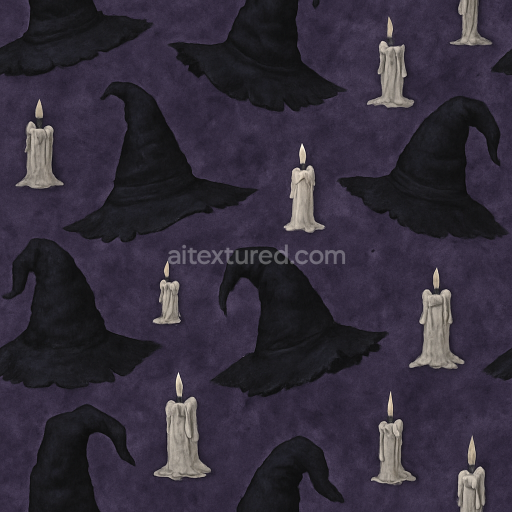
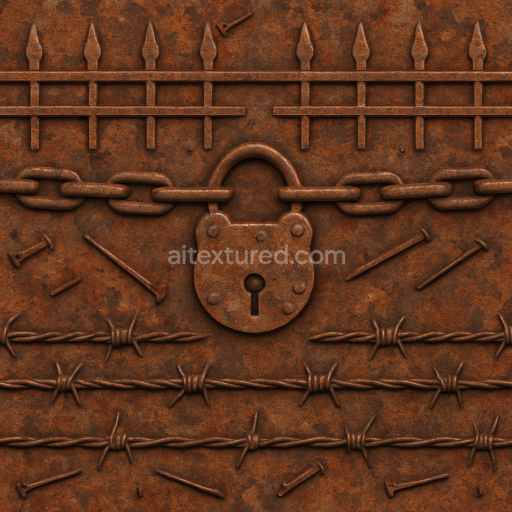
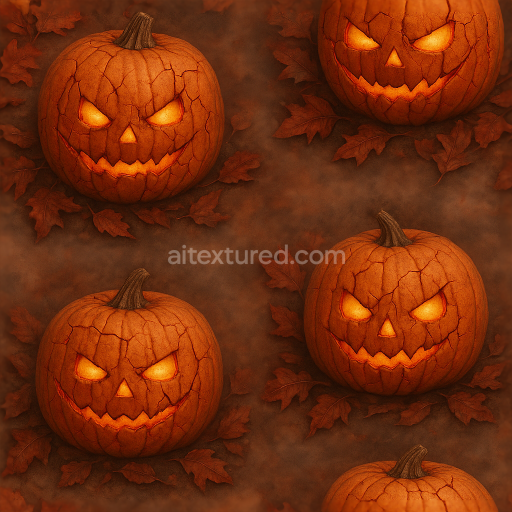
| Category | Halloween |
| Formats | PNG, WEBP, PBR ZIP |
| Size | 1k (1024x1024px), 2k (2048x2048px), 4k (4096x4096px), 8k (8192x8192px) |
| Color | sRGB |
| Tileable | Yes |
This seamless 3D PBR texture features highly detailed coarse rat fur combined with dusty particles and striking wet blood splatter accents rendered at an impressive 8K resolution. The organic substrate is clearly visible through the intricate layering of fine fur fibers and grime simulating the natural porous structure of rodent hair matted with environmental dust and blood stains. The texture’s surface finish mimics the slightly oily uneven glossiness typical of real fur partially soaked with fresh blood while subtle pigment variations replicate natural fur color alongside dark red blood hues enhancing the photorealistic effect. This composition captures the complexity of organic materials integrating binders and dirt particles that add visual depth and a weathered grimy appearance appropriate for horror or Halloween creature models.
In the PBR workflow the BaseColor map accurately reproduces the muted browns and grays of rat fur interspersed with reddish blood splatter while the Normal and Height channels convey the coarse fur grain and microscopic surface irregularities including raised blood droplets and dust clumps. Roughness is carefully balanced to reflect the wetness of the blood contrasted against the drier fur with low roughness areas highlighting the glossy wet spots and higher values for the dusty matte fur fibers. The Metallic channel remains near zero consistent with organic materials while Ambient Occlusion enhances the fine shadowing within fur clusters and blood crevices contributing to a natural depth effect. These combined features ensure the texture tiles seamlessly without visible edges maintaining clarity and realism under neutral lighting conditions without unwanted shadows or highlights.
Optimized for use in Blender Unreal Engine and Unity this 8K rat fur texture is ideal for creating immersive horror scenes or Halloween designs requiring unsettling organic detail. Practical usage advice includes carefully adjusting the UV scale to avoid overly repetitive patterns and fine-tuning the roughness channel to balance the wet blood’s reflective qualities against the dusty fur’s softness. Additionally employing height or parallax mapping can enhance the tactile sense of depth making the blood splatter and fur fibers appear physically layered and more lifelike in close-up renders. This texture offers a versatile high-fidelity material solution for artists and developers seeking a seamless photorealistic rat fur surface with compelling wet blood effects.
Import the texture maps into Blender with sRGB color space for albedo/base color and Non-Color for normal, roughness, metallic, AO, height, and ORM maps. Connect normal maps through a Normal Map node, then adjust UV scale with a Mapping node so the material repeats naturally on your model.
For the full step-by-step setup, see How to Use Seamless Textures in Blender. Browse related material examples in wood, concrete, and metal.
Yes. This texture is designed as a seamless tileable PBR material, so it can repeat across large surfaces without visible borders.
You can download PNG/WEBP versions and use 1K, 2K, 4K and 8K download options when available on the page.
Yes. The download options and engine-mapped ZIP workflow are designed for Blender, Unreal Engine, Unity Standard, URP and HDRP material pipelines.
Yes. The texture is available under the AITextured free commercial license. Review the license page for redistribution and AI-training restrictions.
Build, preview, and export seamless PBR materials. Generate full map sets from a single image, inspect them in a real-time WebGL viewer, and re-package maps for Unreal, Unity, and Blender—directly in your browser.
AI text-to-texture: type a prompt and get a seamless, tileable base image ready for PBR workflows (great starting point for materials).
Create a full PBR set (Normal, Roughness, AO, Metallic, etc.) from a single image. Seamless and tiling-friendly.
Instant WebGL viewer: inspect materials on a sphere, plane, and cube. Check tiling and lighting in real time.
Re-packages maps per engine: Unreal (BaseColor + ORM), Unity (Mask/MetallicSmoothness), Blender (separate channels).
PNG ↔ JPG ↔ SVG: fast convert, SVG rasterize, embed/trace options, quality & background controls.