
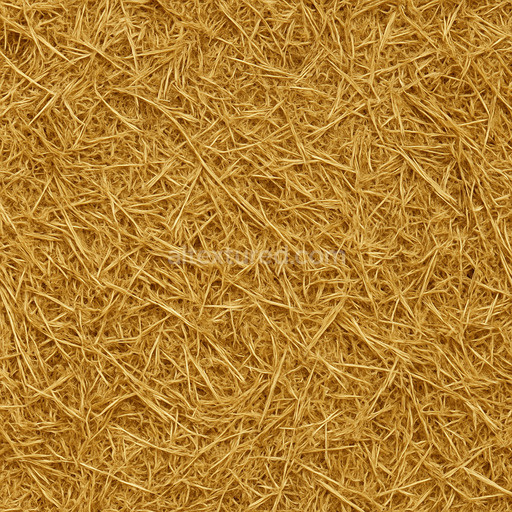
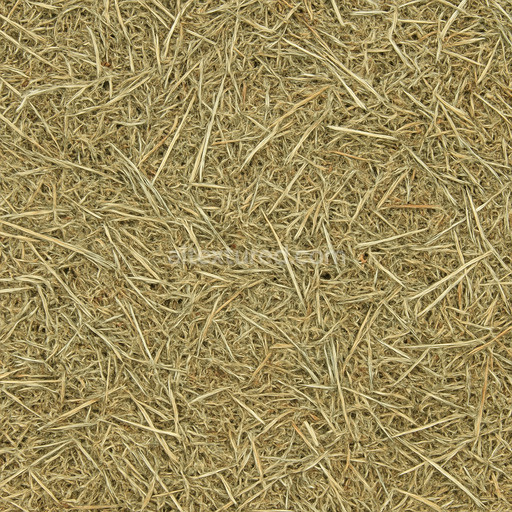
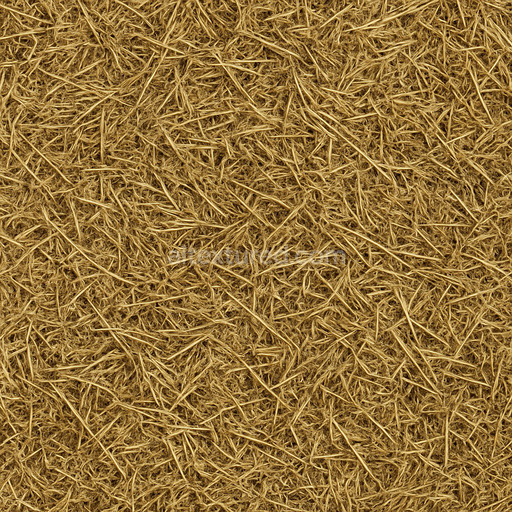
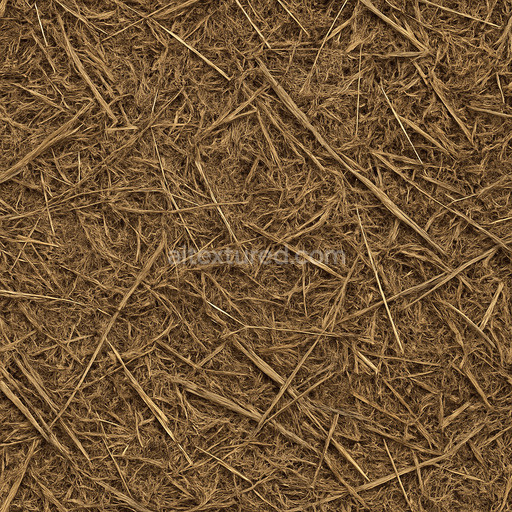
Coarse Straw Seamless Texture
Seamless texture (tileable) · PNG, WEBP, PBR ZIP. License: AITextured Free Commercial License (FCL) v1.1. Free personal and commercial use. Raw resale, standalone redistribution, mirroring/scraping, competing asset packs, and AI/ML training are not allowed without written permission. Attribution is not required, but appreciated..

| ID | fresh-straw-seamless-texture |
|---|---|
| Category | Hay-straw |
| Formats | PNG, WEBP, PBR ZIP |
| Size | 1k (1024x1024px), 2k (2048x2048px), 4k (4096x4096px), 8k (8192x8192px) |
| Color | sRGB |
| Tileable | Yes |
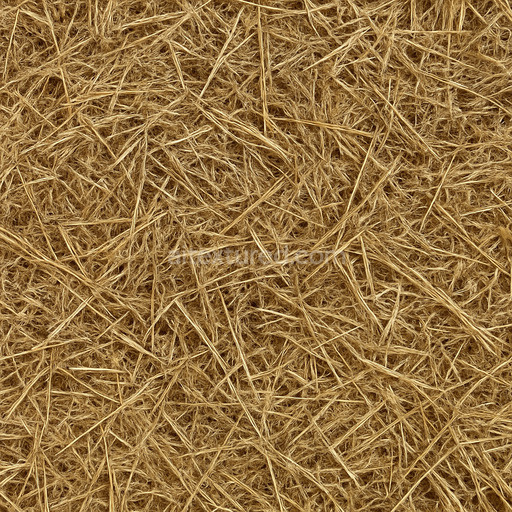
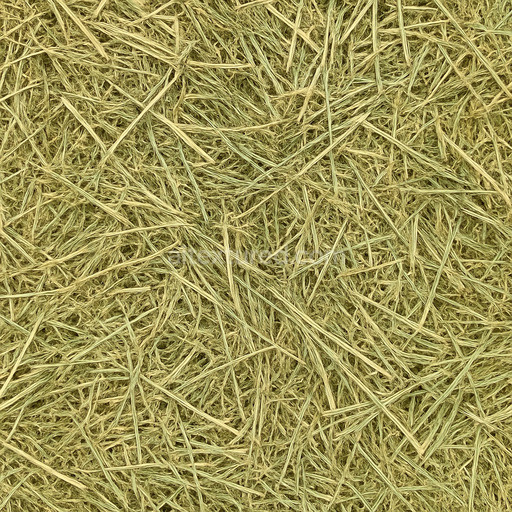
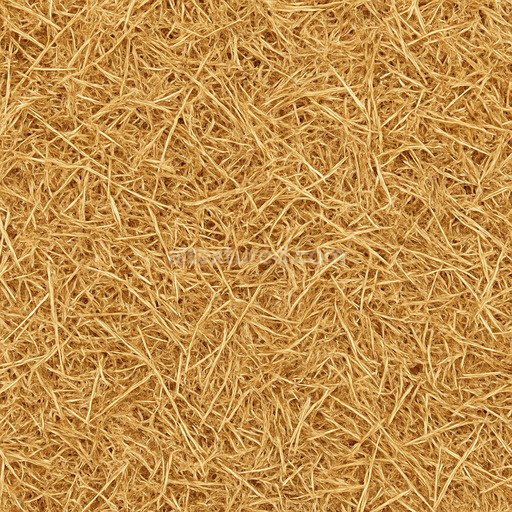
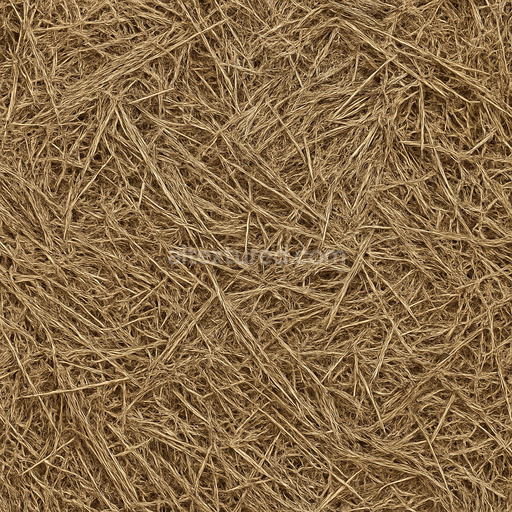
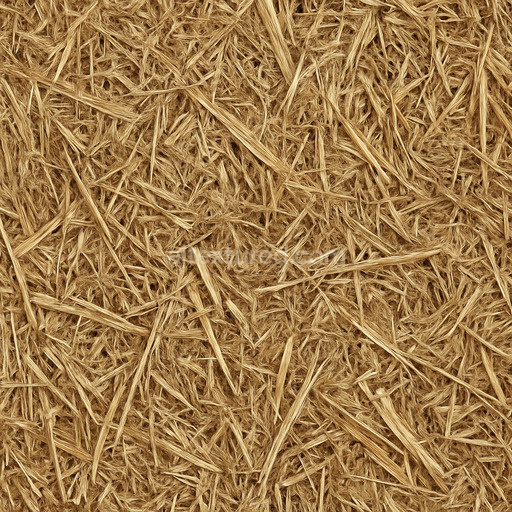
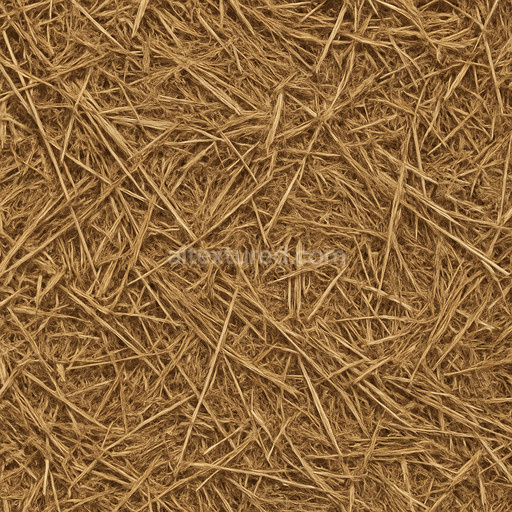
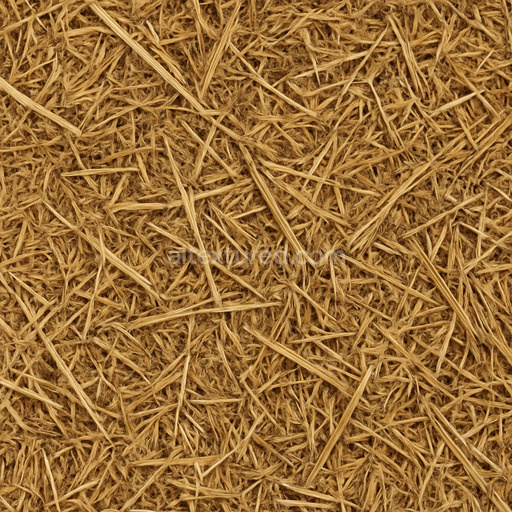
Discover the Fresh Straw Seamless Texture a meticulously crafted tileable texture designed within the hay-straw category to bring authentic organic detail to your 3D materials. This texture captures the natural composition of fresh straw featuring tightly bundled fibrous stalks with subtle variations in color and surface finish that reflect its lightly weathered yet resilient organic substrate. The base material is primarily composed of dried plant fibers arranged in a consistent grain orientation bound together naturally without artificial adhesives which results in a porous slightly uneven surface. Pigments range from pale golden yellows to muted earth tones simulating the subtle color shifts found in fresh straw bundles exposed to ambient light. The texture’s surface finish is matte with a delicate roughness avoiding any glossy or metallic reflections which enhances its natural appeal and suitability for realistic hay-straw representations.
This seamless fresh straw seamless texture excels in physically based rendering (PBR) workflows with detailed BaseColor and Albedo maps that faithfully reproduce the straw’s warm hues and tonal gradations. The Normal map emphasizes the fibrous strands and slight surface irregularities adding depth and tactile realism without overwhelming detail. Roughness maps balance the matte finish with varied micro-surface scattering to replicate how light diffuses softly over the straw fibers. Metallic values remain at zero consistent with the purely organic nature of the material while Ambient Occlusion maps highlight subtle crevices between stalks enhancing shadow depth. Height or Displacement maps subtly convey the fine elevation changes across the straw’s surface perfect for adding realistic parallax effects in close-up views. All maps are rendered at a high resolution up to 8K ensuring crisp detail suitable for large-scale applications without pixelation.
Ready for seamless integration this tileable fresh straw seamless texture works flawlessly across popular 3D engines and platforms including Blender Unity and Unreal Engine. Its perfectly repeating pattern enables you to cover vast areas such as barn walls rural floorings or natural environment props while preserving consistent visual detail. Ideal for architectural visualization game environments product mockups and interior staging it offers predictable and repeatable results with minimal setup. A practical tip for enhanced realism: adjust your UV scale to avoid overly repetitive patterns and combine the texture with a subtle ambient occlusion pass along with a light normal map overlay to break up flatness without introducing harsh edges. This approach maintains natural variation and depth elevating the overall believability of your hay-straw surfaces.
The fresh straw seamless texture offers a highly detailed PBR appearance with realistic hay-straw textures enhanced by generated texture algorithms and a 3D preview for accurate material evaluation.
Import the texture maps into Blender with sRGB color space for albedo/base color and Non-Color for normal, roughness, metallic, AO, height, and ORM maps. Connect normal maps through a Normal Map node, then adjust UV scale with a Mapping node so the material repeats naturally on your model.
For the full step-by-step setup, see How to Use Seamless Textures in Blender. Browse related material examples in wood, concrete, and metal.
Yes. This texture is designed as a seamless tileable PBR material, so it can repeat across large surfaces without visible borders.
You can download PNG/WEBP versions and use 1K, 2K, 4K and 8K download options when available on the page.
Yes. The download options and engine-mapped ZIP workflow are designed for Blender, Unreal Engine, Unity Standard, URP and HDRP material pipelines.
Yes. The texture is available under the AITextured free commercial license. Review the license page for redistribution and AI-training restrictions.

Generate, preview, and export seamless PBR materials for Blender, Unity, and Unreal Engine—directly in your browser.
AI text-to-texture: type a prompt and get a seamless, tileable base image ready for PBR workflows (great starting point for materials).
Create a full PBR set (Normal, Roughness, AO, Metallic, etc.) from a single image. Seamless and tiling-friendly.
Instant WebGL viewer: inspect materials on a sphere, plane, and cube. Check tiling and lighting in real time.
Re-packages maps per engine: Unreal (BaseColor + ORM), Unity (Mask/MetallicSmoothness), Blender (separate channels).
PNG ↔ JPG ↔ SVG: fast convert, SVG rasterize, embed/trace options, quality & background controls.