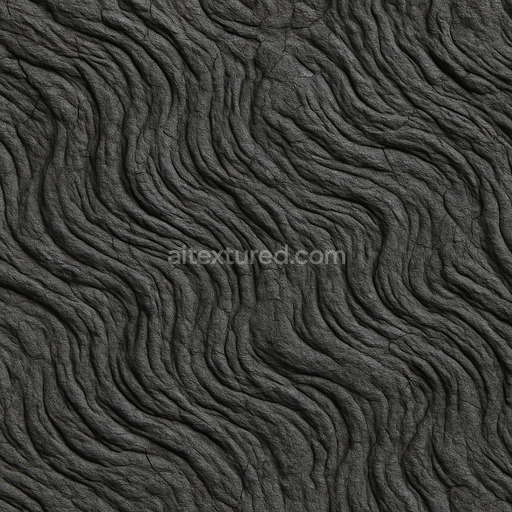
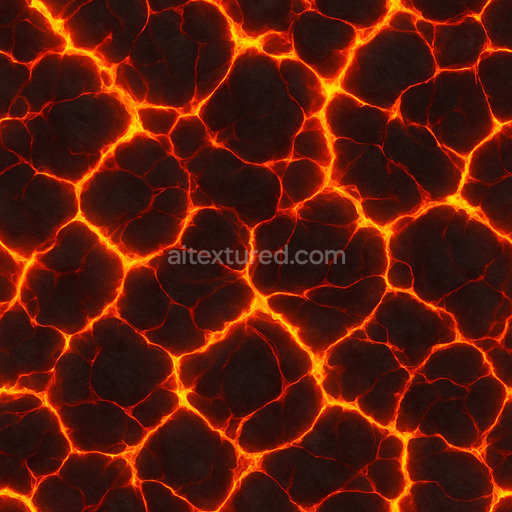
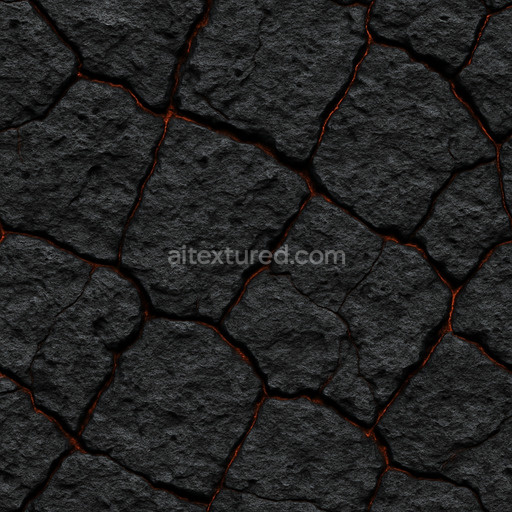
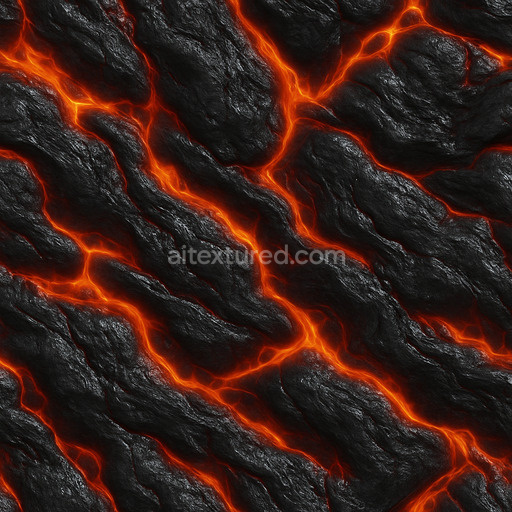
Dry Basalt Flow Texture
Seamless texture (tileable) · PNG, WEBP, PBR ZIP. License: AITextured Free Commercial License (FCL) v1.1. Free personal and commercial use. Raw resale, standalone redistribution, mirroring/scraping, competing asset packs, and AI/ML training are not allowed without written permission. Attribution is not required, but appreciated..

| ID | toxic-basalt-flow-texture |
|---|---|
| Category | Lava |
| Formats | PNG, WEBP, PBR ZIP |
| Size | 1k (1024x1024px), 2k (2048x2048px), 4k (4096x4096px), 8k (8192x8192px) |
| Color | sRGB |
| Tileable | Yes |
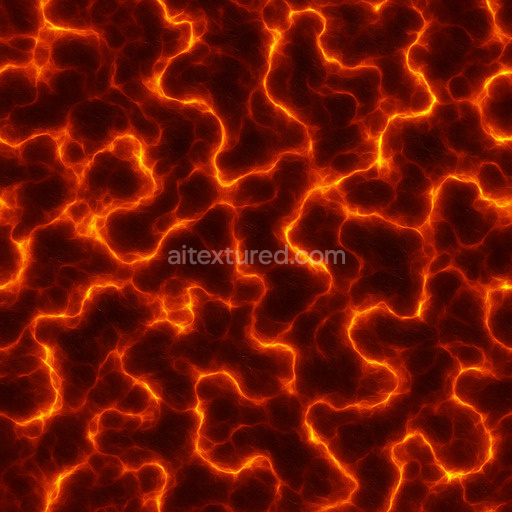
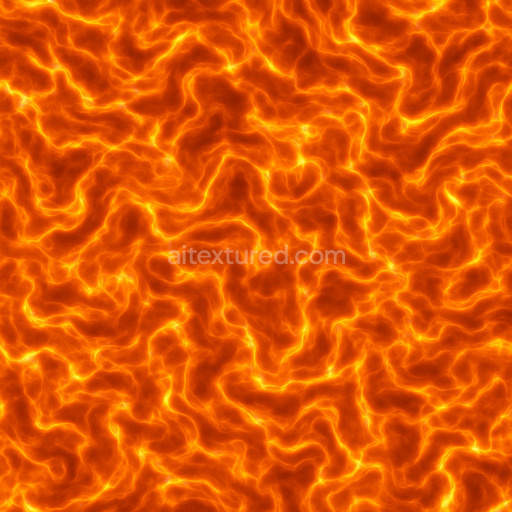
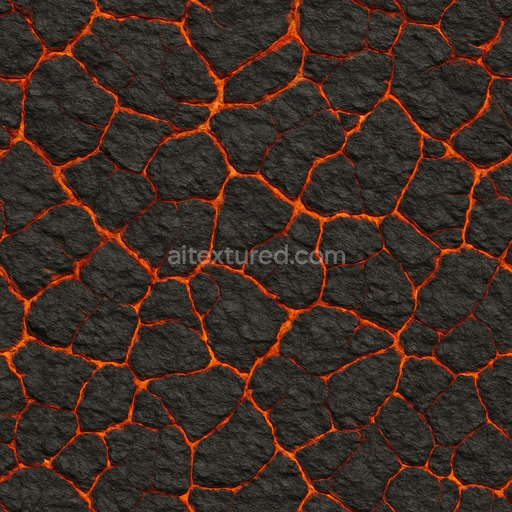
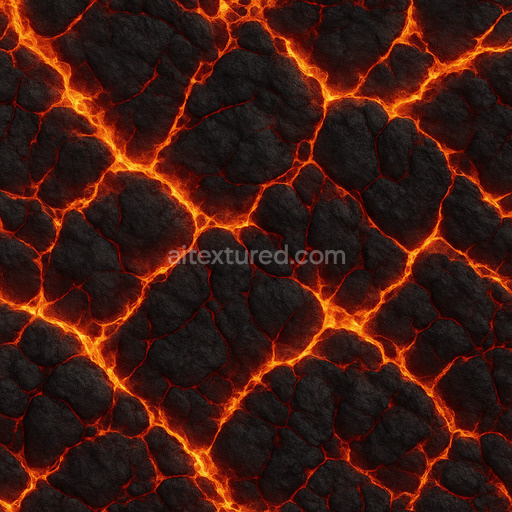
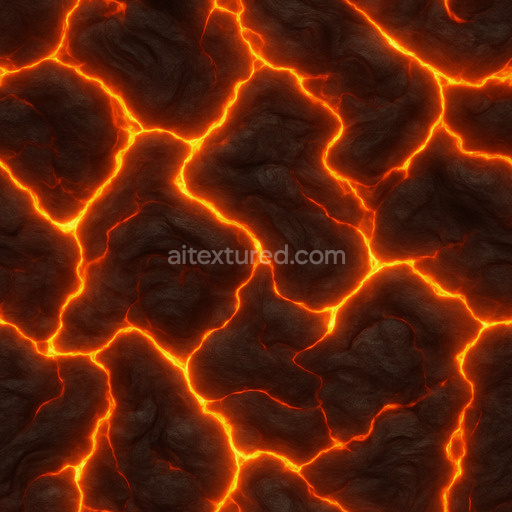
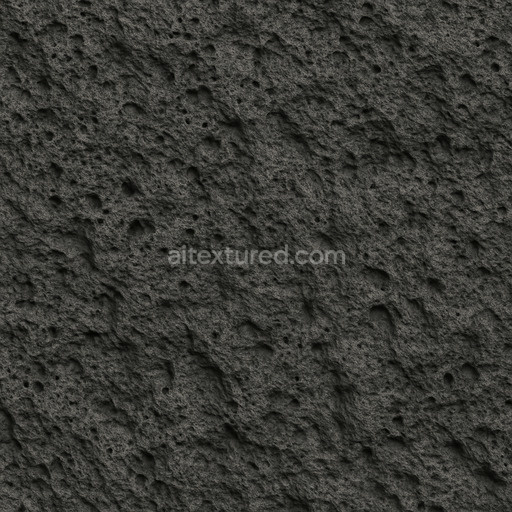
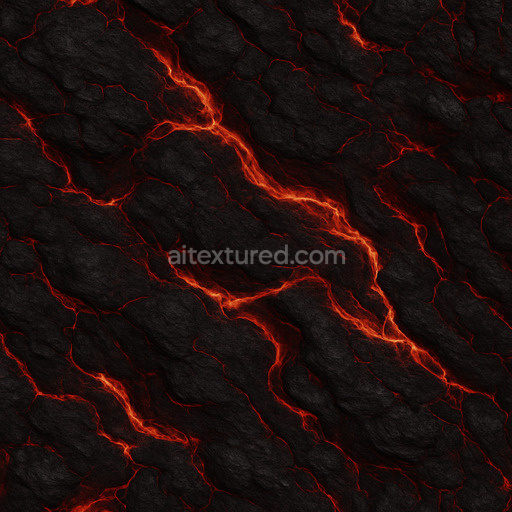
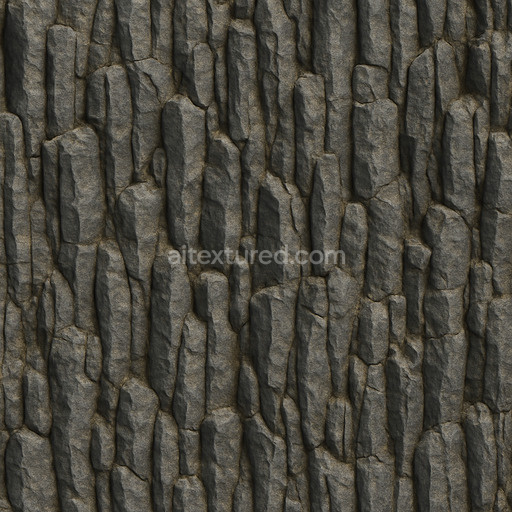
The Toxic Basalt Flow Texture captures the raw rugged essence of volcanic basalt rock formed from rapidly cooling lava infused with mineral impurities that give it a distinctive toxic greenish-black hue. This high-quality material simulates a natural igneous stone substrate where fine-grained basalt combines with weathered mineral inclusions and subtle oxidation layers. The surface finish is matte and slightly rough reflecting the porous fractured nature of cooled lava flows. Variations in grain orientation and micro-fissures contribute to the texture’s organic uneven character while the occasional mineral veins and oxide deposits introduce complexity and depth. The texture’s subtle colorants include dark basaltic blacks muted greens and rusty browns mimicking natural pigmentations caused by iron and other metal oxides embedded within the rock matrix.
In physically based rendering workflows the Toxic Basalt Flow Texture excels across all PBR channels. The BaseColor/Albedo map emphasizes the rich mottled coloration typical of toxic basalt with nuanced tonal shifts. The Normal map reproduces the intricate surface relief highlighting flow lines cracks and roughness variations that enhance realism. Roughness values are carefully calibrated to simulate the stone’s naturally matte and weathered surface avoiding unnatural glossiness. Metallic channels remain minimal or zero reflecting the non-metallic mineral composition of basalt. Ambient Occlusion enhances the perception of depth within crevices and fissures while the Height/Displacement map adds subtle topographical detail for parallax or tessellation effects ideal for close-up renders.
Rendered at up to 8K resolution this seamless toxic basalt flow texture tiles flawlessly enabling consistent coverage of large surfaces without visible repetition or artifacts. Designed for seamless integration it is fully compatible with Blender Unreal Engine and Unity providing artists and developers with a reliable ready-to-use asset for environment art architectural visualization look development and concept prototyping. For optimal results it is recommended to maintain uniform UV scale across your models to preserve consistent texel density and to fine-tune roughness values based on scene lighting conditions to enhance material realism. Incorporating this tileable toxic basalt flow texture into your material library will accelerate iteration and elevate the visual fidelity of lava-based landscapes and geological scenes.
The generated toxic basalt flow texture offers a highly detailed lava texture with realistic PBR appearance allowing for an accurate 3D preview of the material's complex surface characteristics.
Import the texture maps into Blender with sRGB color space for albedo/base color and Non-Color for normal, roughness, metallic, AO, height, and ORM maps. Connect normal maps through a Normal Map node, then adjust UV scale with a Mapping node so the material repeats naturally on your model.
For the full step-by-step setup, see How to Use Seamless Textures in Blender. Browse related material examples in wood, concrete, and metal.
Yes. This texture is designed as a seamless tileable PBR material, so it can repeat across large surfaces without visible borders.
You can download PNG/WEBP versions and use 1K, 2K, 4K and 8K download options when available on the page.
Yes. The download options and engine-mapped ZIP workflow are designed for Blender, Unreal Engine, Unity Standard, URP and HDRP material pipelines.
Yes. The texture is available under the AITextured free commercial license. Review the license page for redistribution and AI-training restrictions.
Generate, preview, and export seamless PBR materials for Blender, Unity, and Unreal Engine—directly in your browser.
AI text-to-texture: type a prompt and get a seamless, tileable base image ready for PBR workflows (great starting point for materials).
Create a full PBR set (Normal, Roughness, AO, Metallic, etc.) from a single image. Seamless and tiling-friendly.
Instant WebGL viewer: inspect materials on a sphere, plane, and cube. Check tiling and lighting in real time.
Re-packages maps per engine: Unreal (BaseColor + ORM), Unity (Mask/MetallicSmoothness), Blender (separate channels).
PNG ↔ JPG ↔ SVG: fast convert, SVG rasterize, embed/trace options, quality & background controls.