
Christmas Stocking Snowy Ground Icicles Faux Fur Red Velvet
Seamless texture (tileable) · PNG, WEBP, PBR ZIP. License: AITextured Free Commercial License (FCL) v1.1. Free personal and commercial use. Raw resale, standalone redistribution, mirroring/scraping, competing asset packs, and AI/ML training are not allowed without written permission. Attribution is not required, but appreciated..

| ID | seamless-3d-texture-pbr-8k-snowman-texture-felt-fabric-felt-santa-christmas-stocking-red-ribbon |
|---|---|
| Category | Merry christmas |
| Formats | PNG, WEBP, PBR ZIP |
| Size | 1k (1024x1024px), 2k (2048x2048px), 4k (4096x4096px), 8k (8192x8192px) |
| Color | sRGB |
| Tileable | Yes |
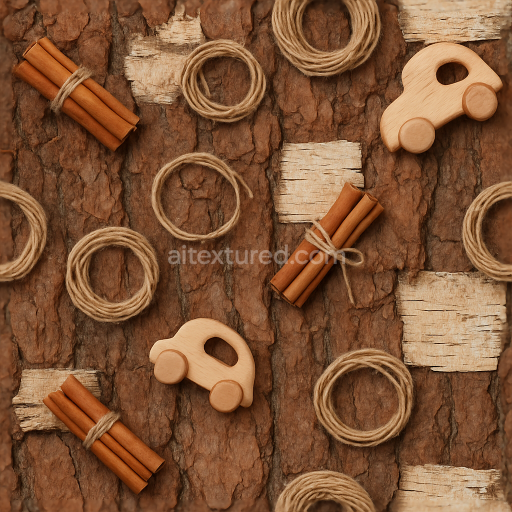
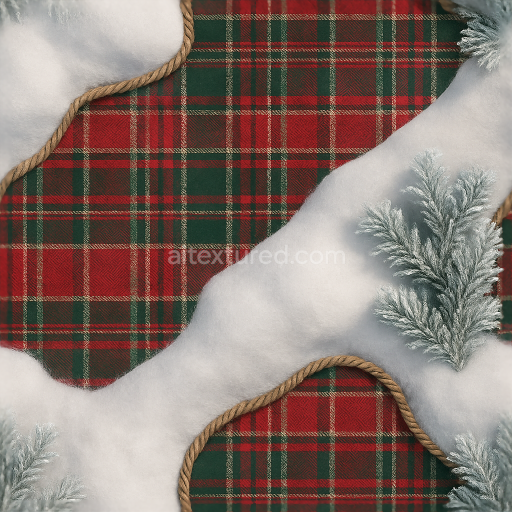
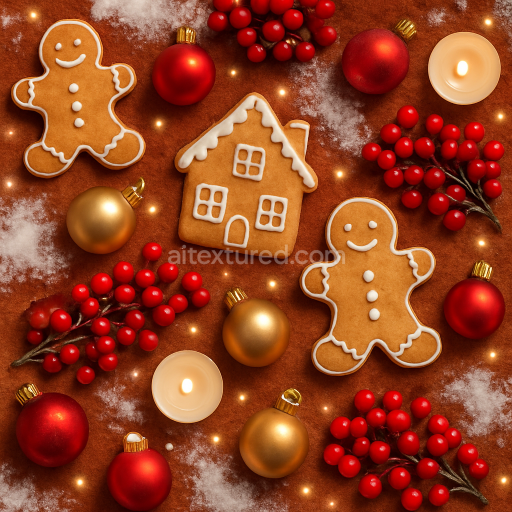
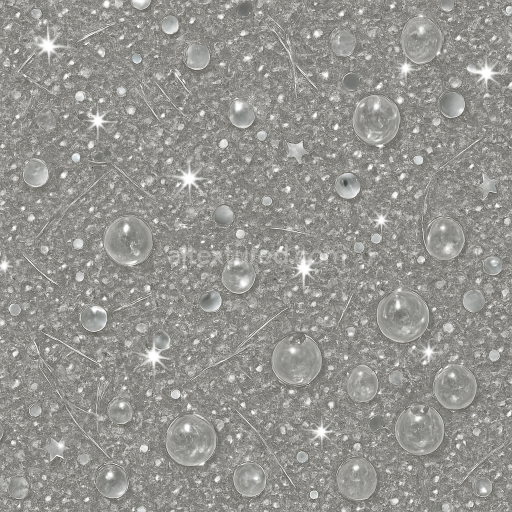
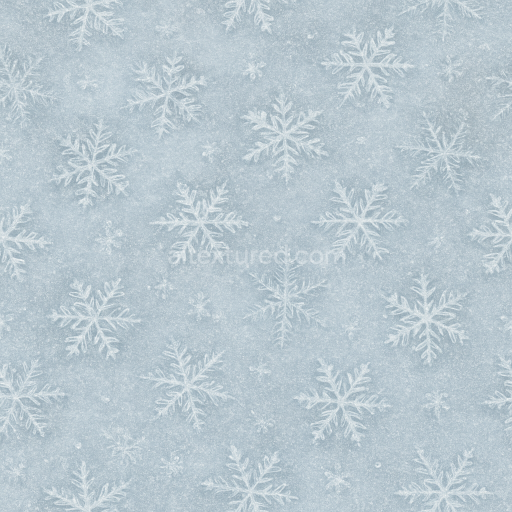
This seamless 3D PBR texture presents a richly detailed snowman motif combined with traditional felt fabric elements capturing the essence of Christmas stockings adorned with red and green ribbons. The base material is a plush felt fabric characterized by densely interlocked wool fibers that create a soft slightly fuzzy surface. The felt substrate is formed through a matting and pressing process binding wool fibers without weaving which gives it a uniform non-directional texture with subtle variations in fiber thickness and density. This textile’s porous structure retains a natural matte finish contributing to the diffuse scattering of light and the characteristic softness visible in the BaseColor (Albedo) channel. Pigments used for the red scarlet fabric and green accents are embedded within the fiber matrix ensuring vibrant consistent coloration without gloss.*
The geometric form is composed of repeated snowman patterns and felt Santa images arranged on a seamless grid allowing for infinite tiling without noticeable edges. The 3D surface relief is defined by the subtle height variations of the felt fibers and the raised applique of ribbons and stocking details. The Normal map captures the intricate microstructure of the wool fibers and the stitched seams of the Christmas decorations enhancing the tactile realism under dynamic lighting conditions. Roughness values are carefully calibrated to mimic the soft diffuse reflection of felt combined with the slightly smoother yet still matte texture of the scarlet and green ribbons. The Metallic channel remains near zero consistent with non-metallic textile materials while Ambient Occlusion maps emphasize the shadowing in crevices and between stitched elements adding depth and dimensionality.*
Rendered at an ultra-high 8K resolution this texture ensures exceptional detail fidelity suitable for close-up renders in Blender Unreal Engine and Unity. The height/displacement maps provide subtle relief for enhanced parallax effects effectively simulating the plush fabric’s tactile surface and the raised embroidery of the stocking motifs. This level of detail is ideal for virtual holiday decorations apparel visualization or digital holiday crafts where material authenticity and fine detail contribute to immersive realism.*
For optimal results it is recommended to carefully adjust the UV scale to maintain the natural fiber density and pattern proportions avoiding overly stretched or compressed appearances. Additionally fine-tuning the roughness parameter can help balance the felt’s soft matte finish with the slightly glossier ribbons allowing for realistic material contrasts. Employing height or parallax mapping in conjunction with normal maps enhances the perception of depth without heavy geometry making this texture both visually rich and performance-friendly across various rendering engines.*
Import the texture maps into Blender with sRGB color space for albedo/base color and Non-Color for normal, roughness, metallic, AO, height, and ORM maps. Connect normal maps through a Normal Map node, then adjust UV scale with a Mapping node so the material repeats naturally on your model.
For the full step-by-step setup, see How to Use Seamless Textures in Blender. Browse related material examples in wood, concrete, and metal.
Yes. This texture is designed as a seamless tileable PBR material, so it can repeat across large surfaces without visible borders.
You can download PNG/WEBP versions and use 1K, 2K, 4K and 8K download options when available on the page.
Yes. The download options and engine-mapped ZIP workflow are designed for Blender, Unreal Engine, Unity Standard, URP and HDRP material pipelines.
Yes. The texture is available under the AITextured free commercial license. Review the license page for redistribution and AI-training restrictions.


Build, preview, and export seamless PBR materials. Generate full map sets from a single image, inspect them in a real-time WebGL viewer, and re-package maps for Unreal, Unity, and Blender—directly in your browser.
AI text-to-texture: type a prompt and get a seamless, tileable base image ready for PBR workflows (great starting point for materials).
Create a full PBR set (Normal, Roughness, AO, Metallic, etc.) from a single image. Seamless and tiling-friendly.
Instant WebGL viewer: inspect materials on a sphere, plane, and cube. Check tiling and lighting in real time.
Re-packages maps per engine: Unreal (BaseColor + ORM), Unity (Mask/MetallicSmoothness), Blender (separate channels).
PNG ↔ JPG ↔ SVG: fast convert, SVG rasterize, embed/trace options, quality & background controls.