Snowy Wood Frosted Glass Icicles Candle Wax
Seamless texture (tileable) · PNG, WEBP, PBR ZIP. License: AITextured Free Commercial License (FCL) v1.1. Free personal and commercial use. Raw resale, standalone redistribution, mirroring/scraping, competing asset packs, and AI/ML training are not allowed without written permission. Attribution is not required, but appreciated..

| ID | seamless-3d-texture-pbr-8k-christmas-stocking-snowy-ground-icicles-faux-fur-red-velvet |
|---|---|
| Category | Merry christmas |
| Formats | PNG, WEBP, PBR ZIP |
| Size | 1k (1024x1024px), 2k (2048x2048px), 4k (4096x4096px), 8k (8192x8192px) |
| Color | sRGB |
| Tileable | Yes |
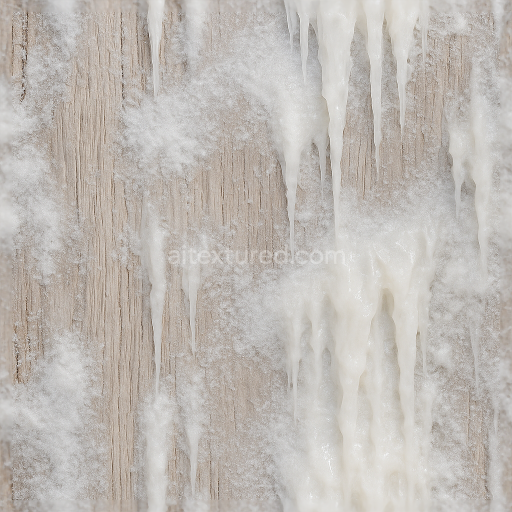
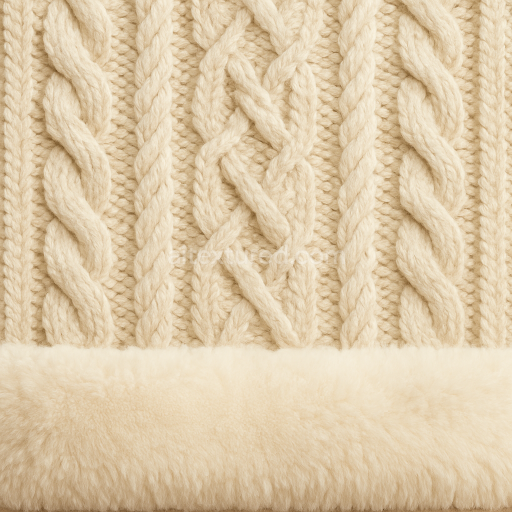
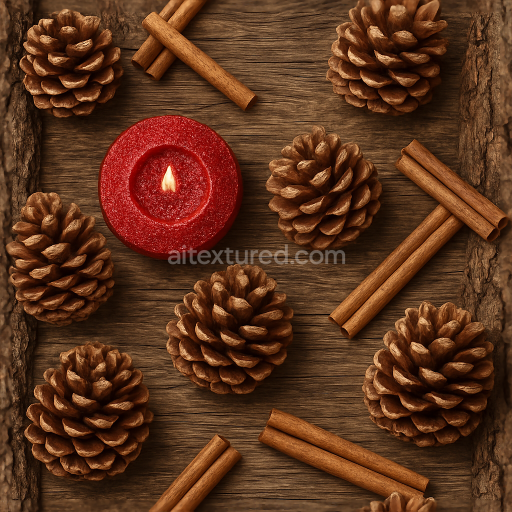
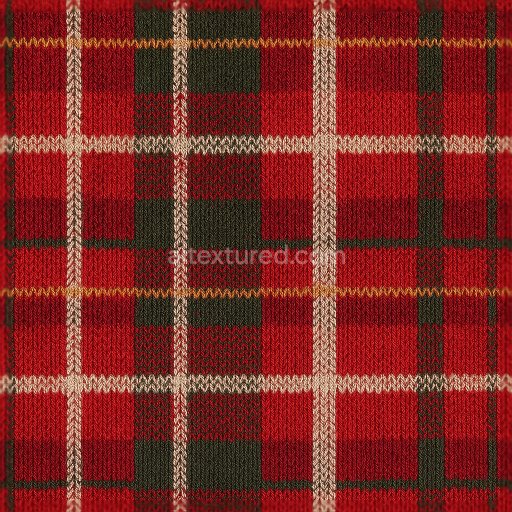
This seamless 3D PBR texture is meticulously crafted at an 8K resolution showcasing a festive composition centered around a classic Christmas stocking rendered in rich red velvet trimmed with plush faux fur set atop a pristine snowy ground interspersed with delicate icicles. The primary material red velvet is characterized by a dense woven substrate where fine synthetic fibers are tightly bound with a velvet weave pattern that creates a distinctive soft pile surface. The base color (Albedo) channel captures the deep saturated crimson hues with subtle variations reflecting the fabric’s natural nap and light scattering. The Normal map emphasizes the velvet’s tactile softness and the gentle undulations of the stocking’s form while the Roughness map defines the varying surface finishes—matte yet subtly lustrous velvet contrasted against the fluffy fibrous texture of the faux fur trim.
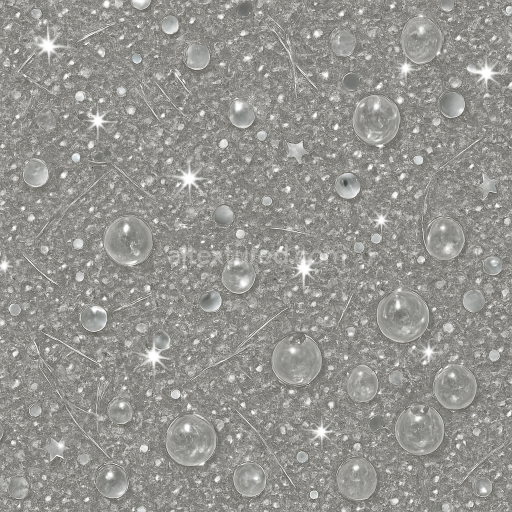
The faux fur trim presents a complex fibrous aggregation resembling synthetic wool with a high porosity and a random fiber orientation that adds depth and realism. Its surface finish is soft and matte achieved through carefully calibrated roughness values that diffuse light without sharp highlights. The snowy ground beneath features a granular crystalline substrate composed of compacted ice granules and snowflakes with a slightly rough and uneven surface profile. This is represented in the Height and Ambient Occlusion maps which simulate subtle snow drifts and shadows within the granular texture. The icicles are modeled as translucent crystalline structures with smooth glossy surfaces rendered through low roughness and a subtle metallic channel to simulate light reflection and refraction on frozen water. Their normal map captures the gentle curvature and tapering forms typical of hanging icicles.
The texture’s surface finish is varied and realistic combining soft textiles and natural icy elements making it ideal for photorealistic rendering in Blender Unreal Engine and Unity. The Height and Displacement maps effectively convey the depth of the snowy terrain and the plush volume of the stocking while the Ambient Occlusion enhances the perception of shadows in crevices such as between the fur fibers and folds of velvet. The Metallic channel remains near zero for all organic materials ensuring accurate light absorption and diffuse reflection typical of fabric and snow with minor adjustments for the icicles to simulate subtle specular reflections.
For optimal use it is recommended to carefully adjust the UV scale to maintain the fine detail of the velvet pile and snow granularity without pixelation. Additionally tuning the roughness map can help balance the contrast between the soft velvet and the glossy icicles allowing for greater control of light interaction and realism. Blending the normal and height maps subtly can further enhance the perception of depth in close-up renders making this texture a versatile choice for detailed holiday-themed 3D scenes and virtual decorations requiring high fidelity and seasonal atmosphere.
Import the texture maps into Blender with sRGB color space for albedo/base color and Non-Color for normal, roughness, metallic, AO, height, and ORM maps. Connect normal maps through a Normal Map node, then adjust UV scale with a Mapping node so the material repeats naturally on your model.
For the full step-by-step setup, see How to Use Seamless Textures in Blender. Browse related material examples in wood, concrete, and metal.
Yes. This texture is designed as a seamless tileable PBR material, so it can repeat across large surfaces without visible borders.
You can download PNG/WEBP versions and use 1K, 2K, 4K and 8K download options when available on the page.
Yes. The download options and engine-mapped ZIP workflow are designed for Blender, Unreal Engine, Unity Standard, URP and HDRP material pipelines.
Yes. The texture is available under the AITextured free commercial license. Review the license page for redistribution and AI-training restrictions.


Build, preview, and export seamless PBR materials. Generate full map sets from a single image, inspect them in a real-time WebGL viewer, and re-package maps for Unreal, Unity, and Blender—directly in your browser.
AI text-to-texture: type a prompt and get a seamless, tileable base image ready for PBR workflows (great starting point for materials).
Create a full PBR set (Normal, Roughness, AO, Metallic, etc.) from a single image. Seamless and tiling-friendly.
Instant WebGL viewer: inspect materials on a sphere, plane, and cube. Check tiling and lighting in real time.
Re-packages maps per engine: Unreal (BaseColor + ORM), Unity (Mask/MetallicSmoothness), Blender (separate channels).
PNG ↔ JPG ↔ SVG: fast convert, SVG rasterize, embed/trace options, quality & background controls.