
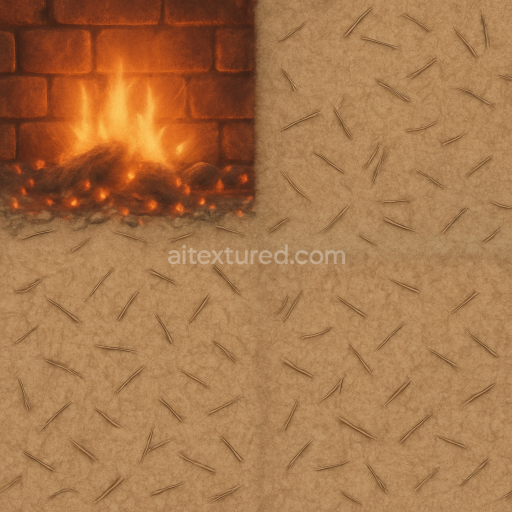
Green Pine Needles Winter Surface
Seamless texture (tileable) · PNG, WEBP, PBR ZIP. License: AITextured Free Commercial License (FCL) v1.1. Free personal and commercial use. Raw resale, standalone redistribution, mirroring/scraping, competing asset packs, and AI/ML training are not allowed without written permission. Attribution is not required, but appreciated..

| ID | seamless-3d-texture-pbr-8k-snowflakes-frosty-glaze-winter-holiday-pattern |
|---|---|
| Category | Merry christmas |
| Formats | PNG, WEBP, PBR ZIP |
| Size | 1k (1024x1024px), 2k (2048x2048px), 4k (4096x4096px), 8k (8192x8192px) |
| Color | sRGB |
| Tileable | Yes |
This seamless 3D texture features a meticulously crafted snow white base substrate reminiscent of fine mineral ceramic overlaid with a frosty glaze effect that mimics the natural crystallization of winter frost. The surface finish appears polished yet delicate capturing subtle glitter and sparkle highlights that simulate the reflective qualities of ice crystals and snowflakes. Within the PBR material setup the BaseColor channel presents a clean bright white tone enriched with faint blue and silver pigments to emulate cold wintry hues. The Normal map intricately defines the micro-variations and raised crystalline patterns of the snowflakes adding realistic depth and tactile detail. Roughness is finely tuned to balance between smooth glossy glaze areas and slightly matte snowy patches enhancing light scattering and specular highlights without excessive shininess. This texture’s Metallic channel is minimal to nonexistent maintaining an organic non-metallic appearance while Ambient Occlusion subtly deepens crevices and overlaps between snowflakes to boost dimensionality. A Height/Displacement map further accentuates the relief of individual snowflakes and frosty glaze layers crucial for photorealistic renderings of winter surfaces.
Rendered at an impressive 8K resolution this texture ensures exceptional clarity and detail for close-up shots and high-fidelity 3D models. It is fully optimized for seamless tiling with neutral lighting conditions and no embedded shadows or text making it ideal for diverse winter holiday patterns and Christmas-themed designs. The texture is Unreal Blender and Unity ready allowing for straightforward integration into any PBR workflow. When applying this snowflakes seamless 3D texture it is recommended to experiment with UV scale to maintain natural snowflake proportions and to adjust roughness levels slightly to match specific environmental lighting—lower roughness for icy wet surfaces or higher for powdery snow effects. The result is a versatile photorealistic material that brings festive charm and authentic winter ambiance to your 3D scenes and visualizations.
Import the texture maps into Blender with sRGB color space for albedo/base color and Non-Color for normal, roughness, metallic, AO, height, and ORM maps. Connect normal maps through a Normal Map node, then adjust UV scale with a Mapping node so the material repeats naturally on your model.
For the full step-by-step setup, see How to Use Seamless Textures in Blender. Browse related material examples in wood, concrete, and metal.
Yes. This texture is designed as a seamless tileable PBR material, so it can repeat across large surfaces without visible borders.
You can download PNG/WEBP versions and use 1K, 2K, 4K and 8K download options when available on the page.
Yes. The download options and engine-mapped ZIP workflow are designed for Blender, Unreal Engine, Unity Standard, URP and HDRP material pipelines.
Yes. The texture is available under the AITextured free commercial license. Review the license page for redistribution and AI-training restrictions.


Build, preview, and export seamless PBR materials. Generate full map sets from a single image, inspect them in a real-time WebGL viewer, and re-package maps for Unreal, Unity, and Blender—directly in your browser.
AI text-to-texture: type a prompt and get a seamless, tileable base image ready for PBR workflows (great starting point for materials).
Create a full PBR set (Normal, Roughness, AO, Metallic, etc.) from a single image. Seamless and tiling-friendly.
Instant WebGL viewer: inspect materials on a sphere, plane, and cube. Check tiling and lighting in real time.
Re-packages maps per engine: Unreal (BaseColor + ORM), Unity (Mask/MetallicSmoothness), Blender (separate channels).
PNG ↔ JPG ↔ SVG: fast convert, SVG rasterize, embed/trace options, quality & background controls.